Last updated November 18, 2026








Free written scope consultation - allowances, timeline, and change-order rules on paper before a single trade is scheduled
Bathroom Remodeling Maintenance Schedule: What to Do and When
Most bathroom remodels start failing within 18 months. Not because the tile was set wrong or the valve was installed badly, but because nobody told the homeowner what to do after the crew packed up and left. A freshly remodeled bathroom is not a finished product you can ignore. It’s a system of grout, caulk, sealant, valves, and ventilation that needs eyes on it at specific intervals, especially in San Jose, where our water runs hard and our indoor humidity swings more than people expect. This guide lays out exactly what to check, when to check it, and how to tell normal settling from an early warning sign. Print it, tape it inside a cabinet, and use it.
Quick Answer
Your post-remodel maintenance runs on a 30/90/365-day cycle: inspect grout and caulk at 30 days, confirm valve seats and fan function at 90 days, and do a full sealant refresh plus drain and vent check at the one-year mark. After the first year, move to a twice-yearly routine built around San Jose’s low-humidity, hard-water conditions. Anything that looks like movement in the first 90 days is worth a professional inspection, not a patch job.
Styles & brands we work with
- Kitchen remodeling
- Bathroom remodeling
- Home additions & ADU
- Roofing
- Windows & doors
- Driveway & pavers
- Fence
Table of Contents
- The First 90 Days: What a New Bathroom Is Actually Doing
- The 30-Day Inspection: Grout, Caulk, and the First Signs
- The 90-Day Inspection: Valves, Drains, and Ventilation
- The One-Year Refresh: Where Most Failures Start
- Which New Materials Need Attention First
- San Jose Seasonal Maintenance: Hard Water and Humidity
- What Your 730-Day Warranty Covers vs. What’s Yours
- When to Call a Professional
The First 90 Days: What a New Bathroom Is Actually Doing
A newly remodeled bathroom is not settling in the way a foundation settles. What’s actually happening in the first 90 days is that every material in the room is adjusting to its new environment at its own rate. Cement board and thinset cure and shrink. Grout shrinks slightly as it dries. Silicone caulk, which was applied to a pliable joint, gets flexed the first time someone steps into a shower and the floor deflects a millimeter or two. Valve cartridges seat themselves under water pressure for the first time. The exhaust fan runs longer than it ever did during construction.
None of that is a defect. All of it is movement, and movement is where maintenance lives. The three failure points that show up most often in our San Jose jobs during this window are:
- Grout hairline cracks at floor-to-wall transitions and around the shower pan, caused by normal deflection.
- Caulk pulling away at the tub apron or shower curb, usually because the tub was empty when it was caulked and full weight changed the joint gap.
- Shower valve handle travel feeling slightly stiffer or looser than it did on day one as the cartridge seats.
We inspect every ground-up bathroom at the 30-day mark for exactly these three things, and nine times out of ten, the fix is a five-minute caulk touch-up or a quarter-turn on a valve packing nut. That is the entire point of a schedule: catch the five-minute problem before it becomes a $2,000 water-damage repair behind a wall. If you’re planning a larger project alongside your bathroom, our Groundwork Construction Co. of San Jose home page shows the full scope of what we handle.
The 30-Day Inspection: Grout, Caulk, and the First Signs
Thirty days after the final walkthrough, the room has been used in real life. This is the first inspection that matters, and it takes about 20 minutes with a flashlight and a tube of color-matched caulk.
Work through the room in this order:
- Shower floor and pan: Run the shower for five minutes, then look for any dark line where tile meets the drain flange or where the pan meets the curb. A wet spot that never dries overnight is a signal, not a stain.
- Grout lines on floor and walls: Run a fingernail along the grout at the corners of the shower and around the base of the toilet. If the nail catches in a crack, note the location and its width. Hairline (under 1/16 inch) is normal. Anything wider needs a professional look.
- Caulk joints: Check every joint between tile and a change of plane (tub, shower curb, backsplash, vanity top). Silicone should still feel rubbery. If it’s peeling at an edge, moisture is getting behind it.
- Tub and sink drains: Fill, drain, and watch the joint. A slow weep at the drain collar is worth a call before it damages the subfloor.
- Exhaust fan: Hold a tissue against the grille with the fan running. If it doesn’t pull the tissue flat, the fan is underperforming or the duct is kinked.
Write the date and what you found on a piece of tape inside the vanity cabinet. When you call us at the 90-day mark, that record makes the conversation specific instead of vague. If you combine your bathroom project with a larger home addition or ADU, the same 30-day discipline applies to every wet room in the house; see our Home Additions & ADU in San Jose service page for how those scopes are sequenced.
The 90-Day Inspection: Valves, Drains, and Ventilation
By day 90, the materials that shrink have finished shrinking. What’s left to check is everything mechanical, because mechanical parts fail silently and water damage is what happens next.
Shower and Tub Valves
Turn each shower and tub valve from full cold to full hot and back slowly. Listen for a scrape or grind. Feel for resistance that wasn’t there before. A brand-new valve cartridge that develops a drip from the spout when the valve is closed usually means the cartridge needs to be reseated or the packing was under-torqued at install. That’s a warranty conversation, not a homeowner repair, and it’s why we photograph every valve we install before the tile goes up.
Drains and Traps
Slow drainage at 90 days usually isn’t a clog; it’s hair and soap scum caught at the grille. Pull the grille, clean it, and check again. If the trap itself drains slowly after that, something in the install is wrong and it’s covered. San Jose’s hard water accelerates scale formation inside the trap, so this becomes a twice-a-year cleaning job after the first year.
Exhaust Fan and Duct
Run the fan for 15 minutes and hold your hand under it. Feel for steady pull and listen for rattling. A fan that’s noticeably louder than it was on day one often has a loose mount or a duct that worked its way off the roof jack. In our experience remodeling bathrooms in San Jose’s older Willow Glen and Rose Garden homes, the duct path is where surprises hide, especially when the fan exhausts into a soffit that was never designed for it. A fan that’s moving air correctly matters more here than in a humid climate, because our dry air doesn’t hide the moisture a weak fan leaves behind.
Mark your calendar for day 90, and again for day 365. If anything on this list feels over your head, stop and call. Our technicians have up to 12 years of experience diagnosing exactly these systems, and most issues found at 90 days cost nothing to fix under warranty when they’re caught early.
The One-Year Refresh: Where Most Failures Start
The one-year mark is when the warranty period is still running but the “new bathroom” novelty has worn off. It’s also when the first real wear items show up. This is the single most valuable maintenance day on your calendar.
Do this in one afternoon:
- Re-caulk every silicone joint. Even the best silicone caulk in a wet environment lasts about 12 to 18 months before it starts to fail at the edges. Scrape it out clean, dry the joint completely (a hair dryer on low works), and apply fresh 100% silicone. Never use grout where caulk belongs.
- Re-seal stone or porous tile. If your floor or shower is natural stone or a porous porcelain, it needs sealing annually. Put a few drops of water on the surface. If it soaks in, seal it.
- Descale the showerhead and faucet aerators. San Jose water is mineral-heavy. Soak the showerhead and aerator screens in a 50/50 vinegar and water bath for an hour, rinse, and reinstall. Flow rate should improve noticeably.
- Inspect the fan duct and roof jack. From the attic if you can access it, confirm the duct is still connected and insulated. In a San Jose summer, an uninsulated duct in the attic will sweat and drip.
- Test the toilet supply line and stop valve. Turn the stop valve closed and open once. Feel the supply line for stiffness or a bulge. Replace any braided line that feels stiff; they have a finite lifespan and they’re cheap.
- Check for water staining under the vanity and behind the toilet. A flashlight and a dry paper towel on the cabinet floor will tell you everything.
One year is also the cutoff between “this is settling” and “this is a problem.” A hairline grout crack that appeared in the first 30 days and hasn’t changed is cosmetic. A new crack that appears at month 12, or one that grows, is movement and needs a professional evaluation. That distinction is exactly what your 730-Day Done Right Promise is designed around. If a material or an installation fails inside that window, we make it right.
Which New Materials Need Attention First
Not every surface in a new bathroom has the same maintenance clock. Ranked from shortest to longest attention window, here’s what to watch in order.
1. Silicone Caulk (Shortest Window: 12 to 18 Months)
Caulk is the first thing to fail and the cheapest thing to fix. It lives at the exact joints where movement happens (tub-to-floor, curb-to-wall, vanity-to-wall), and it’s exposed to soap, water, and cleaning products daily. Inspect it every 90 days and plan to re-caulk at the one-year mark and every 12 to 18 months after.
2. Grout (12 to 24 Months)
Grout itself is durable, but it cracks at changes of plane and it collects soap scum in a shower. Sealed grout should be re-sealed every 12 to 24 months. Unsealed grout in a shower is a sponge for moisture and a fast path to a failed shower pan. If you can’t remember the last time yours was sealed, do it before the next rainy season.
3. Exhaust Fan (Annual Cleaning, 10 to 15-Year Replacement)
The fan is the least glamorous part of the remodel and the most important for moisture control. Clean the grille and fan blades annually. Replace the whole fan or at least the motor when it starts to sound labored, usually somewhere around the 10 to 15-year mark, sooner in a bathroom that gets heavy daily use.
4. Fixtures and Valves (Inspect Quarterly, Replace at First Drip)
Brand-name fixtures from Kohler and similar lines hold up for a decade or more, but cartridges and seats are wear items. Inspect quarterly, and replace a cartridge at the first persistent drip rather than waiting for it to fail completely.
5. Tile, Stone, and Glass (Longest Window, Annual Seal)
Porcelain tile essentially lasts forever with annual sealing if it’s a porous finish and quarterly cleaning. Natural stone needs sealing every 12 months, without exception. Glass shower panels need a squeegee after every use and a descaling every six months given San Jose water.
For homeowners who are thinking about exterior projects at the same time, the same material-clock logic applies outdoors. Our Driveway & Pavers in San Jose guide covers Belgard paver sealing schedules that mirror the annual rhythm you’ll use inside.
San Jose Seasonal Maintenance: Hard Water and Humidity
San Jose has a maintenance profile that’s different from most of the country. We don’t have hard freezes cracking pipes in the walls, and we don’t have a summer of swampy humidity growing mold in the grout. What we do have is soft-humidity air and hard water. That combination creates a specific set of tasks.
Spring (March to May)
- Descale the showerhead, faucet aerators, and any glass shower panels. Winter buildup of calcium is the main issue.
- Inspect the exterior of the bathroom’s window frames if there are any; the rainy season can leave caulk at the window sill ready for refreshing.
- Check the roof and attic for leaks above the bathroom before summer heat hits. If you’re due for a roof inspection, our Fence Installation in San Jose guide touches on the same “check before the season changes” discipline for exterior wood.
Summer (June to September)
- Confirm the exhaust fan duct is insulated. An uninsulated attic duct sweats in a San Jose summer and drips into the ceiling.
- Check the toilet supply line and stop valve before you leave on vacation. A failed supply line while you’re away is the single most common source of catastrophic bathroom water damage we see.
- Re-seal any natural stone that has lost its water beading.
Fall (October to November)
- Deep clean grout and re-seal it before the wet season.
- Re-caulk any joint that showed peeling during the summer.
- Run every drain and fixture for ten minutes to check for slow drains before winter.
Winter (December to February)
- Watch for condensation on windows and mirrors; that’s your cue to run the fan longer, not less.
- Check the caulk at tub and shower edges more often; indoor humidity returns.
- Schedule your one-year full refresh if it falls in this window.
The single biggest San Jose-specific maintenance item is hard water. If you don’t already have a whole-home water softener, a showerhead filter and a descaling schedule every six months will buy years of fixture life.
What Your 730-Day Warranty Covers vs. What’s Yours
This is the part of the guide almost nobody talks about, and it costs homeowners real money. Understanding exactly where our warranty ends and your maintenance begins is how you get the most out of it.
What the 730-Day Done Right Promise Covers
- Installation defects in tile, waterproofing, plumbing rough-in, electrical, and fixtures we supplied and installed.
- Premature failure of any material we installed that doesn’t meet its own manufacturer warranty.
- Water intrusion traced to a waterproofing or sealing failure in our scope of work.
- Valve, cartridge, or drain leaks caused by installation error (not wear).
- Any workmanship issue that shows up within two years of project completion, which our team makes right.
What Becomes the Homeowner’s Maintenance Responsibility
- Re-caulking silicone joints (it’s a wear item, on a 12 to 18-month clock).
- Re-sealing grout and natural stone (annual or biennial by material).
- Cleaning the exhaust fan and descaling fixtures.
- Replacing toilet supply lines and any wear part past its service life.
- Cleaning drains and grilles; descaling showerheads and glass.
- Damage from excluded events like a frozen supply line (rare in San Jose but possible in an unheated addition), a failed appliance, or a roof leak above the bathroom.
The practical line is this: if it’s a material or installation defect, it’s ours. If it’s wear, cleaning, or the natural aging of a wear item on its normal schedule, it’s maintenance. We’d rather have the conversation at the 30-day inspection than at year two with water damage. If you’re not sure which side something falls on, call and ask. Live people answer around the clock, and a five-minute call often saves a weekend.
Common Mistakes to Avoid
- Caulking over a wet joint. New silicone won’t bond to a wet surface, and it’ll peel within weeks. Dry the joint completely first, even if it adds an hour.
- Treating a 12-month hairline crack as normal settling. If a crack appears at year one or grows between inspections, it’s movement, and it’s worth a professional look before it spreads.
- Using grout where silicone belongs. Any joint between two different materials or between two planes (tub to floor, curb to wall) must be silicone. Grout there will crack.
- Skipping the fan check because the fan “still sounds fine.” Sound doesn’t tell you airflow. The tissue test does, and airflow is what stops mold.
- Ignoring hard-water scale until it’s irreversible. In San Jose, six months of neglected showerhead scale can permanently cut flow rate. Descale on schedule.
- Assuming the warranty covers caulk. It doesn’t; caulk is a wear item, and treating it as a warranty claim delays the fix.
- Cleaning tile with an acid cleaner. A strong acid etches natural stone and dulls porcelain glaze. Use pH-neutral cleaner and let the grout be sealed.
We’ve walked into San Jose bathrooms at year three that had any three of these going at once. Most of them would have cost a few dollars to prevent and a few thousand to repair. The schedule matters more than the budget.
When to Call a Professional
Most of this guide is maintenance you can do yourself with a caulk gun and a Saturday. Some of it isn’t. Call a professional for anything involving the shower pan, the waterproofing layer beneath the tile, a shower valve cartridge you can’t identify, or any water staining you can’t trace to a specific joint. Also call if you see a crack in grout that’s wider than 1/16 inch, a tile that rocks underfoot, or a toilet that rocks even slightly. Those are installation or structural signals, not maintenance. In San Jose, our team offers free estimates for any inspection that turns up something you’d rather not diagnose alone. Call (833) 988-3521 to schedule one, and remember our calls are answered by a live person 24/7.
Frequently Asked Questions
Thirty days after the final walkthrough is the right first inspection, because that’s when normal material settling has finished and the room has been used in real life. Check grout at changes of plane, all silicone joints, and the shower pan for any dark line where water sits. Call (833) 988-3521 if anything looks wrong; estimates are free.
Plan on every 12 to 18 months for the silicone joints around the tub, shower, and vanity. San Jose’s low humidity is easier on caulk than a humid climate, but the hard water and daily use still work it loose. If a joint peels at the edge, re-caulk it sooner.
In the first 30 days, yes. Grout shrinks slightly as it cures, and a hairline under 1/16 inch at a corner or floor-to-wall transition is normal settling. A crack that appears at month 12 or grows between inspections is not normal, and it’s worth a professional look.
No. Caulk and grout resealing are homeowner maintenance because they’re wear items, not installation defects. The warranty does cover waterproofing failures, premature material failure, valve or drain leaks caused by installation, and any workmanship issue in scope for two full years. When in doubt, call and ask.
Run the fan for 15 minutes and hold a tissue against the grille. If the tissue pulls flat, the fan is moving air correctly. If it barely moves, the fan or its duct has an issue. In San Jose’s dry climate, a weak fan is easy to overlook, and that’s exactly why we test it at the 90-day inspection.
Re-caulk every silicone joint and descale the showerhead, aerator, and glass. Those two tasks prevent more San Jose bathroom damage than everything else on the schedule combined.
The Bottom Line
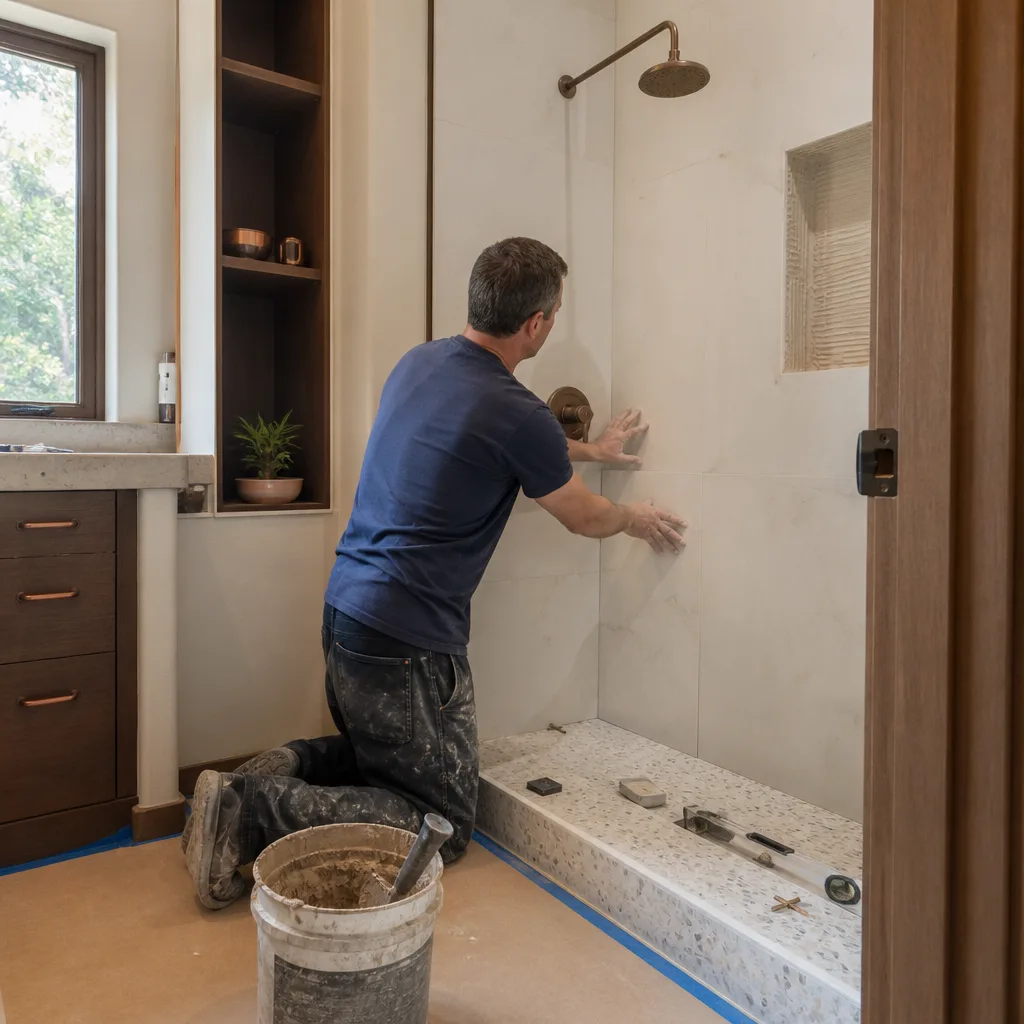
A bathroom remodel is a long-term commitment, not a finished product. The 30/90/365-day schedule catches small problems before they become water damage. After year one, a twice-yearly routine built around San Jose’s hard water and humidity swings keeps the room performing for a decade. Understand your warranty boundaries, stay ahead of the caulk and sealant clocks, and call a professional the moment something looks like movement instead of settling. Do that, and your new bathroom will outlast the remodel that built it. If you’d like this schedule in writing for your own project, or you’re ready to plan a bathroom remodel in San Jose, call (833) 988-3521 for a free estimate.
Written by the team at Groundwork Construction Co. of San Jose.
See the difference
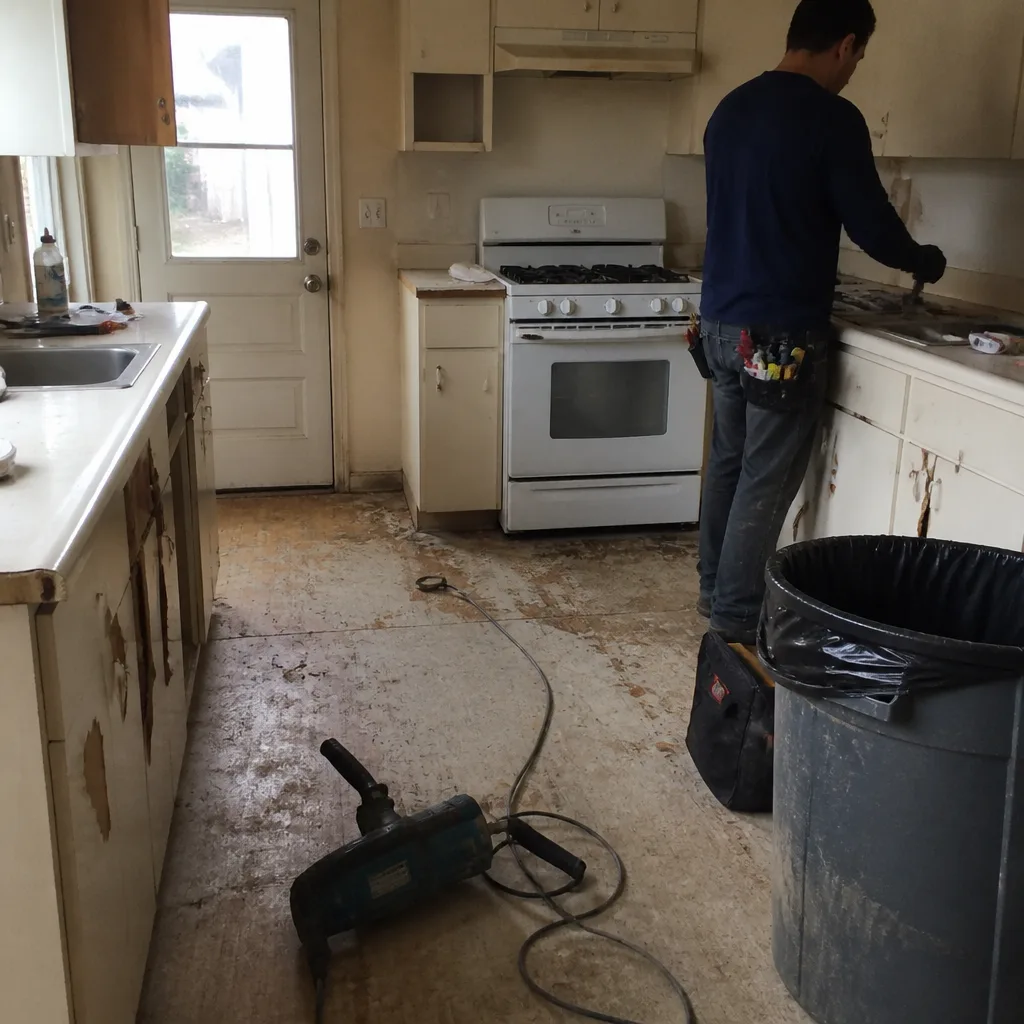 Before
 After
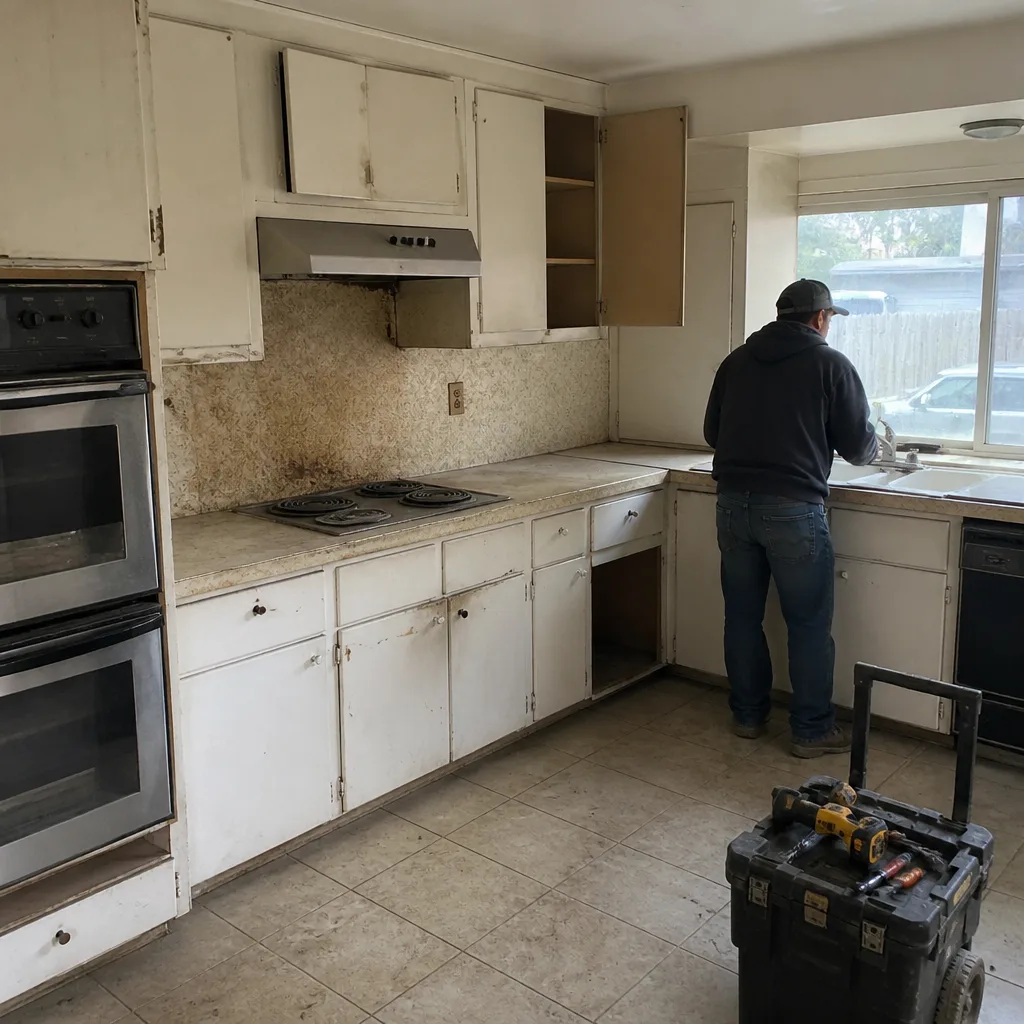 Before
 After
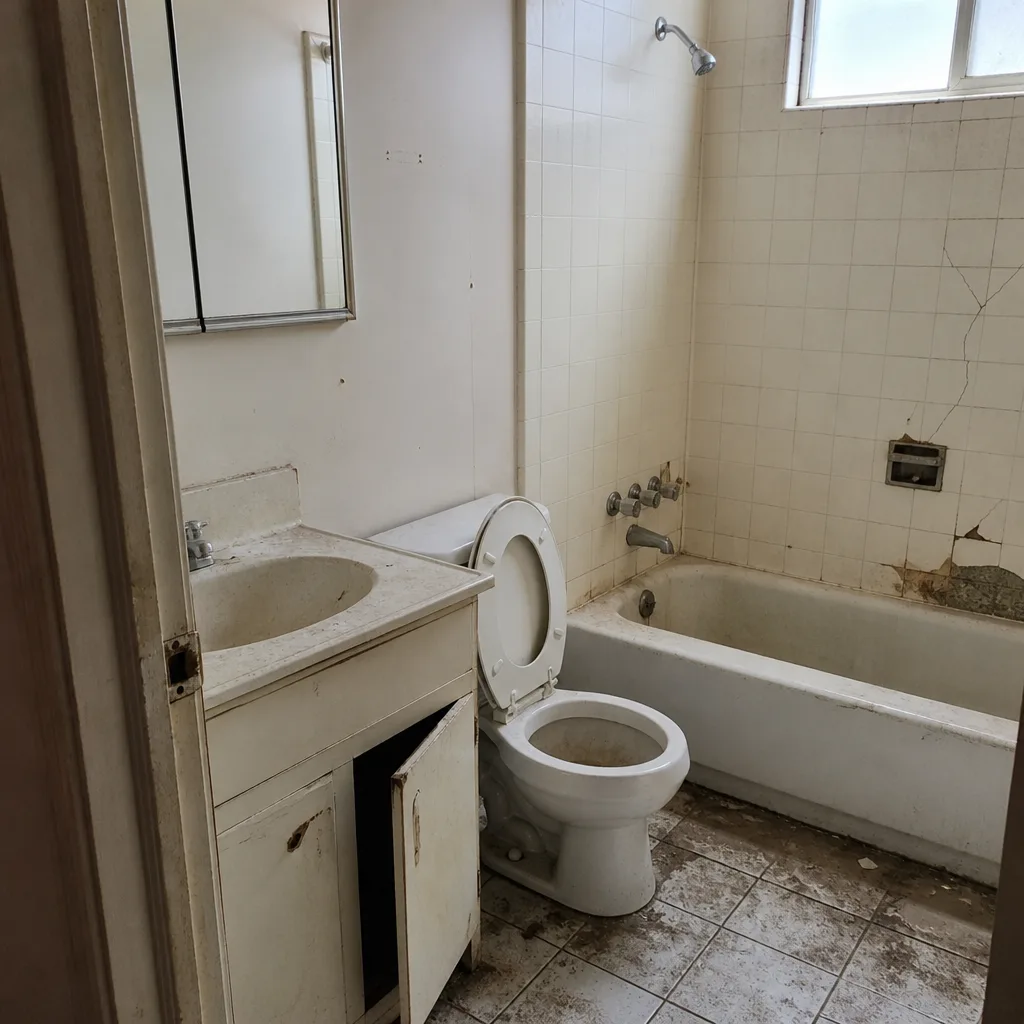 Before
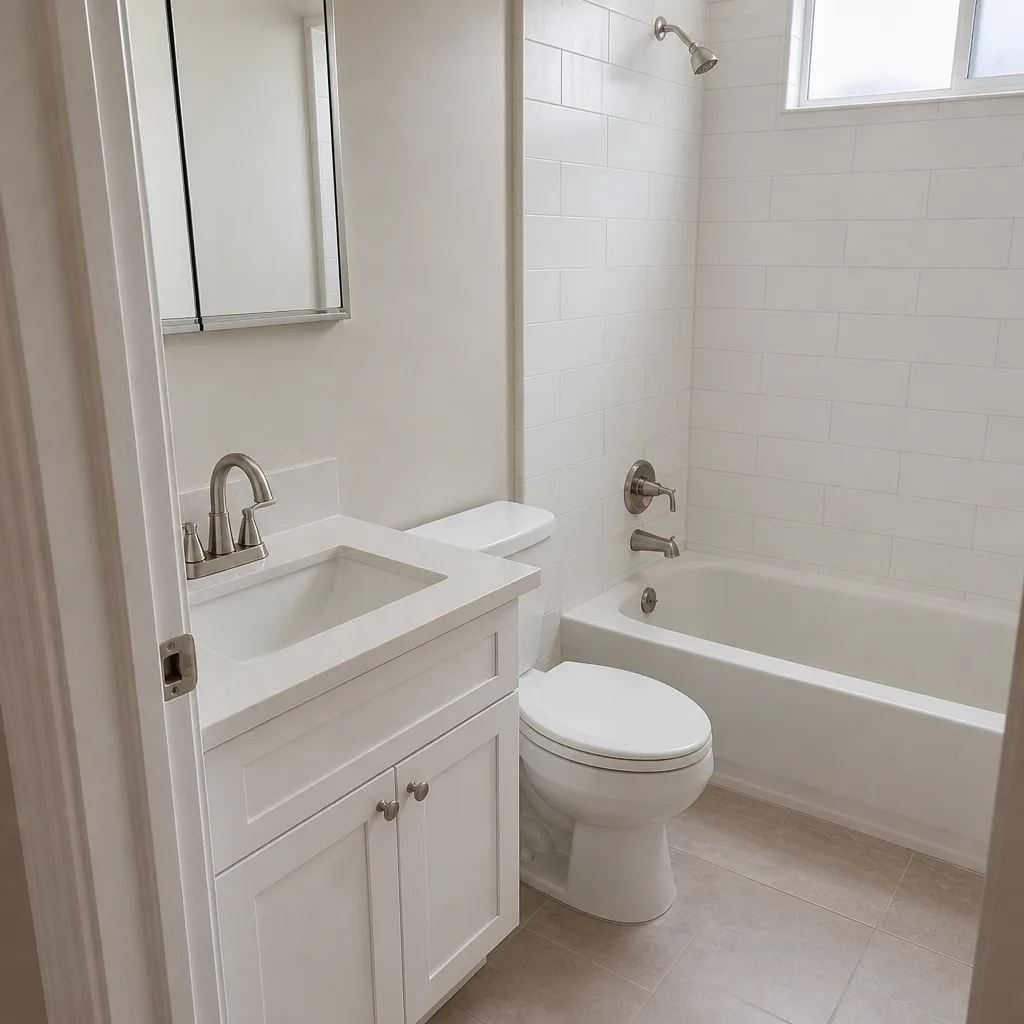 After