Last updated November 18, 2026








Free written scope consultation - allowances, timeline, and change-order rules on paper before a single trade is scheduled
Bathroom Remodeling Troubleshooting: Common Problems and How to Fix Them
If your newly remodeled shower starts leaking six months after the last tile was set, there’s a strong chance the failure point sits behind the tile, not on it. That’s the part almost nobody explains before you sign a contract: the most expensive bathroom remodel problems are born during waterproofing and rough-in, stages that get sealed under thinset, grout, and porcelain and stay invisible until the damage surfaces. By then you’ve already paid once, and fixing it right can mean paying again for demolition. This guide walks San Jose homeowners through diagnosing what actually went wrong, telling apart the failures that need a full tear-out from the ones that don’t, and what recourse you genuinely have when the work falls short.
Quick Answer
To troubleshoot a bathroom remodel problem, first identify the phase where the defect originated: leaks and tile cracks usually trace to waterproofing or substrate mistakes, while pressure and temperature complaints usually trace to plumbing rough-in or fixture choices. Fixes range from a $30 regrout to a full surround rebuild, so diagnosing the source before any demolition decides whether you spend hundreds or thousands. If the remodel is under warranty, document the defect in writing before anyone touches it.
Styles & brands we work with
- Kitchen remodeling
- Bathroom remodeling
- Home additions & ADU
- Roofing
- Windows & doors
- Driveway & pavers
- Fence
Table of Contents
- How to Diagnose a Shower or Tub Leak Without Demolition
- Why Tile and Grout Crack in New Bathrooms
- Troubleshooting Low Pressure and Temperature Swings
- Ventilation Failures That Grow Mold Months Later
- Subfloor and Framing Problems Under New Tile
- How to Document Defects and Pursue a Warranty Claim
- When a Problem Warrants a Licensed Rebuild
How to Diagnose a Shower or Tub Leak Without Demolition
Leaks after a bathroom remodel almost always trace to one of three places: the grout and caulk layer, the waterproofing membrane behind the tile, or the drain flange connection. Each fails differently and each leaves a different signature. You can narrow it down in an afternoon with a flood test and close observation, and you can do it before calling anyone back to tear out your work.
Start with the simplest layer. Fill the shower pan with an inch of water from a bucket (not the shower head) and leave it for 24 hours with the drain plugged. Check the ceiling below or the adjacent wall for moisture. If nothing shows, the pan and membrane are probably sound and the leak is coming from above or from the wall joints, meaning grout or caulk has failed. If water appears, the membrane or drain flange is the likely culprit and this is a tear-out situation.
- Seal test: Plug the drain, fill the pan one inch deep, mark the water line, wait 24 hours. A drop in level with no visible drain leak points to membrane failure.
- Drain flange test: Remove the strainer and shine a light around the flange seal. A gap, cracked gasket, or loose clamping ring is a common post-remodel failure, especially where a tile-in drain was set into a new mud bed.
- Grout and caulk test: Spray the wall tile with a hose for two minutes, wait an hour, check the substrate behind the opposite wall or below the floor. A slow, damp spot that grows after showers usually means grout has cracked or caulk has shrunk.
- Flange and supply line test: Check the toilet base and the valve body behind the trim plate with a dry paper towel. A faint wet ring after flushing means the wax ring or supply connection is leaking.
In San Jose’s older homes, especially in neighborhoods like Willow Glen and the Rose Garden where remodels often involve original plumbing chases, we’ve seen shower leaks traced to a re-used drain assembly that was never re-clamped after the new tile went in. That’s not a grout problem and no amount of re-sealing will fix it. If the flood test shows loss, plan for demolition of the pan and a proper re-waterproof.
Why Tile and Grout Crack in New Bathrooms
Cracks that appear within the first year of a remodel almost always mean one of three things: the substrate moved under the tile, the substrate wasn’t stiff enough for the tile size, or the tile was laid without expansion joints at the perimeter. Grout cracks are usually cosmetic and repairable. Tile cracks are usually structural and point to a substrate problem that a regrout won’t solve.
The pattern of the crack tells you which problem you have. A crack that follows a grout line in a straight run from corner to corner suggests movement at an expansion joint that was never left. A crack that runs diagonally through the tile face, or through the field in a spiderweb pattern, means the substrate is flexing under deflection. A hairline crack clustered at a single wall means the backerboard was not properly secured to the studs, which is common when a tiler skips screws at the panel edges.
- Straight grout-line crack: missing perimeter expansion joint or missing backerboard seam tape. Repairable by raking out and re-grouting with a flexible sealant, but check the perimeter first.
- Diagonal or spiderweb tile crack: substrate deflection or a joist that was not properly sistered before the new floor tile went down. This is a rebuild, not a repair.
- Corner cracks only: change-of-plane movement, usually from missing flexible sealant at the wall-floor junction. Cosmetic fix.
- Cracks that keep coming back after a repair: the substrate is still moving. Chasing the grout is wasted money.
San Jose’s older housing stock, especially in the downtown and Midtown areas, includes a lot of pier-and-beam and lightly built second-floor bathrooms. Those floors deflect more than modern slab-on-grade construction, so a tile setter who does not verify joist deflection before laying 24-inch porcelain can hand you a floor that cracks within a year. That is a workmanship issue, not a tile defect, and it should be corrected at the contractor’s cost under any workmanship warranty.
Troubleshooting Low Pressure and Temperature Swings in a Remodeled Bathroom
Pressure and temperature complaints after a remodel usually trace to a valve cartridge, a supply line that was downsized during the rough-in, or a water heater that can no longer keep up with the new fixtures. These three problems look identical from the shower, but they have completely different fixes, and the diagnosis is mostly about when the problem shows up.
If the pressure is low at every fixture in the bathroom but normal elsewhere in the house, the branch supply line is the suspect. A remodeler who stepped down from half-inch to three-eighths inch at the last fixture, or who added a shutoff valve with a small internal bore, will deliver noticeably weaker flow. If the pressure is low only at the shower head, the issue is likely the head itself or the cartridge. If the temperature swings every time someone flushes a toilet, that is a pressure-balance valve problem, not a supply problem.
- Test pressure at both fixtures. Fill a one-gallon bucket from the tub spout and time it. Over 60 seconds for a gallon is low. Repeat at the shower head. If the tub spout is strong and the head is weak, the problem is downstream of the valve.
- Check the cartridge. A thermostatic or pressure-balance cartridge that was installed with debris in the screen will underperform and can cause scalding swings. Most can be pulled, flushed, and re-seated in under an hour.
- Verify the water heater capacity. A new rain head plus a new body spray plus a soaking tub can push an older 40-gallon tank past its recovery rate. A tankless upgrade or a properly sized replacement may be the real fix.
- Confirm the supply sizing. A half-inch branch feeding two fixtures is fine. A half-inch branch feeding a rain head, hand shower, and body sprays is not. This may require a partial rough-in rework.
In San Jose, water hardness varies by neighborhood depending on the source, and we’ve seen new thermostatic cartridges fail within a year where the homeowner didn’t add a softener – the scale binds the mixing spool. If you’re getting temperature hunting on an otherwise correct install, a cartridge inspection is the cheapest first step.
Ventilation Failures That Grow Mold Months Later
Most mold problems in new bathrooms aren’t caused by the tile or the grout. They’re caused by an exhaust fan that moves too little air, a duct that dumps warm moist air into the attic instead of outdoors, or a bathroom with no makeup air path so the fan runs against a sealed room. These failures show up quietly, often six to twelve months after the remodel, when a dark stain appears at the ceiling line or a musty smell settles into the towels.
The fan sizing rule most builders use is one CFM per square foot of bathroom, with a floor of 50 CFM for a standard bathroom and 80 CFM for one with a tub or shower. A fan rated at 50 CFM installed in a 90-square-foot bathroom is undersized, and a fan rated at 110 CFM that’s ducted through 25 feet of flex pipe with three elbows moves maybe 40 CFM at the grille. Both failures are common in remodels where the fan was replaced but the ducting was left as-is.
- Fan runs but doesn’t clear the mirror: undersized CFM, or duct run too long. Check the fan rating against the room’s square footage.
- Moisture on the ceiling above the shower: no makeup air. If the bathroom door is solid and the room is tight, the fan pulls against a vacuum and moves almost nothing. A door undercut of three-quarters inch fixes it.
- Musty smell, no visible moisture: duct is dumping into the attic or terminating in a soffit vent. This is a serious problem in San Jose’s warmer months, when attic temperatures cook the moisture into the framing.
- Fan noisy and weak: flex duct sagged, kinked, or crushed behind the drywall. Rigid duct is always the better install for a remodel.
San Jose’s dry summers can mask a ventilation problem because the room dries fast, but the winter wet season and the foggy mornings near the coast in the cooler months expose it. If your remodel included a new shower surround and the ceiling above the shower shows shadowing or a faint tint within a year, get the fan and duct checked before it becomes a drywall job.
Subfloor and Framing Problems Under New Tile
Subfloor problems are the least visible and the most expensive failures in a remodeled bathroom. They show up as a spongy feel underfoot, a hollow sound when you tap the tile, a floor that creaks at night, or a toilet that rocks. Any of these means the layer under the tile has moved, and tile does not tolerate movement.
The usual causes are a floor joist that was not properly blocked or sistered before the tile went down, a cement backer board that was screwed only at the perimeter and not the field, or a plywood subfloor that was too thin for a natural stone tile. Natural stone requires a deflection rating of L/720, which is about twice as stiff as the L/360 that ceramic and porcelain can tolerate. A remodeler who set stone over the original joist structure without checking deflection often hands over a floor that fails within two years.
Test for it with a simple hand test. Walk the floor in socks and feel for give, especially at the toilet and near the doorway. Tap the tile with a screwdriver handle and listen for a hollow tone versus a solid one. A single hollow-sounding tile near a corner is a spot repair. A field of hollow tiles is a subfloor rebuild, and it will involve pulling the floor tile, adding a structural layer, and re-tiling.
San Jose has a lot of homes built in the 1950s and 1960s with 2×8 joists at 16 inches on center under the bathroom. That’s fine for a linoleum floor and not stiff enough for large-format porcelain or marble. If your remodel included a switch from vinyl to stone, and the contractor didn’t add a layer of plywood or sister the joists, the floor is at risk. That’s a correctable design problem, but only if you catch it before the stone cracks.
How to Document Bathroom Remodel Defects and Pursue a Warranty Claim
A warranty claim lives or dies on documentation. The strongest claim has dated photos, a written description of the defect, a written notice to the contractor, and a reasonable amount of time given to respond before you escalate. Verbal complaints, even if repeated, are hard to enforce. If you have a written workmanship warranty, read the scope carefully before you call, because the covered items and the exclusions are usually spelled out.
Start with documentation, and do it before anyone touches the defective area. Photograph every angle, include a ruler or a coin for scale, and capture daylight and shadow shots. Take a short video showing the leak or the hollow tile. Save every text message, email, and invoice. Then send a written notice, by email and certified mail, that states the defect, the date you noticed it, and a specific remedy you’re requesting with a deadline to respond.
- Document the defect. Photos, video, dates, and a written paragraph describing what’s happening and when it started. Keep the original receipts and the signed contract.
- Review the warranty. Note the workmanship coverage period, the exclusions, and any requirement that you notify the contractor in writing within a set number of days.
- Send written notice. Email plus certified mail. State the defect, the requested remedy (repair or replacement), and a response deadline of 10 to 14 days.
- Offer access for inspection. Give the contractor a reasonable opportunity to inspect. Refusing access can undermine the claim.
- Escalate if unresolved. In California, the Contractors State License Board (CSLB) accepts complaints against licensed contractors and can investigate workmanship and contract violations. Filing is free and can be done online; a CSLB mediation or arbitration process may follow.
- Keep a paper trail. Every call, every visit, every promise in writing. If it goes to arbitration or small claims, the trail is the case.
In San Jose, the CSLB process is the standard route for unresolved workmanship complaints, and it’s faster than court for most residential disputes. A contractor who offers a strong workmanship warranty and answers the phone is far easier to resolve with than one who doesn’t, which is why we put our 730-Day Done Right Promise in writing on every bathroom remodel: if it’s not done right, we make it right. That’s a commitment, not an escape hatch, and we treat every warranty call as a job we need to close properly. For a broader look at the remodeling services behind that promise, see our Groundwork Construction Co. of San Jose home page.
When a Problem Warrants a Licensed Rebuild
Some bathroom remodel problems are cheap fixes. Others are not, and knowing the difference saves you from paying twice. A cracked grout line, a stiff valve cartridge, or a fan that needs a larger unit is a service call. A failed shower pan, a field of hollow tile, mold in the wall cavity, or a leak that’s been running for weeks is a rebuild, and a rebuild needs a licensed contractor who will pull permits if the scope requires it.
San Jose bathroom remodels that touch plumbing, electrical, or structural framing generally require permits, and the inspection record is part of what protects you if you sell the home. A repair that hides a defect without correcting it leaves you with a problem the next buyer’s inspector will find. If the diagnosis points to membrane failure, subfloor deflection, or concealed water damage, the correct answer is a proper rebuild with inspection, not a patch.
We’ve been doing this work in San Jose since 2014, and our technicians have up to 12 years of experience on bathroom and kitchen remodels. Every project is backed by our 730-Day Done Right Promise, and we use verified brand partners like CertainTeed and Owens Corning when the scope calls for materials they supply. If a defect turns out to be part of a larger remodel scope, our related services cover the rest of the home too: Driveway & Pavers in San Jose, Fence Installation in San Jose, and Home Additions & ADU in San Jose.
Common Mistakes to Avoid
- Regrouting a leak that started at the membrane. Re-grouting a shower that fails a flood test buys you a few months and makes the eventual tear-out bigger. Diagnose the layer first.
- Setting large-format tile without checking joist deflection. San Jose’s older pier-and-beam and light-framed floors flex. If the deflection isn’t verified before the tile goes down, the crack is a matter of time.
- Replacing the exhaust fan and leaving the old duct. A new 110 CFM fan pushing through 25 feet of flex duct is a 40 CFM fan in practice. Verify the duct run before you buy the fan.
- Skipping the perimeter expansion joint. Tile needs room to move. A tile setter who butts tile tight to the wall in every bathroom will hand you straight-line grout cracks within a year.
- Hiring a handyman for a plumbing rough-in. Valve cartridges, supply sizing, and drain flange re-clamping are licensed plumbing work in most San Jose remodels, and the inspection record matters at resale.
- Waiting past the warranty window to report a defect. Most workmanship warranties require written notice within a set time. A verbal complaint doesn’t start the clock. Send it in writing the day you notice.
- Assuming the water heater is fine because it’s new. A new rain head, body sprays, and a soaking tub can outrun a 40-gallon tank during a single shower. Size the heating to the fixtures, not to the old bathroom.
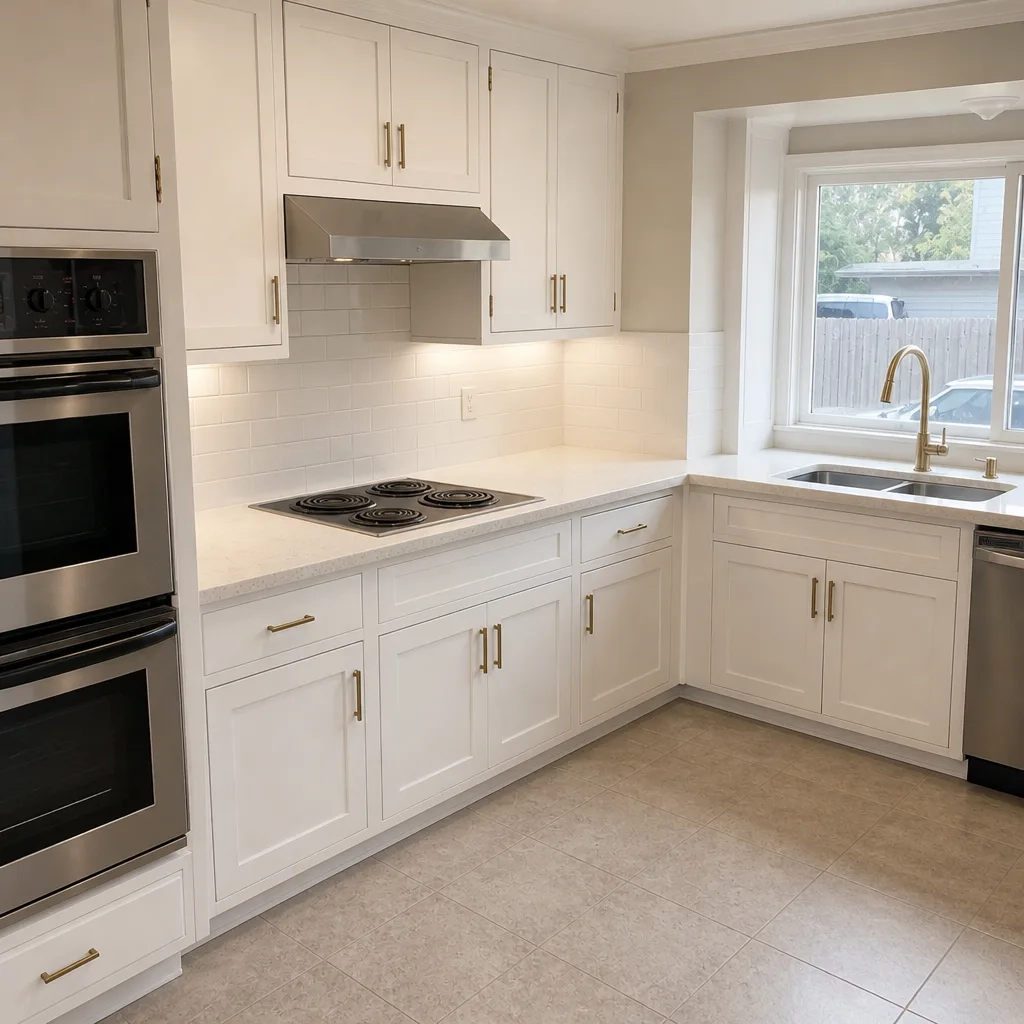
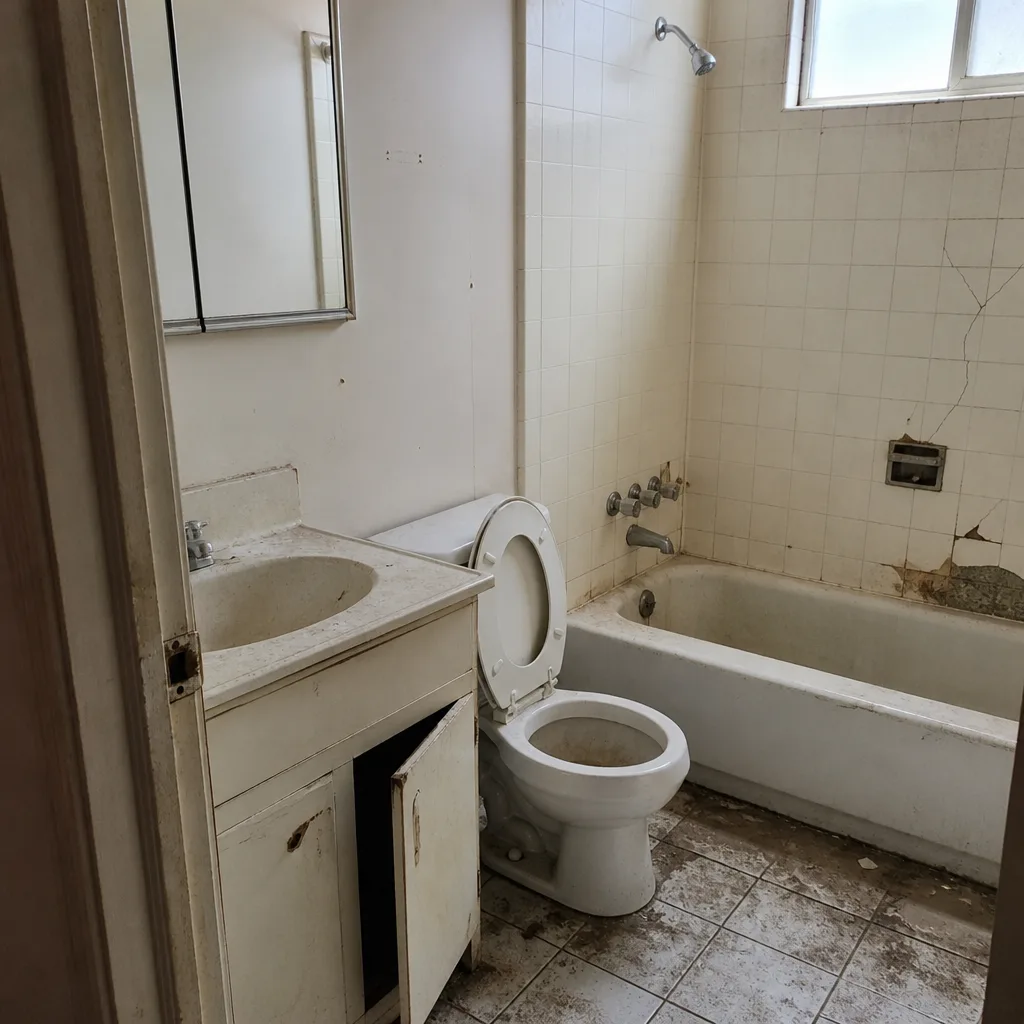
See the difference
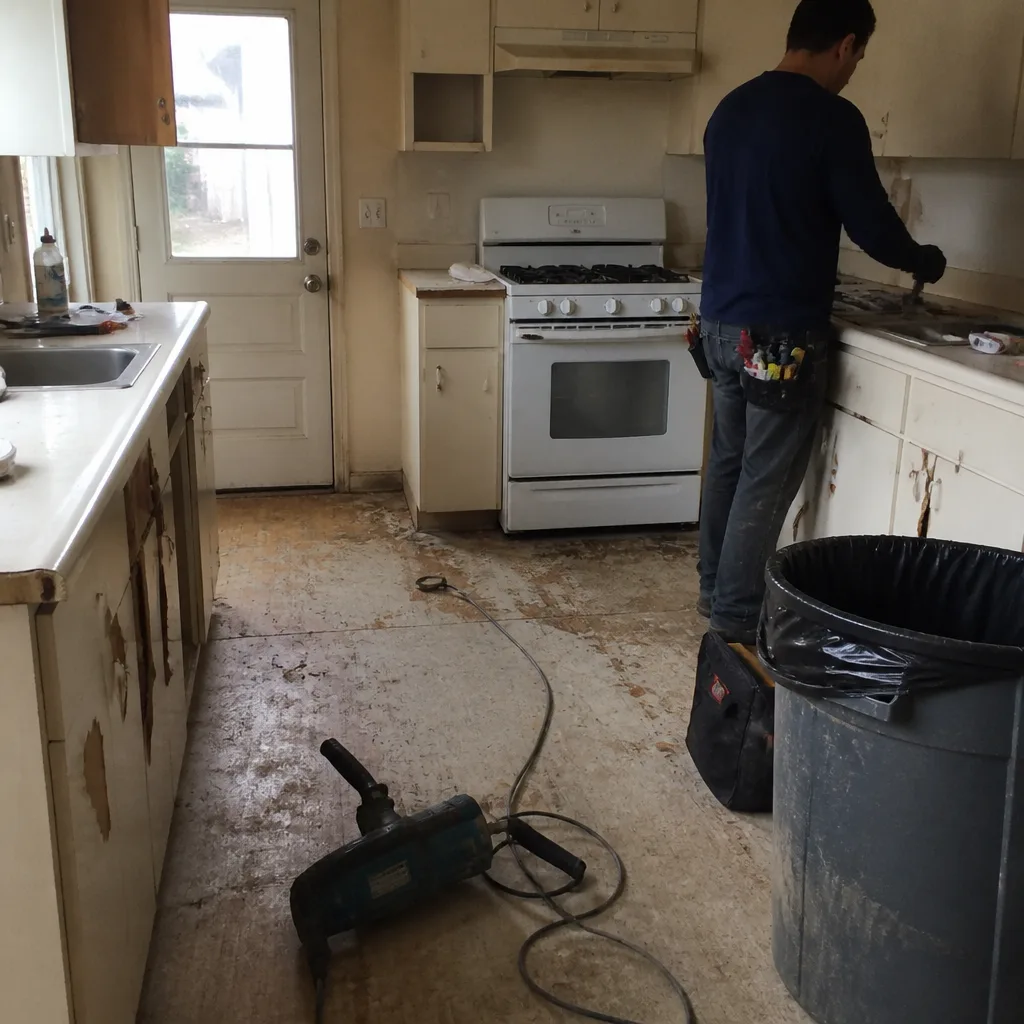 Before
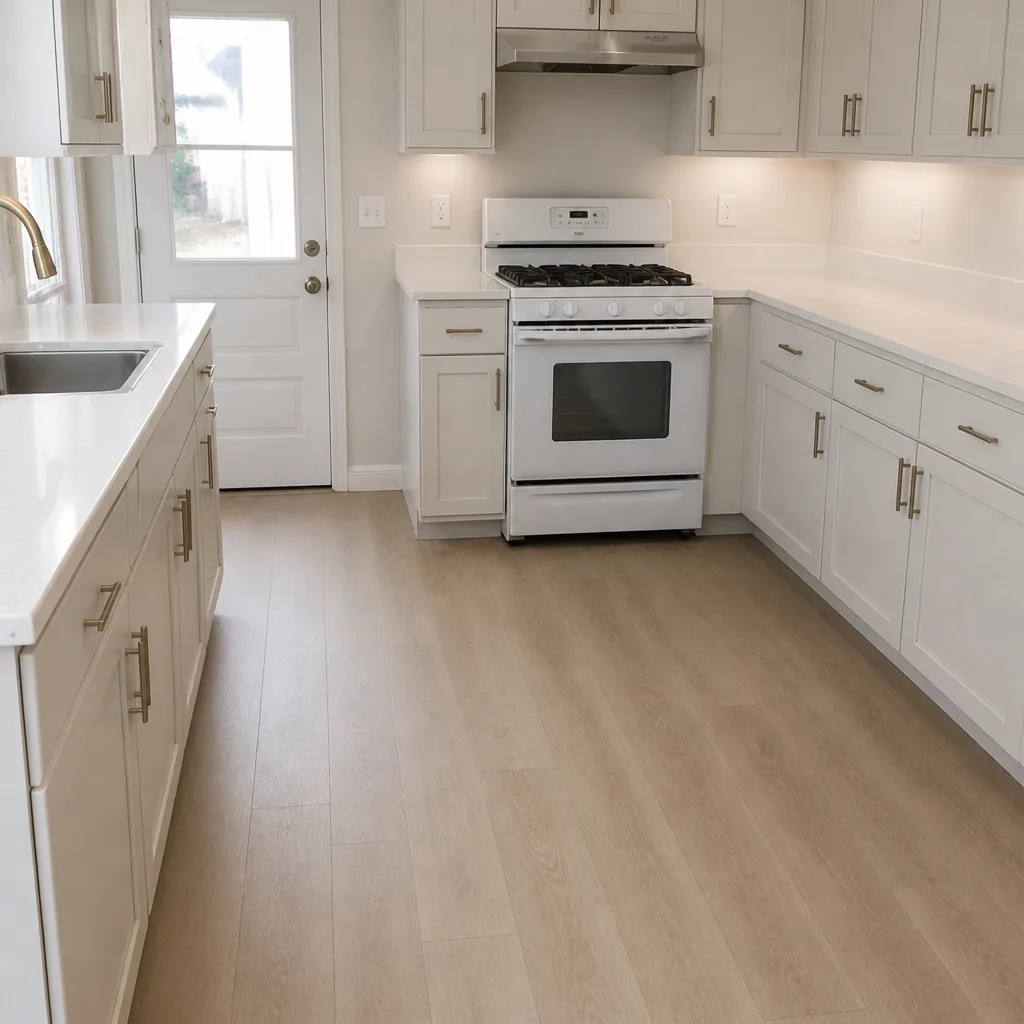 After
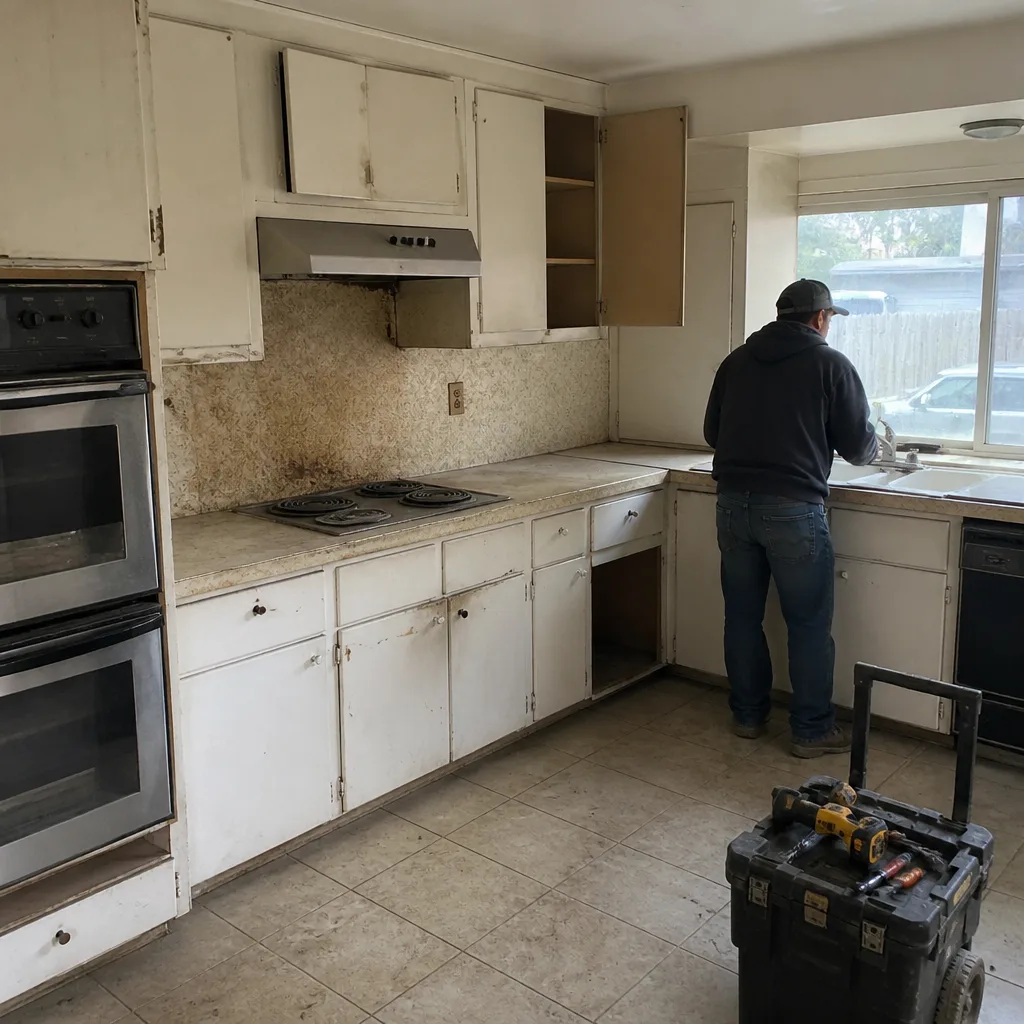 Before
 After
 Before
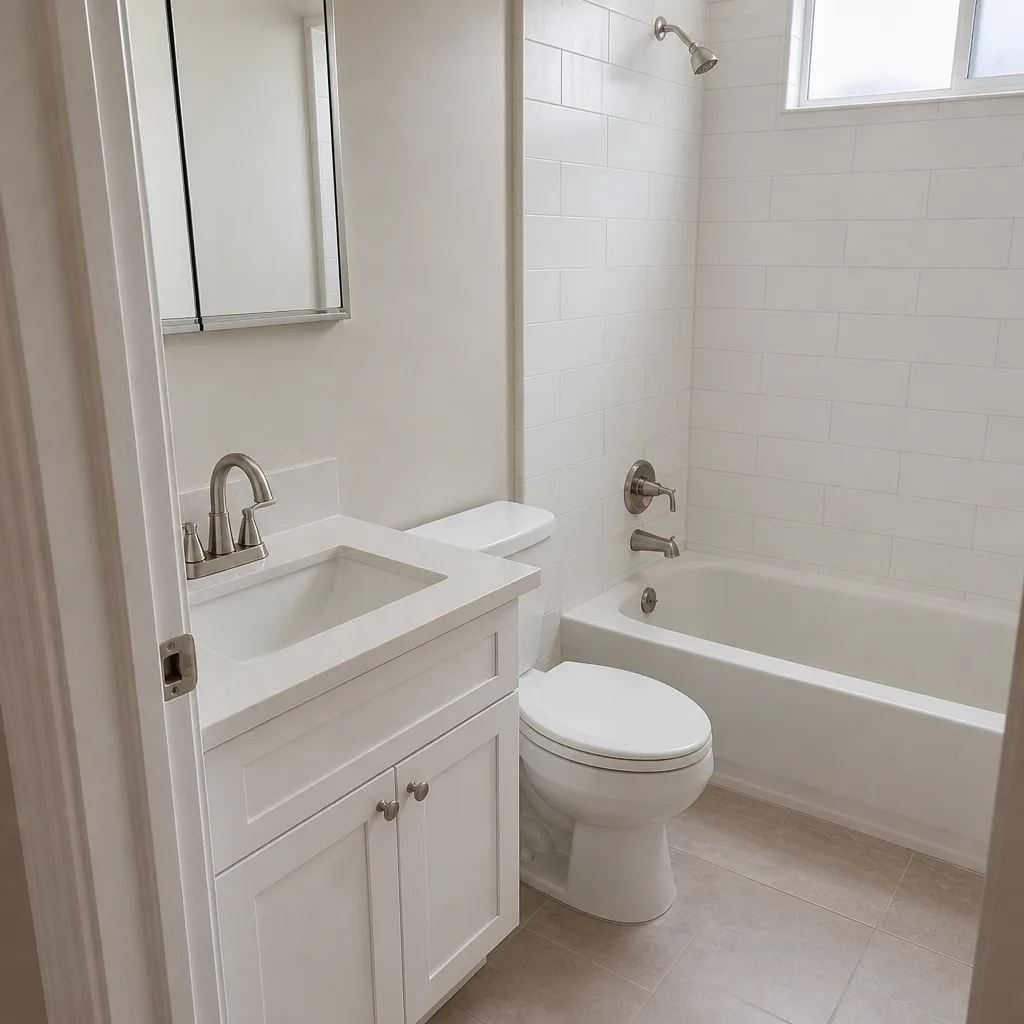 After
When to Call a Professional
Call a licensed professional when the diagnosis points to a failure behind the tile, under the floor, or in the wall cavity. If your flood test shows water loss, if the tile field sounds hollow, if the ceiling below the bathroom shows staining, or if mold is visible in the wall cavity, the fix is not a repair call. It’s a rebuild with permits, inspection, and a documented scope. Call us sooner if the contractor who did the original work has stopped responding, because a documented defect needs a licensed second opinion before the trail goes cold.
Groundwork Construction Co. of San Jose offers free estimates in San Jose – call (833) 988-3521. Our calls are answered by a live person 24/7, and every project is covered by our 730-Day Done Right Promise. Upfront pricing, no surprises, from the first inspection to the final walkthrough.
Frequently Asked Questions

Run a 24-hour flood test with the drain plugged and one inch of water in the pan. If the water level drops and no water shows at the ceiling or adjacent wall, the leak is likely grout or caulk. If water appears below or beside the shower, the membrane or drain flange is failing and the shower needs to be opened up. Call (833) 988-3521 for a free estimate if the test points to a membrane problem – the repair scope needs a licensed evaluation.
New tile cracks within a year usually mean the substrate moved: a joist that wasn’t stiffened, a backer board that wasn’t properly screwed, or a missing expansion joint at the perimeter. A straight crack along a grout line suggests a missing expansion joint. A diagonal or spiderweb crack suggests deflection in the floor. Either way, the fix is structural, not cosmetic, and a free estimate will tell you which one you’re dealing with.
Lower pressure after a remodel usually traces to a cartridge that was installed with debris in the screen, a supply line that was downsized during rough-in, or a shower head with a lower flow rating than the old one. Start by timing how long it takes to fill a one-gallon bucket at the tub spout versus the shower head. If the spout is strong and the head is weak, the problem is downstream of the valve.
San Jose generally requires a permit when a bathroom remodel moves or replaces plumbing, electrical, or structural work. A cosmetic refresh – paint, caulk, a new vanity top – usually doesn’t. If the scope includes moving a drain, adding a circuit, or opening a wall, plan on permits and inspections. A licensed contractor will pull them before work starts, and the inspection record protects your resale.
Fixing a failed shower pan typically takes one to three weeks, depending on tile size, whether the wall tile stays or goes, and whether permits are required for the plumbing rework. The waterproofing layer needs time to cure before tile goes back on, so rushing the schedule is exactly how the second failure happens. Call (833) 988-3521 for an exact timeline after a free walkthrough.
Send written notice by email and certified mail describing the defect, the date you noticed it, and the remedy you’re requesting, with a 10 to 14 day response deadline. If the contractor still won’t respond, file a complaint with the California Contractors State License Board, which investigates workmanship and contract violations against licensed contractors. Keep every photo, message, and invoice – a documented trail is the difference between a resolved claim and a dead end.
The Bottom Line
The problems that surface after a bathroom remodel is finished are almost always hidden-stage problems: waterproofing, substrate, rough-in, and ventilation. Diagnose the layer before you tear out a single tile, because a $30 regrout and a $6,000 rebuild look identical from inside the shower. Document everything in writing the day you notice it, and hold the contractor to the warranty you paid for. A 730-Day Done Right Promise in writing is only as good as the contractor willing to honor it, and at Groundwork Construction Co. of San Jose, we treat a warranty call as our job to close correctly. If a defect points to a rebuild, get a licensed evaluation before the damage spreads.
Written by the team at Groundwork Construction Co. of San Jose.