Last updated November 18, 2026
Free written scope consultation - allowances, timeline, and change-order rules on paper before a single trade is scheduled
DIY vs Professional Bathroom Remodeling: What’s Safe to Do Yourself
Here’s a fact that surprises most homeowners: the leading cause of bathroom water damage claims isn’t a burst pipe or a failed supply line. It’s tile work installed over missing or improperly applied waterproofing. The shower looks finished. It passes the eye test for a year or two. Then the subfloor softens, mold colonizes the wall cavity, and a $400 weekend project turns into a five-figure remediation. In San Jose, where older homes often have original 1950s plumbing and tight crawl spaces, that failure mode is common. This guide draws a hard line between the cosmetic work a capable homeowner can absolutely handle and the work where amateurs reliably create expensive problems. You’ll learn what’s genuinely DIY-safe, what San Jose code forbids you from touching, and how to spot a tutorial that teaches shortcuts.
Quick Answer
Painting, swapping a mirror, and replacing hardware are safe DIY bathroom projects. Anything involving waterproofing, tile in wet areas, plumbing relocation, electrical work in wet zones, or structural changes is professional territory. In San Jose, moving plumbing fixtures or adding circuits legally requires permitted, licensed work, and skipping permits creates real problems at resale.
Styles & brands we work with
- Kitchen remodeling
- Bathroom remodeling
- Home additions & ADU
- Roofing
- Windows & doors
- Driveway & pavers
- Fence
Table of Contents
- Where the DIY Line Actually Falls
- The Waterproofing Step Most DIYers Don’t Know Exists
- Permit-Required Work in San Jose You Can’t Legally DIY
- Three Bathroom Tasks That Are Genuinely DIY-Safe
- How to Tell a Code-Compliant Tutorial From a Shortcut
- The Real Cost Math: Pro Work vs. DIY Remediation
- Planning a San Jose Bathroom Remodel Around the Safe/Unsafe Split
Where the DIY Line Actually Falls
The DIY versus professional question isn’t really about skill. Plenty of homeowners are handy. It’s about consequence. Some bathroom tasks fail visibly and cheaply. A crooked tile trim you can redo. A paint drip you can sand. Other tasks fail invisibly, behind a finished wall, and by the time you notice, the damage has been compounding for months. The line falls exactly where a mistake becomes hidden, expensive, or unsafe.
Think of a bathroom as two layers. The finish layer – paint, fixtures, accessories, hardware – is forgiving. The systems layer – waterproofing, plumbing, electrical, structural framing – is unforgiving. The finishes sit on top of the systems. If the systems are wrong, the finishes hide the problem rather than solve it.
Here’s the practical split we use when talking with homeowners across San Jose:
- DIY-safe: Painting, caulking, mirror and accessory swaps, vanity hardware, towel bars, showerhead replacement (the head only, not the valve), regrouting a dry-area floor, swapping a light fixture where a junction box already exists and the circuit is off at the breaker.
- Pro territory: Shower and tub waterproofing, tile in any wet zone, moving or adding plumbing supply or drain lines, electrical work in wet zones, adding a fan or circuit, structural changes, glass shower enclosure installation, and any work requiring a permit.
- Genuinely dangerous: Opening a wall near old wiring, cutting into a drain stack, working in a panel, or demolishing a wall you haven’t confirmed is non-load-bearing. In San Jose’s older neighborhoods, this last one matters more than people expect.
That split is the whole guide in miniature. The rest explains why it holds and how to plan a remodel around it.
The Waterproofing Step Most DIYers Don’t Know Exists
This is the section worth reading twice. Most homeowners who tile a shower themselves believe the job is: cement board, thin-set, tile, grout. That sequence is missing the single most important layer. Cement board is not waterproof. Grout is not waterproof. Tile is not waterproof. Water vapor and liquid water pass through all three. What keeps the wall cavity dry is a continuous waterproofing membrane applied over the cement board before any tile goes down.
There are two common systems. One is a liquid-applied membrane rolled on in coats to a specific thickness. The other is a sheet membrane bonded to the substrate. Both work when installed to the manufacturer’s spec: correct thickness, correct cure time, correct overlap at seams, correct treatment at corners, curb, and drain flange. Both fail when installed by someone guessing. The failures aren’t dramatic. A missed corner. A drain flange bonded wrong. A seam that wasn’t overlapped. Water finds all three.
In our experience across San Jose bathrooms, the wet-wall waterproofing step is where DIY projects fail most often, and it’s the failure you can’t see until the damage is done. The homeowner tiled a beautiful shower. Two winters later, the subfloor near the drain is soft.
Here’s what a correct waterproofing sequence looks like when a professional does it:
- Demo down to studs and inspect framing and subfloor for existing rot.
- Replace any compromised framing; correct the slope of the shower pan to the drain.
- Install cement or foam backer board with the manufacturer’s specified fasteners and spacing.
- Apply the waterproofing membrane to spec, including all corners, seams, the curb, and the drain flange.
- Flood-test the shower pan where required.
- Only after the membrane cures and passes inspection, set tile.
Notice step six. Tile is the last thing. If a homeowner’s tutorial has tile going down on day two, before the membrane is even fully cured, that tutorial is teaching a shortcut.
Permit-Required Work in San Jose You Can’t Legally DIY
San Jose, like every California jurisdiction, ties permits to licensed work. Some of what a homeowner can legally self-perform depends on whether they occupy the home and whether the work is in a single-family residence. But make no mistake: moving plumbing, adding circuits, and altering structural elements require permits and inspections, and many of those permits require a licensed contractor to pull and sign off. This isn’t a technicality. It follows the home through resale.
What typically requires a permit in a San Jose bathroom remodel:
- Relocating or adding any plumbing supply or drain line.
- Adding, removing, or relocating an electrical circuit, receptacle, or light in the bathroom.
- Adding or relocating a bathroom exhaust fan tied to a new circuit.
- Removing or altering any wall without confirming it is non-load-bearing.
- Changing the size or location of a window.
- Converting a tub to a walk-in shower if it involves drain relocation.
What happens if you skip the permit? At resale, an unpermitted remodel is a disclosure item and often a negotiation problem. Buyers’ agents flag it. Lenders and appraisers can require the work to be brought into compliance before closing. San Jose’s building department can require a homeowner to open walls to inspect work that was concealed without a permit, which turns a finished bathroom back into a construction site. That’s the downside nobody mentions on a weekend tutorial.
If you’re planning a broader renovation that touches structure, our team’s work on Home Additions & ADU in San Jose follows the same permit-first discipline, and it’s the same reason we pull and pass every inspection rather than working around one.
Three Bathroom Tasks That Are Genuinely DIY-Safe
Good news for the weekend warrior. There are real projects here. They share one trait: they’re cosmetic and reversible.
1. Painting
A bathroom repaint is one of the best payback projects a homeowner can do. It’s also genuinely safe if you follow humidity rules. Use a bathroom-grade paint formulated for moisture, prime properly over any patched drywall, and give it the full cure time before the room sees shower steam. The honest limit: painting over failing caulk or peeling paint hides the problem for a few months. Address the moisture source first. And no amount of paint fixes a bathroom with no working exhaust fan – that’s a ventilation fix, not a paint fix.
2. Mirror and Accessory Swaps
Swapping a dated mirror for a framed one, updating towel bars, or replacing a medicine cabinet is well within reach. Drill into the stud or use the correct anchors for the wall type, and shut off power at the breaker if you’re within reach of a vanity light. The honest limit: if the new mirror covers a junction box that wasn’t previously covered, or if you’re moving a light fixture’s location rather than swapping it in place, that’s electrical work in a wet zone and it’s not yours to do.
3. Hardware Replacement
Cabinet pulls, faucet handles, showerhead heads (not the valve body), toilet seats, and robe hooks. These are true DIY wins. A showerhead swap takes fifteen minutes with Teflon tape. The honest limit: the valve body behind the handle, the rough-in plumbing, and anything behind the wall is professional work. A leaking valve cartridge looks like a faucet handle job until the wall behind it opens up.
That’s the DIY-safe list. It’s not long. It’s honest. The good news is that painting, lighting, and hardware account for a disproportionate share of the “wow” a bathroom delivers for the money.
How to Tell a Code-Compliant Tutorial From a Shortcut
YouTube is a legitimate resource. We’ve seen plenty of tutorials that match how a pro approaches a job. We’ve also seen plenty that teach a shortcut that visually passes but fails structurally. The difference is usually obvious if you know what to look for. Here’s a short checklist for vetting any tutorial before you follow it:
- Does the presenter name their code reference or manufacturer spec? A pro cites the code section or the membrane manufacturer’s published installation instructions. A shortcut tutorial says “this is how I do it.”
- Does the tutorial show the waterproofing layer? If tile goes on without a membrane and a flood test shown, close the tab.
- Are permits mentioned? Any tutorial that touches plumbing, electrical, or structure without discussing permits is teaching you to skip them.
- Does the presenter show the failure mode? Real pros show you what goes wrong when the step is skipped. Shortcut tutorials only show the shiny finished product.
- Is the demo taken down to studs? If the tutorial starts at “assume the walls are prepped,” it’s skipping the assessment step where real problems get found.
- Does it distinguish between wet zones and dry zones? A tutorial that treats a shower wall the same as a bathroom floor tile job is teaching a shortcut.
The single most useful filter: if a tutorial finishes in one day and skips the waterproofing cure time, it’s a shortcut. There’s no workaround for cure time.
The Real Cost Math: Pro Work vs. DIY Remediation
Here’s where the DIY calculus gets interesting. Homeowners compare the pro quote against the DIY materials bill. The honest comparison is the pro quote against DIY materials plus the probability-weighted cost of remediation. Once you weight for the failure rate on waterproofing and hidden plumbing, the DIY savings on wet work shrink fast. Sometimes it disappears entirely.
The pattern we see in San Jose: a homeowner saves on the tile and shower labor, then pays more later to open the wall, remediate mold, replace the subfloor, and redo the tile – this time with the waterproofing done right. The remediation bill usually lands well above the original pro quote, before factoring in the months of construction.
A realistic comparison looks like this (ranges reflect what we see in the San Jose market for typical hall or guest bathrooms):
- Pro waterproofing and tile on a shower surround (labor and materials): the largest line item in a wet-area remodel, and the one most worth professional attention.
- DIY waterproofing and tile with material savings: saves on the labor line, but shifts all failure risk onto the homeowner.
- Waterproofing failure remediation: opening the wall, mold remediation, subfloor replacement, re-tile – typically multiplies the original tile cost several times over.
- Unpermitted work at resale: can stall a sale, trigger a re-inspection demand from San Jose’s building department, or force disclosure negotiation.
If you’re pricing a full bathroom renovation, the smart split is to invest pro dollars where failure is expensive (waterproofing, plumbing, electrical, permits) and save DIY dollars where failure is cheap (paint, hardware, accessories). That split is exactly how we approach Groundwork Construction Co. of San Jose home projects – scoped to the work that has to be right, with the homeowner keeping the cosmetic wins.
Planning a San Jose Bathroom Remodel Around the Safe/Unsafe Split
San Jose’s housing stock varies widely, and the plan should match the house. A 1950s ranch in Willow Glen has different plumbing and electrical realities than a newer build out toward Evergreen. A home in the Alum Rock foothills deals with different humidity swings than a downtown condo. The DIY-safe list is the same everywhere. The complexity of the systems layer changes by neighborhood and decade of construction.
Here’s how to sequence a remodel that respects the split:
- Assess the systems first. Before any cosmetic work, get a professional read on the plumbing, electrical, ventilation, and waterproofing. This is where the real budget lives.
- Pull permits for anything that requires them. Plumbing relocation, added circuits, and structural changes all get permitted and inspected.
- Sequence the finish work after the systems pass. Painting, hardware, and accessories go in last.
- Handle the cosmetic work yourself if you want. Painting, mirror swaps, and hardware replacement are genuine DIY wins.
- Hold the line on wet-zone tile. If your pro’s scope stops at waterproofing and you want to tile yourself, get that in writing and confirm the membrane is completed and passed before you set tile.
That last step is where many DIY projects go wrong: a homeowner takes over tile work mid-project without confirming the waterproofing is finished, dry, and inspected. Confirm it in writing before you pick up a trowel.
If your bathroom project is part of a larger renovation, the same sequencing discipline applies to our Driveway & Pavers in San Jose and Fence Installation in San Jose work, and the same 730-Day Done Right Promise covers the finished result.
Common Mistakes to Avoid
- Assuming cement board is waterproof. It isn’t. Neither is grout. The waterproofing membrane is the layer that matters, and skipping it is the single most common cause of hidden bathroom water damage in San Jose homes.
- Following a tutorial that shows tile going down before the membrane fully cures. Cure time is not negotiable. If the tutorial skips it, it’s teaching a shortcut that fails structurally.
- Moving a fixture without a permit. Relocating a shower drain or adding a vanity circuit in San Jose requires permitted, licensed work. Skipping it creates a resale disclosure problem that outlasts the remodel.
- Painting over failing caulk or a growing mold spot. The paint hides the problem for a few months. The moisture keeps working behind it. Fix the source before you paint.
- Assuming “no visible leaks” means the job is fine. Waterproofing failures are invisible. A leaking valve cartridge, a drain flange bonded wrong, or a seam that wasn’t overlapped shows up months later as soft subfloor.
- Tearing out a wall to open up the bathroom without confirming it’s non-load-bearing. In San Jose’s older homes, load paths are not always where you’d expect, and this is where a DIY project becomes a structural project.
- Taking over a pro’s scope mid-project without written confirmation of what was completed. If you’re inheriting tile work from a pro who did the waterproofing, get it in writing that the membrane is complete and inspected before you start.
See the difference
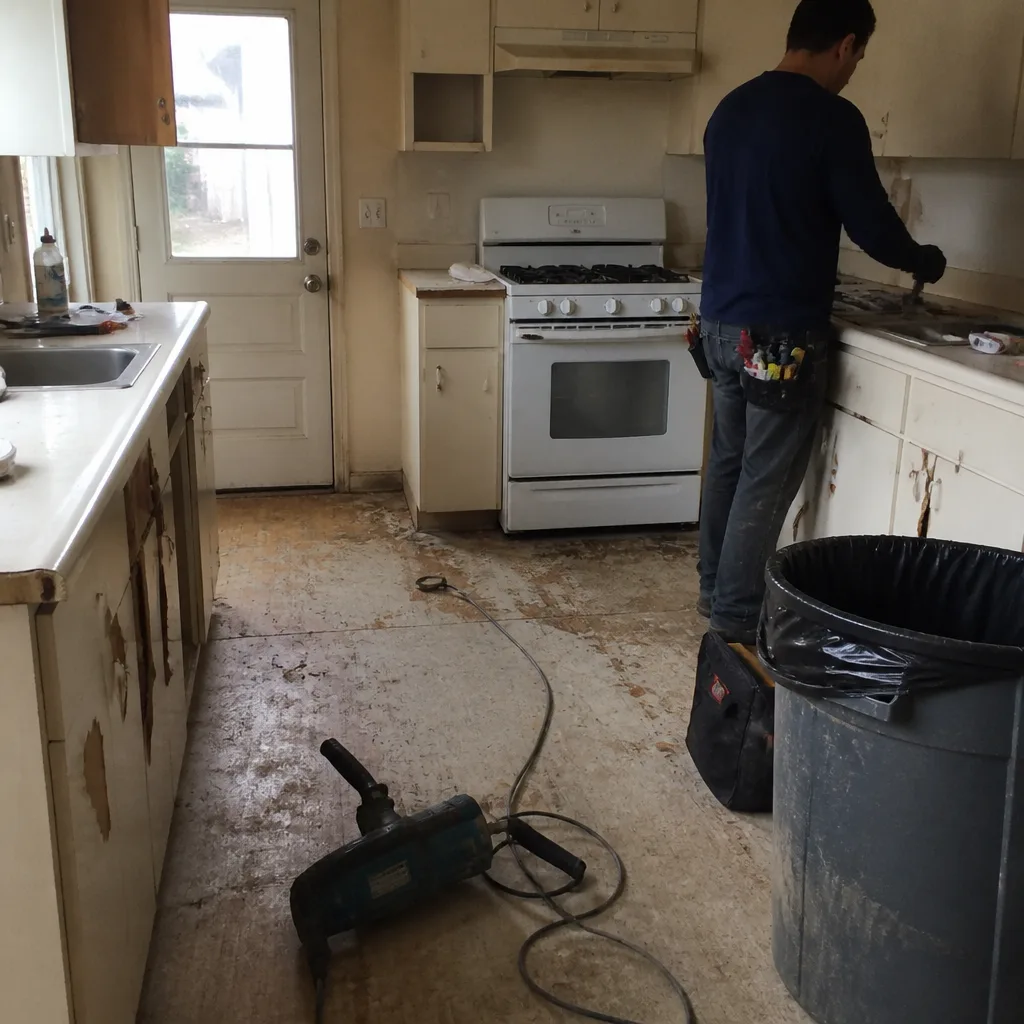 Before
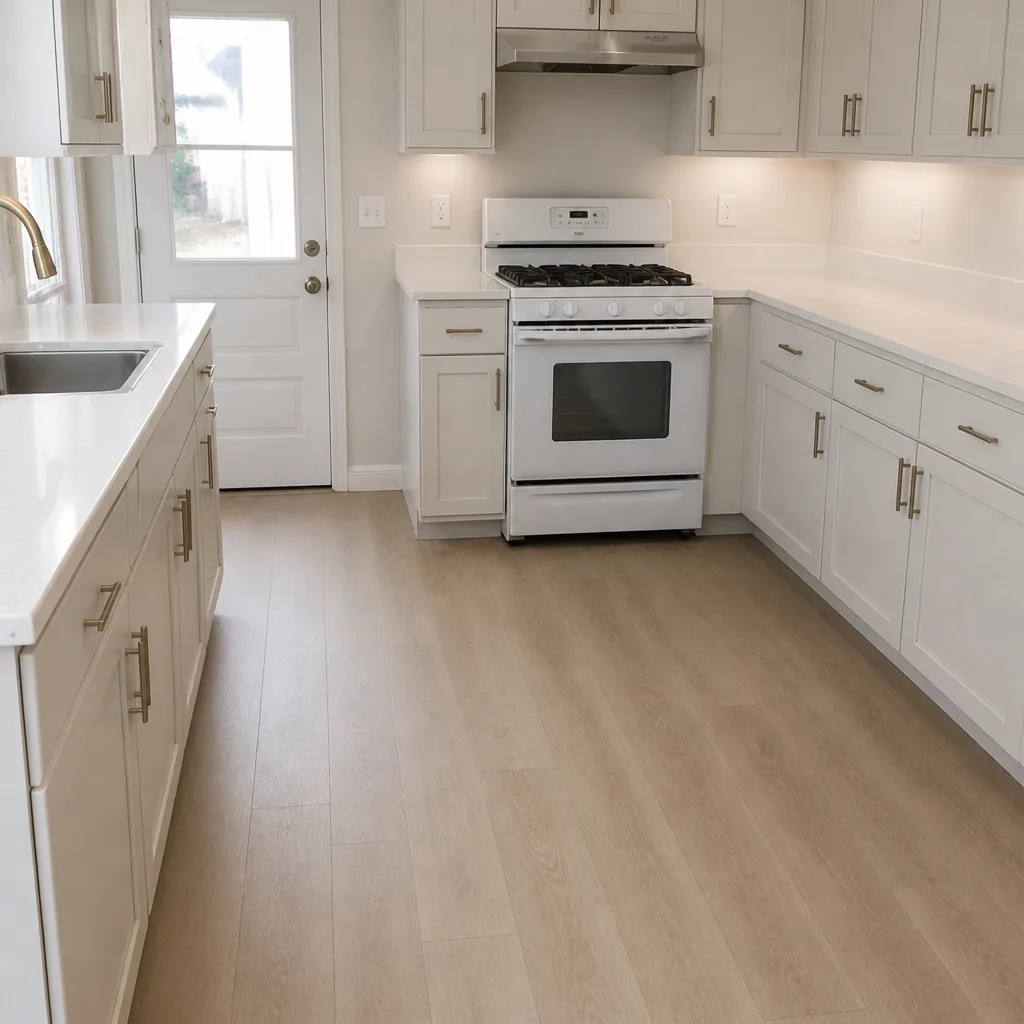 After
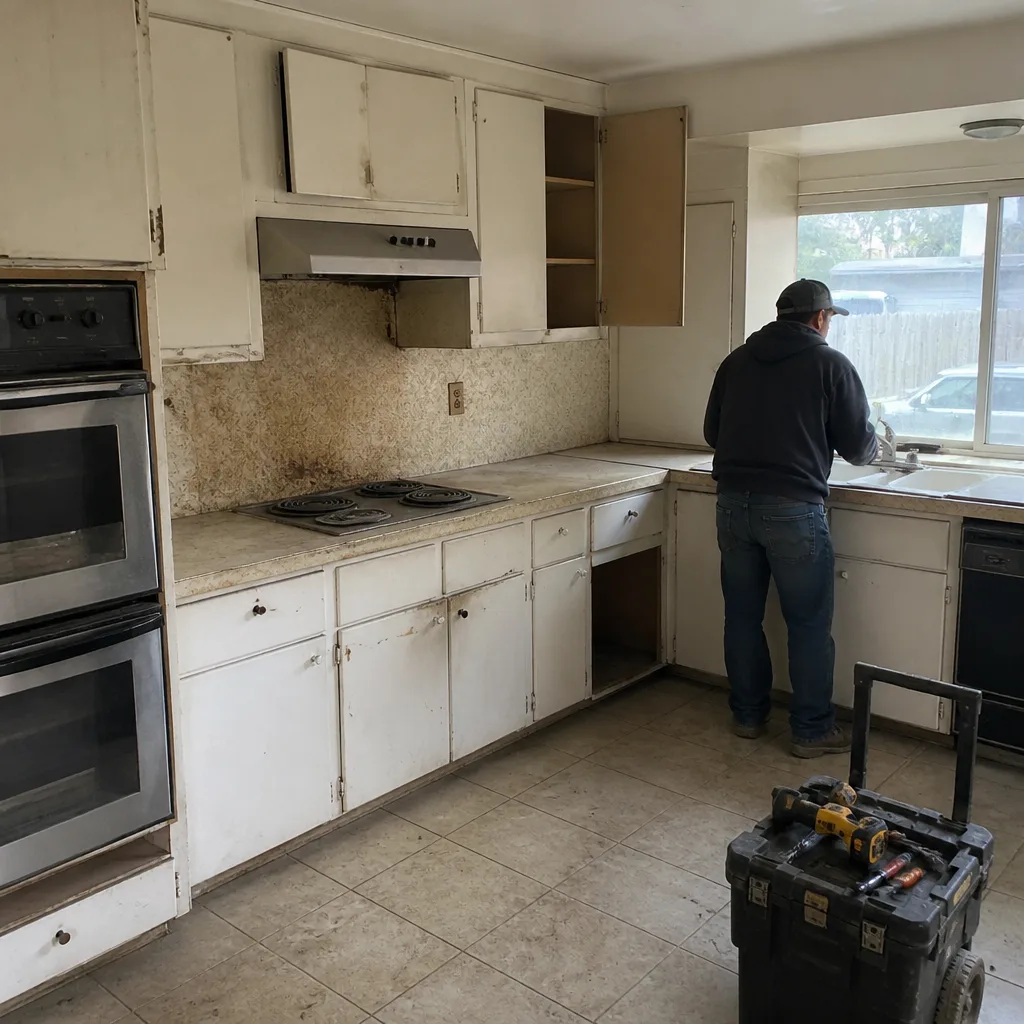 Before
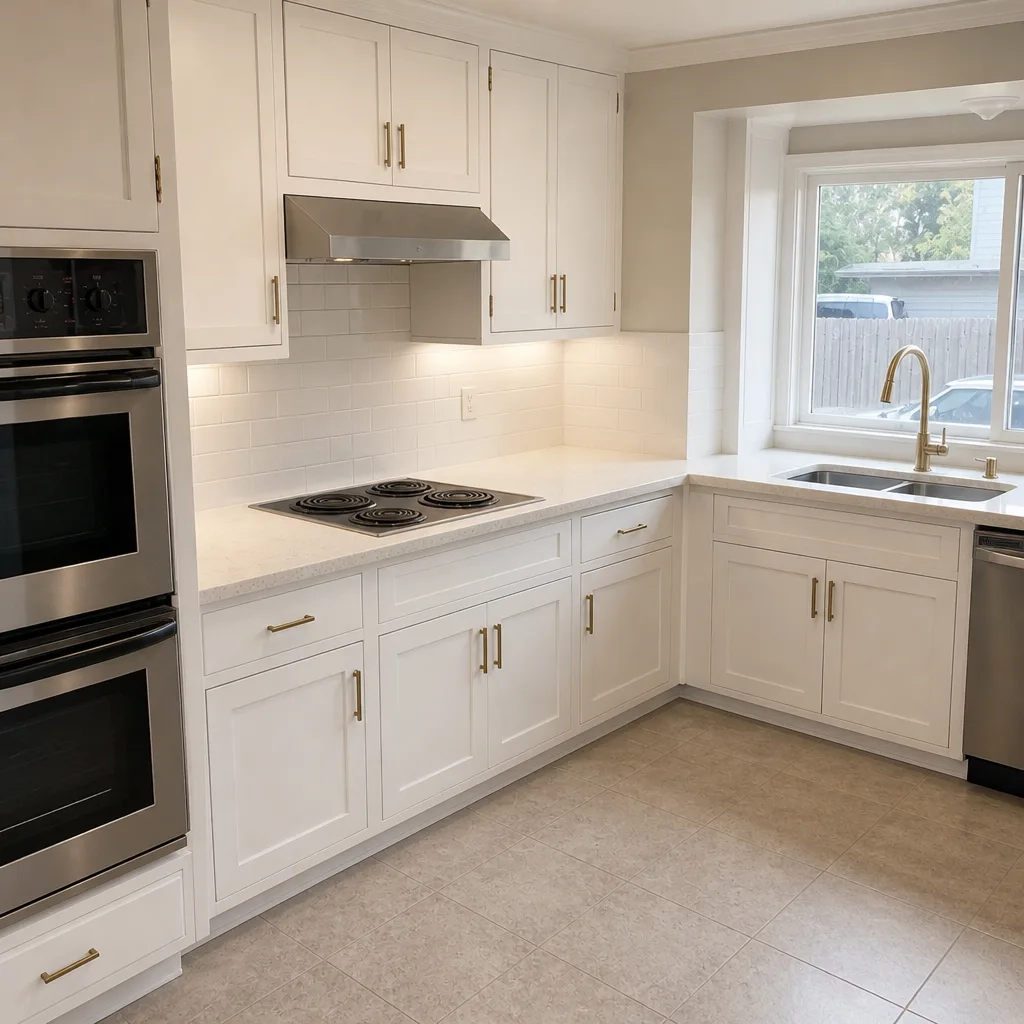 After
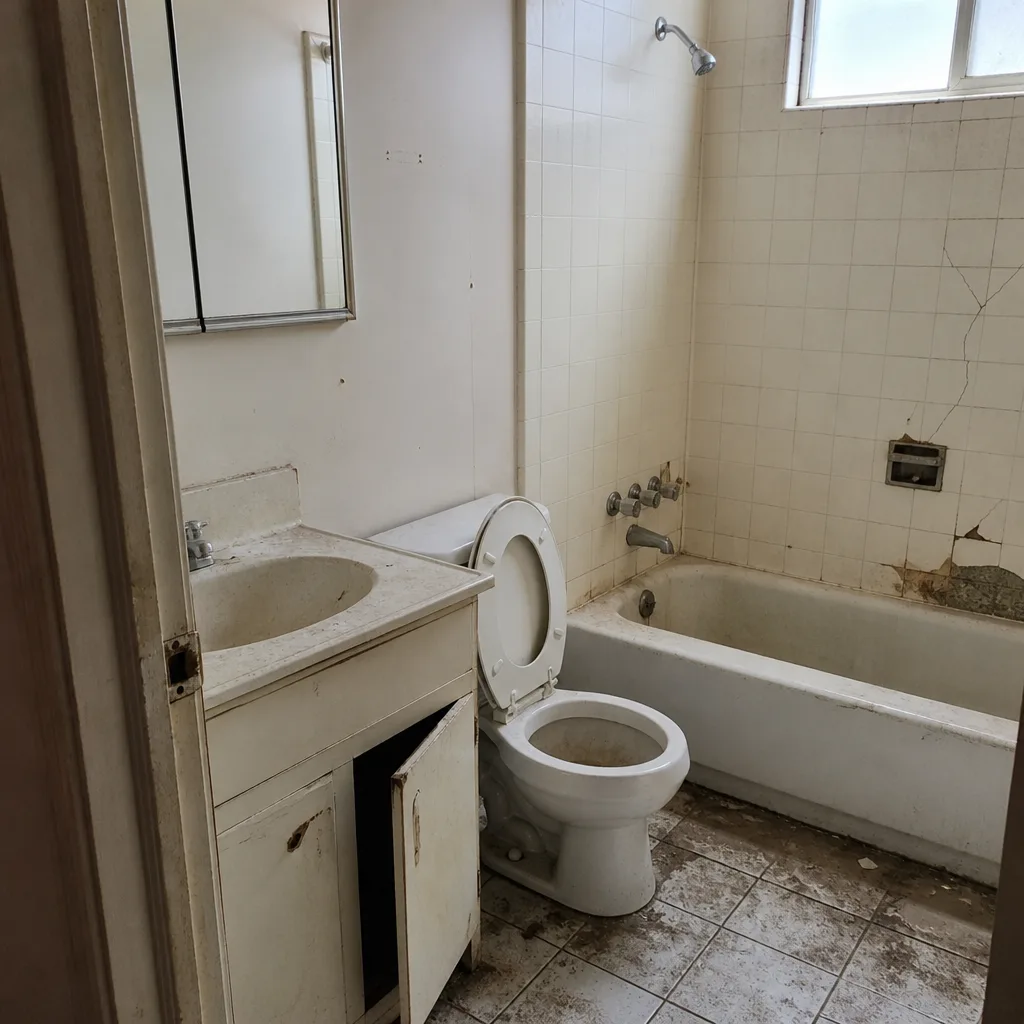 Before
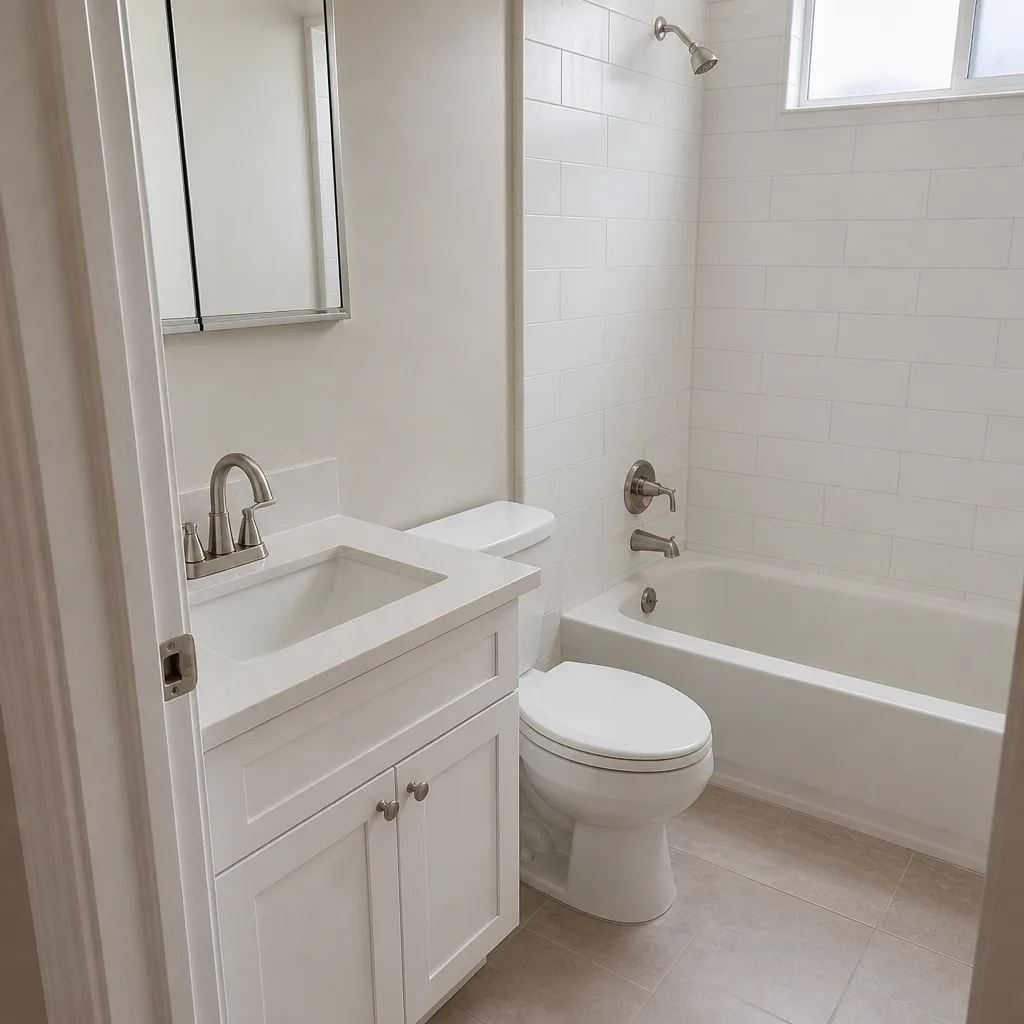 After
When to Call a Professional
Call a professional when the work is wet, load-bearing, permitted, or hidden. That includes: any shower or tub waterproofing; any tile in a wet zone; any plumbing relocation or new supply/drain line; any electrical work in the bathroom; any exhaust fan addition or relocation; any structural wall removal; any glass shower enclosure installation; and any project where you’re not certain which of those categories applies. If your bathroom is part of a larger renovation, structure and permitted work enter the picture immediately.
We’ve seen enough failed DIY waterproofing in San Jose to be direct about it: the cost of doing this part right is small compared with the cost of doing it yourself and redoing it. Groundwork Construction Co. of San Jose offers free estimates in San Jose – call (833) 988-3521. A live person answers 24 hours a day, seven days a week, and technicians arrive background-checked and in uniform. Our team will scope the work to the systems layer so the DIY-safe cosmetic projects stay yours.
Frequently Asked Questions
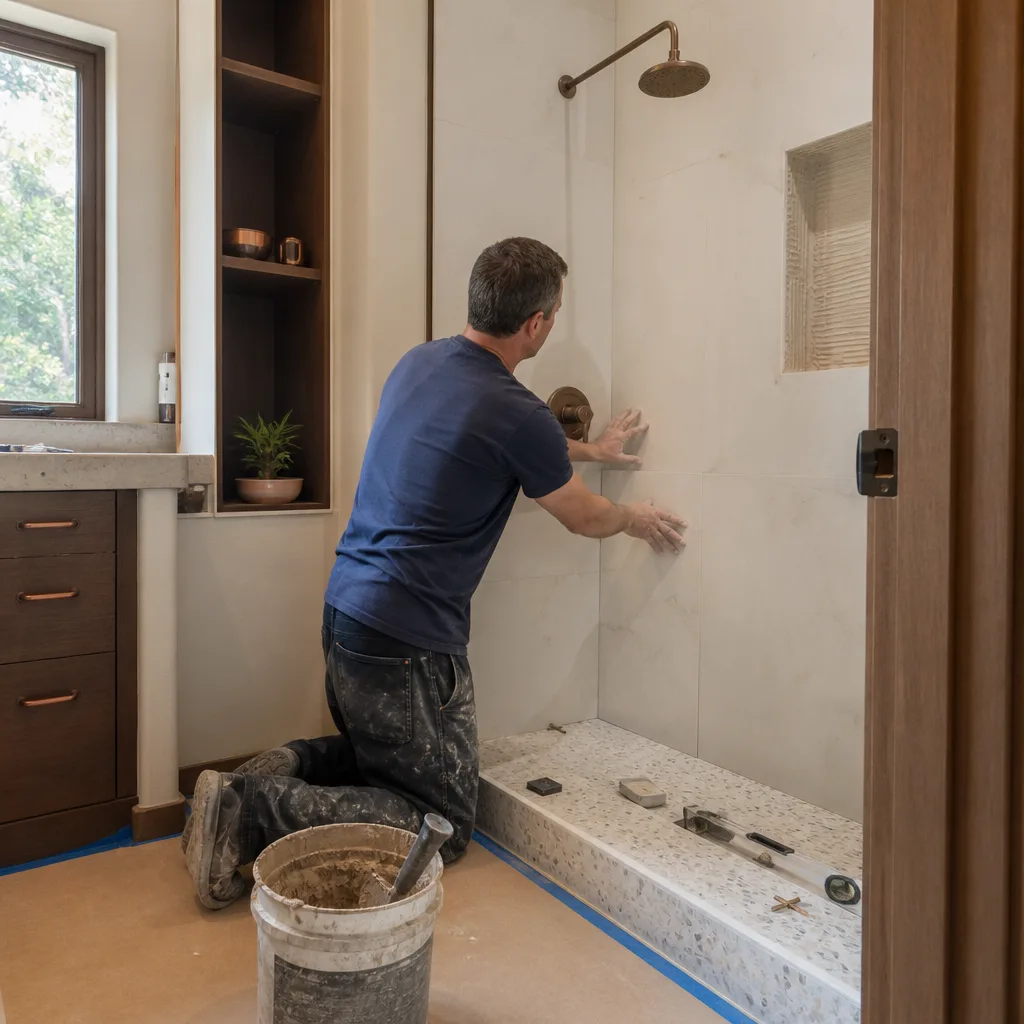
Tile setting itself is often legally self-performable in a single-family owner-occupied home, but the waterproofing, plumbing, and any permit-required work behind it must be done to code and inspected where the permit requires. The practical answer: confirm the membrane is completed, cured, and inspected before you set any tile, and get that in writing if a pro handled the waterproofing. Call (833) 988-3521 if you want a licensed pro to scope the waterproofing layer for you.
Skipping or improperly installing the waterproofing membrane behind shower tile. It passes visual inspection for a year or more, then shows up as soft subfloor, mold, and a remediation bill several times the original cost. In San Jose homes, the failure often compounds through a winter of cycling moisture before it’s noticed.
Relocating a sink typically involves moving supply and drain lines, which is permit-required plumbing work and requires a licensed contractor. Small cosmetic changes like swapping a faucet body or vanity hardware usually do not. When in doubt, ask the building department or a licensed pro before demolition. Call (833) 988-3521 for a free estimate on the plumbing scope.
The cosmetic layer – painting, mirrors, hardware, accessories – is genuinely worth DIY. The systems layer is not. Do the math on what happens if the waterproofing fails and the numbers stop favoring DIY. Most homeowners find the right split is cosmetic DIY plus professional systems work.
Look for tutorials that name the manufacturer spec or code section, show the waterproofing layer, discuss permits, and distinguish wet zones from dry zones. Skip anything that shows tile going down before the membrane cures. A pro tutorial shows the failure mode; a shortcut tutorial shows only the finished product.
Have a licensed pro inspect it before you go further. A trained eye can spot a missing corner, a bad drain flange bond, or a seam that wasn’t overlapped. It’s cheaper to rebuild the membrane now than to rebuild the bathroom after a failed flood test or a leaking shower. Groundwork Construction Co. of San Jose offers free estimates – call (833) 988-3521.
The Bottom Line
The DIY versus pro question isn’t about how handy you are. It’s about what a mistake costs. Painting, mirror swaps, and hardware are genuinely yours to do. Waterproofing, wet-zone tile, plumbing, electrical, structural work, and anything permit-required is not. San Jose code and resale reality both enforce that split. Our technicians have up to 12 years of experience diagnosing exactly where a bathroom project needs pro attention and where it doesn’t, and projects come backed by the 730-Day Done Right Promise. From foundation to finish line, built to last and backed in writing. Call (833) 988-3521 for your free estimate.
Written by the team at Groundwork Construction Co. of San Jose.