Last updated November 18, 2026
Free written scope consultation - allowances, timeline, and change-order rules on paper before a single trade is scheduled
DIY vs Professional Driveway & Pavers: What’s Safe to Do Yourself
The paver laying itself is the easy part. A homeowner with a good eye and steady hands can set stones beautifully, straight lines and all. The base compaction, though, is where most DIY driveway failures start: it takes a plate compactor making multiple passes at the right moisture content, and shortcuts there show up as settling, rutting, and loose pavers a season or two down the road. In this guide we draw the line where the actual failures happen, phase by phase, so you know what’s safe to take on yourself in San Jose and what will cost you more than you save.
Quick Answer
You can safely handle layout, marking, and some cutting and setting on a paver project. You should not tackle excavation or base compaction on your own, because those phases need equipment most homeowners can’t rent or run effectively, and they’re where almost every DIY driveway fails. For a full driveway in San Jose, the smart middle path is a hybrid: hire out the excavation and base, do the finish work yourself if you want, and let a licensed pro handle anything tied to permits or resale value.
Styles & brands we work with
- Kitchen remodeling
- Bathroom remodeling
- Home additions & ADU
- Roofing
- Windows & doors
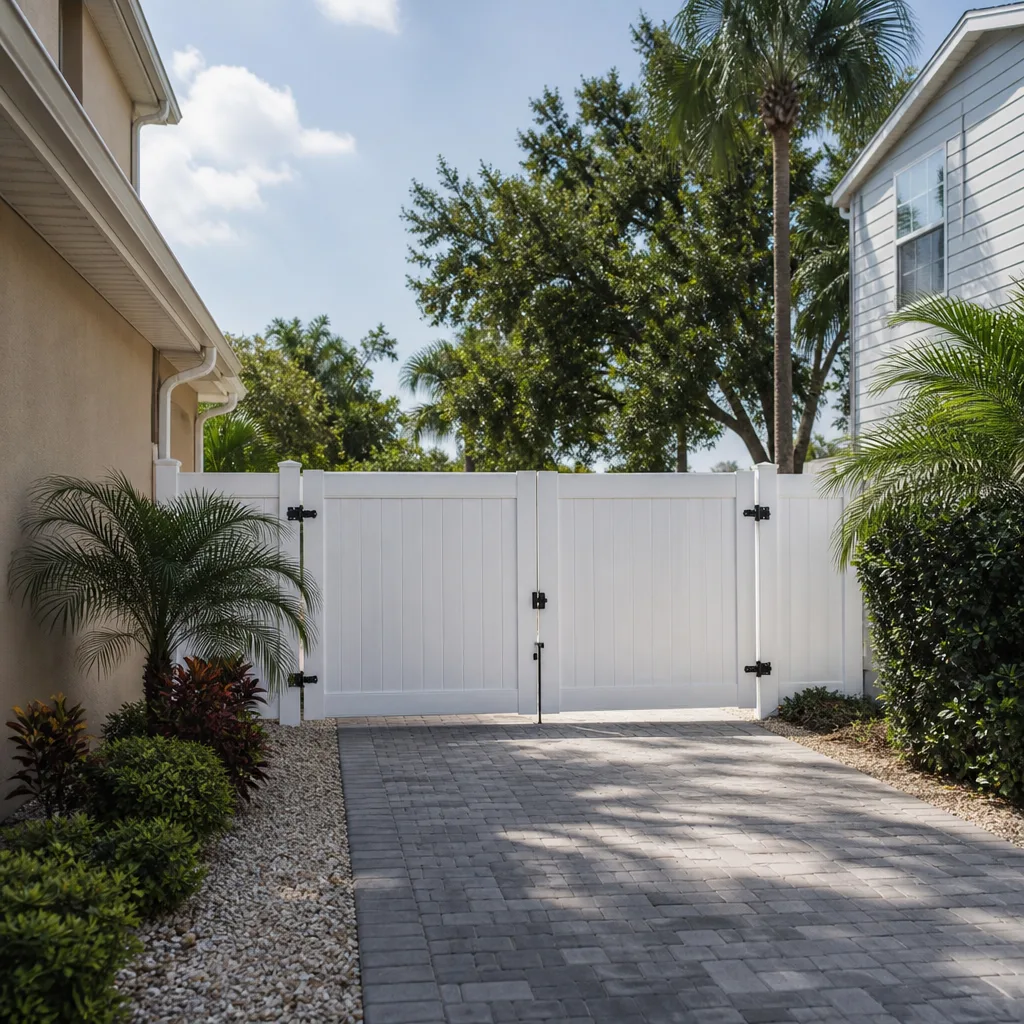
- Driveway & pavers
- Fence
Table of Contents
- Which Phases Are Safe to DIY and Which Aren’t
- The Three Physical Realities YouTube Leaves Out
- The Hidden Cost of a DIY Paver Driveway
- Hybrid Approaches That Actually Work
- San Jose Permits and Your Resale
- Why San Jose’s Soil and Climate Change the Math
- Common Mistakes to Avoid
- When to Call a Professional
Which Phases Are Safe to DIY and Which Aren’t
Break a paver driveway into its phases and the line becomes obvious. Some of them reward patience and a good eye. Others punish anything short of commercial-grade equipment and a trained crew, and the punishment doesn’t show up until the second rainy season.
Safe for a careful DIYer:
- Layout and marking. Staking the driveway outline, checking square, and confirming slope away from the house is slow, careful work that doesn’t require heavy tools.
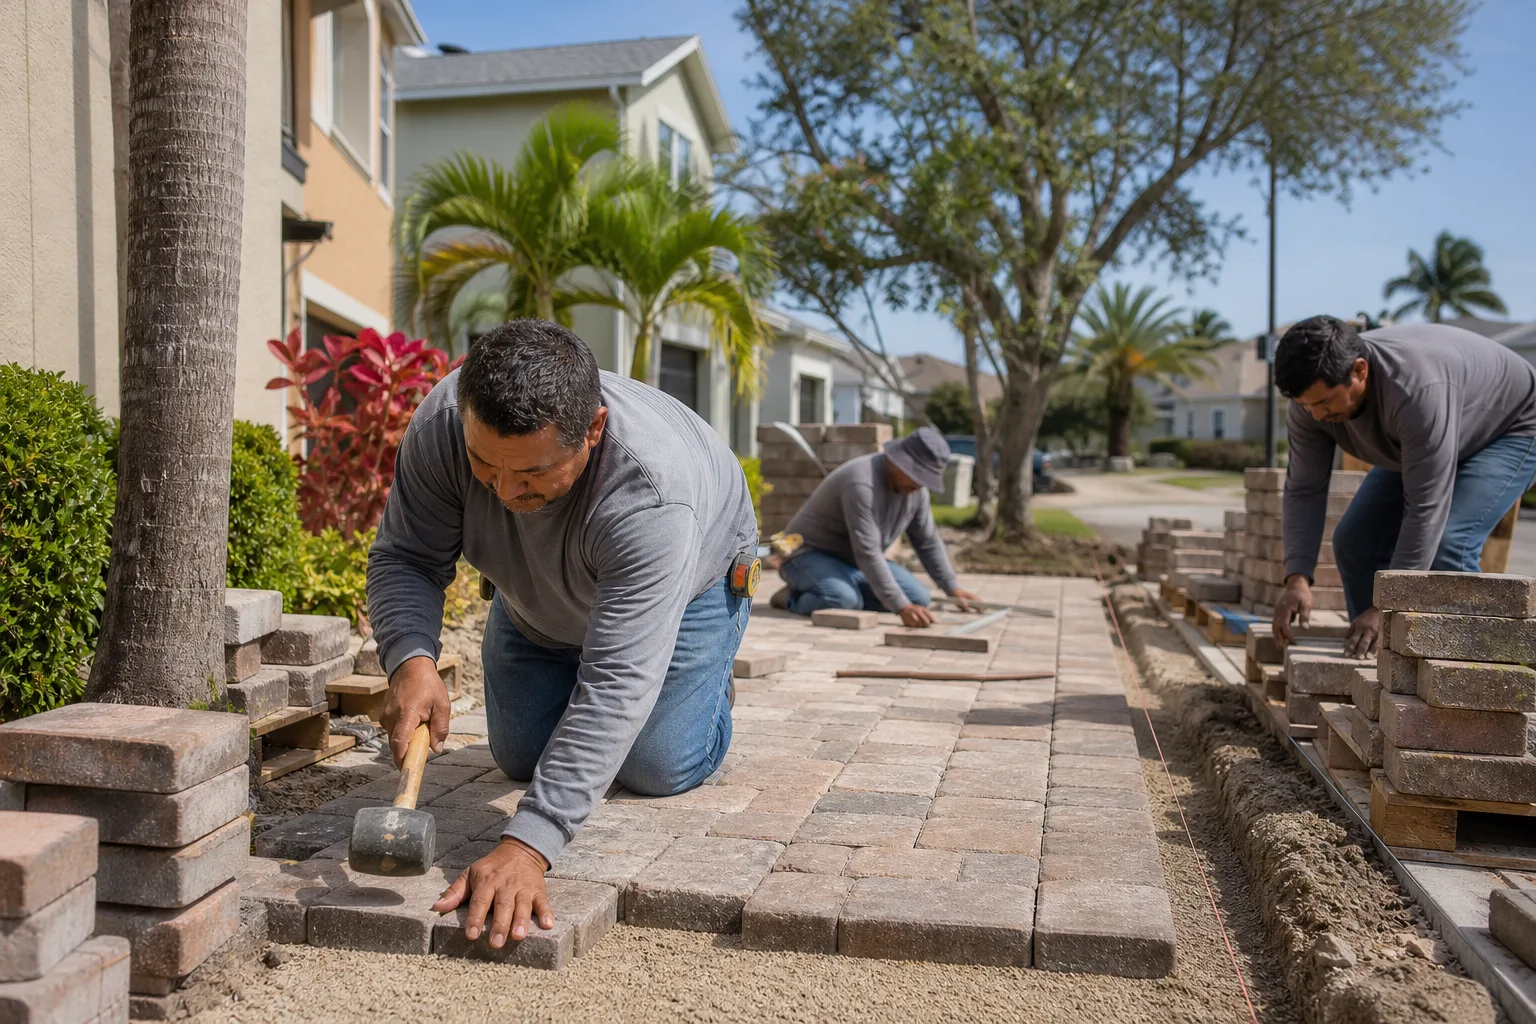
- Setting pavers. Once the base is perfect and the bedding sand is screeded, laying and tapping pavers into place is genuinely doable. It’s repetitive but forgiving.
- Some cutting. A wet saw rented for the weekend handles most edge cuts. Complex curves and tight radius work are where experience and the right blade earn their keep.
- Sweeping in polymeric sand. Filling joints and misting the surface is homeowner-friendly work, provided the base underneath was done right.
Not safe or cost-effective to DIY:
- Excavation. A paver driveway needs 6 to 9 inches of material removed and hauled away. A rented mini-excavator plus a dumpster rental runs $600 to $1,200 for a typical San Jose two-car driveway before you’ve laid a single stone, and operators who’ve never run one lose a day to the learning curve.
- Base compaction. This is the phase that separates a driveway that lasts from one that settles. It needs a plate compactor making a minimum of four passes over aggregate base, layered 2 to 4 inches at a time, at the right moisture content. A jumping jack tamper or a hand tamper will not get you there.
- Grading and drainage. Getting water to sheet away from the garage and the foundation requires a laser level and a sense of how water actually moves. Get it wrong and you’ll be pumping water out of your garage.
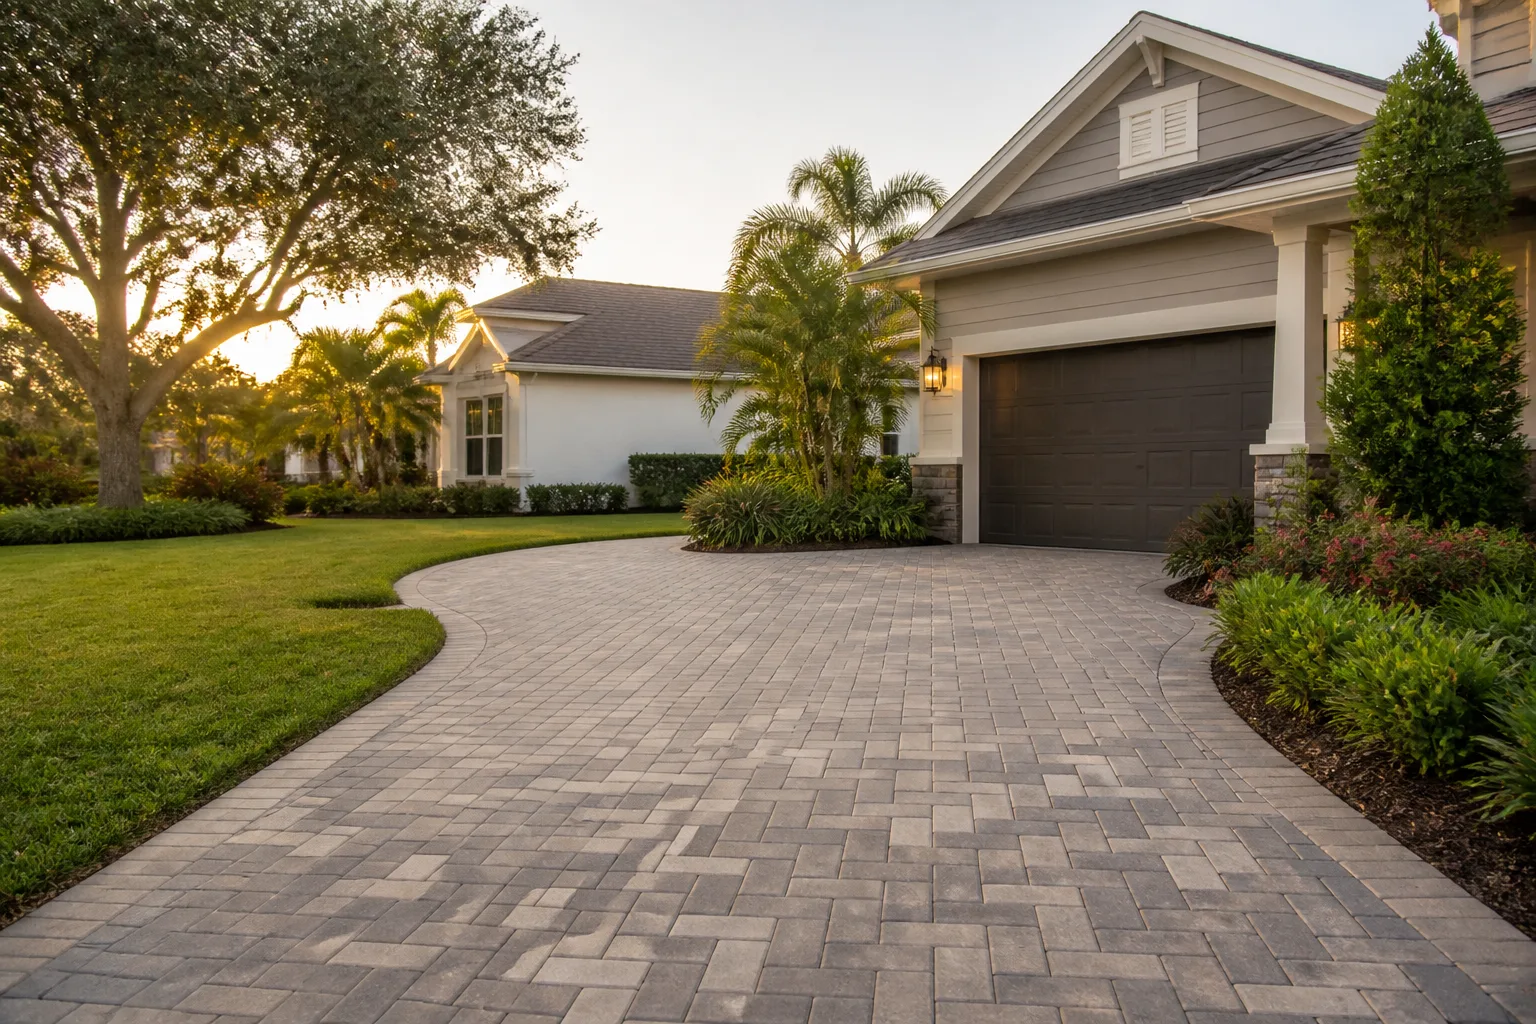
If you want to see what a properly phased driveway in San Jose looks like from excavation through the final compaction pass, our Driveway & Pavers in San Jose page walks through the sequence.
The Three Physical Realities YouTube Leaves Out
Every paver video on the internet is edited. The interesting parts get sped up, the tedious parts get cut, and the backbreaking parts get a cheerful voiceover. Here are the three things DIY channels consistently skip, and they’re the reason we get called to fix so many half-finished driveways around San Jose.
1. Compaction is a physics problem, not a “press hard” problem
A standard two-car driveway involves somewhere around 15 to 20 tons of aggregate base. That material needs to be compacted in lifts, which means placing 2 to 4 inches, wetting it to the right moisture, running the plate compactor in overlapping passes, and then doing it again layer after layer. Multiply that by the 6 to 8 inches of base depth a driveway actually requires and you’re looking at 12 to 30 square feet of ground being compacted four or more times over. It takes hours of physical work with a machine that weighs more than you do and vibrates hard enough to numb your hands.
2. The bedding layer is unforgiving
The layer of sand pavers sit on needs to be a consistent 1 inch across a perfectly flat, perfectly compacted surface. Screed it too thick and pavers will rock. Screed it too thin and you’ll fight edge restraint all day. A variation of half an inch across a 20-foot driveway will telegraph into the pavers underfoot within a year.
3. Your body isn’t a mini-excavator
A single pallet of pavers weighs about 3,000 pounds. Moving 3,000 pounds of stone by hand, one unit at a time, is a full day for one person and a chiropractor appointment the next. Multiply that by the number of pallets a driveway requires and the physical reality becomes clear. Most homeowners are looking at 6 to 10 pallets, or roughly 18,000 to 30,000 pounds of material handled one stone at a time.
That stack of realities is why our technicians – who have up to 12 years of experience on jobs like these – still show up with a full crew and commercial equipment. There’s no shortcut around the physics.
The Hidden Cost of a DIY Paver Driveway
The material and rental math sounds great on paper. A DIY driveway in San Jose runs $4 per square foot for materials and $600 to $1,200 for weekend rentals, versus a professional install at $14 to $22 per square foot. Multiply the difference across an 800-square-foot driveway and it’s easy to see why homeowners think they’ve found $8,000. Then the hidden costs land.
Here’s the honest ledger:
- Equipment rental with a learning curve. A plate compactor rental runs $90 to $150 per day, a wet saw $80 to $120, a mini-excavator $400 to $600, plus delivery. Lose two extra days learning to use the excavator and the rental bill climbs past $1,500 before you’ve laid a single paver.
- Material waste. Learning curves cost material. Cutting a paver three times for the same edge, misjudging sand quantities, and over-ordering base material because you don’t yet know how it compacts adds 10 to 15 percent to the materials bill.
- Redo risk. Here’s the number that hurts. If the base fails in two years – which happens on maybe a third of DIY driveways in San Jose, in our experience – you’re paying for demolition, haul-off, and reinstall. That’s a full second driveway bill.
- Time you can’t bill. A DIY driveway takes 4 to 6 weekends for a competent homeowner. A crew does it in 3 to 5 days. If you value your Saturdays at all, price that in.
Add it up honestly and the gap between DIY and professional shrinks to $2,000 to $3,500 on an 800-square-foot driveway – and that’s before factoring in the redo risk. The math only favors DIY on small patio-scale projects (under 300 square feet) where the base depth requirements are lighter and the compaction passes fewer.
Upfront pricing, no surprises, is what we build all our bids around. If you want to see the actual line items in a San Jose driveway bid rather than a lump sum, call (833) 988-3521 for a free estimate.
Hybrid Approaches That Actually Work
You don’t have to go all-in on either side. The best-value approach for a homeowner with time and some physical capability is the hybrid, where you hire out the phases that need equipment and skill and do the phases that reward patience.
- Hire out excavation and haul-off. This is the phase where the right machine does in four hours what would take you two weekends. Pay a pro for the dig, the grading, and the debris removal. Expect $2 to $4 per square foot for this phase in San Jose.
- Hire out base placement and compaction. This is the phase that determines whether the whole driveway works. Insist on a written compaction spec (number of passes, lift depth, moisture) and a plate compactor on site. Expect $3 to $5 per square foot for this phase.
- Do the setting yourself. With a perfect base and a screeded sand bed, laying pavers is a job you can do beautifully. Give yourself two full weekends for a two-car driveway.
- Hire out edge restraint and final compaction. Plastic or metal edge restraint keeps pavers from creeping, and the final plate-compactor pass over the finished surface seats everything. Both benefit from a pro’s equipment.
- Do the polymeric sand yourself. Sweeping, misting, and letting it cure is a finishing job you can own.
A properly scoped hybrid often saves a homeowner $2,000 to $4,000 versus full professional scope on an 800-square-foot driveway, and delivers a driveway the pros will actually stand behind on the parts that matter. It’s a good route if you’re capable, patient, and honest with yourself about the physical work.
San Jose Permits and Your Resale
Here’s the part most DIY guides never mention. In San Jose, replacing an existing driveway in kind usually doesn’t trigger a building permit. But any driveway work that affects drainage, changes impervious surface area, or ties into a new structure does get scrutinized, and the city’s stormwater requirements mean water leaving your property has to be managed. Widen a driveway, add pavers over what used to be lawn, and you may be creating a condition that shows up on a permit search.
Where unpermitted DIY work really bites is at resale. San Jose buyers and their agents are thorough. An unpermitted driveway addition or a converted parking pad that shows up in the county records as something else can trigger disclosure requirements, negotiation leverage, or in the worst case a city inspection order to remove the work. We’ve seen sellers scramble to legalize paver work done years earlier, and the cost of retroactive permits, inspection, and correction always dwarfs what the original permit would have cost.
If you’re doing the finish work yourself under a hybrid model, make sure the contractor who handles the excavation and base pulls any required permits and that the final inspection is signed off before you set a single paver. That final sign-off is your resale insurance. For homeowners planning a broader exterior project, the same permit discipline applies to fences and additions – our Fence Installation in San Jose page covers the fence side of that equation, and our Home Additions & ADU in San Jose page walks through permit sequencing on larger builds.
Why San Jose’s Soil and Climate Change the Math
San Jose is a forgiving climate for pavers in most respects, and that’s part of why so many homeowners think DIY is safe here. Sunny 300-plus days a year, mild winters, no freeze-thaw cycle. Not exactly Minnesota.
But the specific San Jose conditions cut both ways. Our soil runs from adobe clay in Willow Glen and Almaden Valley to sandy, gravel-heavy ground in Almaden and Los Gatos-adjacent hills. Clay holds water. When a driveway base is under-compacted over adobe clay, water pools under the pavers instead of draining, and the clay expands and contracts with the wet and dry seasons. That’s when settling shows up as rutting in the wheel paths and rocking pavers near the garage apron. We see this pattern most often in Willow Glen and the older Cambrian neighborhoods, where the original soil is heavy clay and the driveways are on the mature side.
Get the base compaction right over that clay, and San Jose pavers last 25 years or more. Get it wrong and you’ll be tearing them out in three. San Jose’s drainage code also expects runoff to sheet away toward the street or a landscape drain. On a level suburban lot in West San Jose, this is easy. On a slightly graded lot in the Evergreen foothills, redirecting water off the driveway and away from the foundation takes planning. Both the compaction and the drainage are phases a pro handles well and a homeowner typically fumbles on the first attempt.
Common Mistakes to Avoid
We’ve walked onto dozens of San Jose driveways with some of these specific issues. Avoid them and your project has a fighting chance.
- Going too thin on base depth. A paver driveway needs 6 to 8 inches of compacted aggregate base, not the 4 inches a patio needs. Skimping on this is the single biggest cause of driveway failure, and it’s exactly the shortcut that saves a DIYer the most money up front and costs them the most later.
- Skipping the plate compactor to save the rental. A hand tamper or jumping jack cannot achieve the same compaction as a plate compactor, no matter how many hours you dedicate. Rent the plate compactor or hire the base phase out – there’s no middle path.
- Compacting the base too dry or too wet. Aggregate base compacts best at a specific moisture content that feels like a wrung-out sponge. Too dry and it won’t lock; too wet and it turns to mush under the plate compactor. Get this wrong on a San Jose clay subgrade and you’ll be redoing it after the first wet winter.
- Screeding the bedding sand too deep. The sand layer under pavers should be 1 inch, not 2 or 3. Thick bedding sand feels forgiving to lay on but allows pavers to settle unevenly and rock within the first year.
- Forgetting edge restraint on the outside curve. Pavers on an outside curve want to migrate outward. Without proper edge restraint bedded in concrete, the edge creeps a half inch a year until the driveway looks ragged.
- Ignoring drainage away from the garage apron. Slope the driveway toward the street or a landscape drain, never toward your garage door. This is where a lot of San Jose driveways fail and where we end up doing water damage repair inside the garage.
- Using the wrong polymeric sand for the climate. Not all polymeric sands are equal, and the wrong formula on a San Jose driveway that sees 90-degree July afternoons will crack and dust away within a season. Choose a brand rated for hot climates and follow the cure instructions precisely.
If you want to see how a professional install handles each of these in sequence, our Groundwork Construction Co. of San Jose home is the easiest entry point to all seven of our service lines.
Air-Drying and Stockpiling: An Overlooked Detail
Pavers need to be installed dry, which means any cutting or wet-saw work you do should happen on a separate day with the pavers fully dried before setting. DIYers routinely lay wet-cut pavers the same day they cut them, and the moisture affects the bedding sand and the polymeric sand cure. Buy pavers a week ahead, stack them, keep them covered, and set them dry. Pallet quantities vary by brand – those specific numbers come from your supplier, but the rule is the same. Dry pavers set true.
See the difference
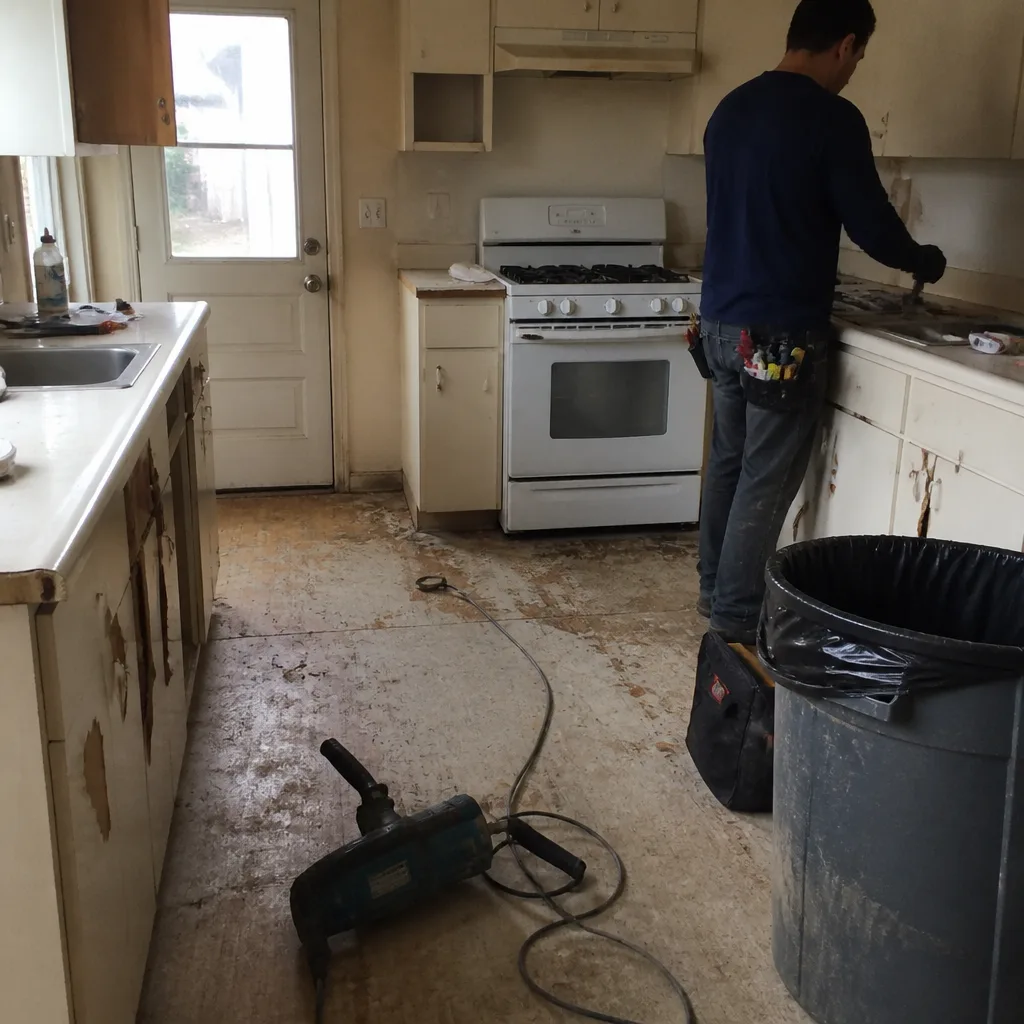 Before
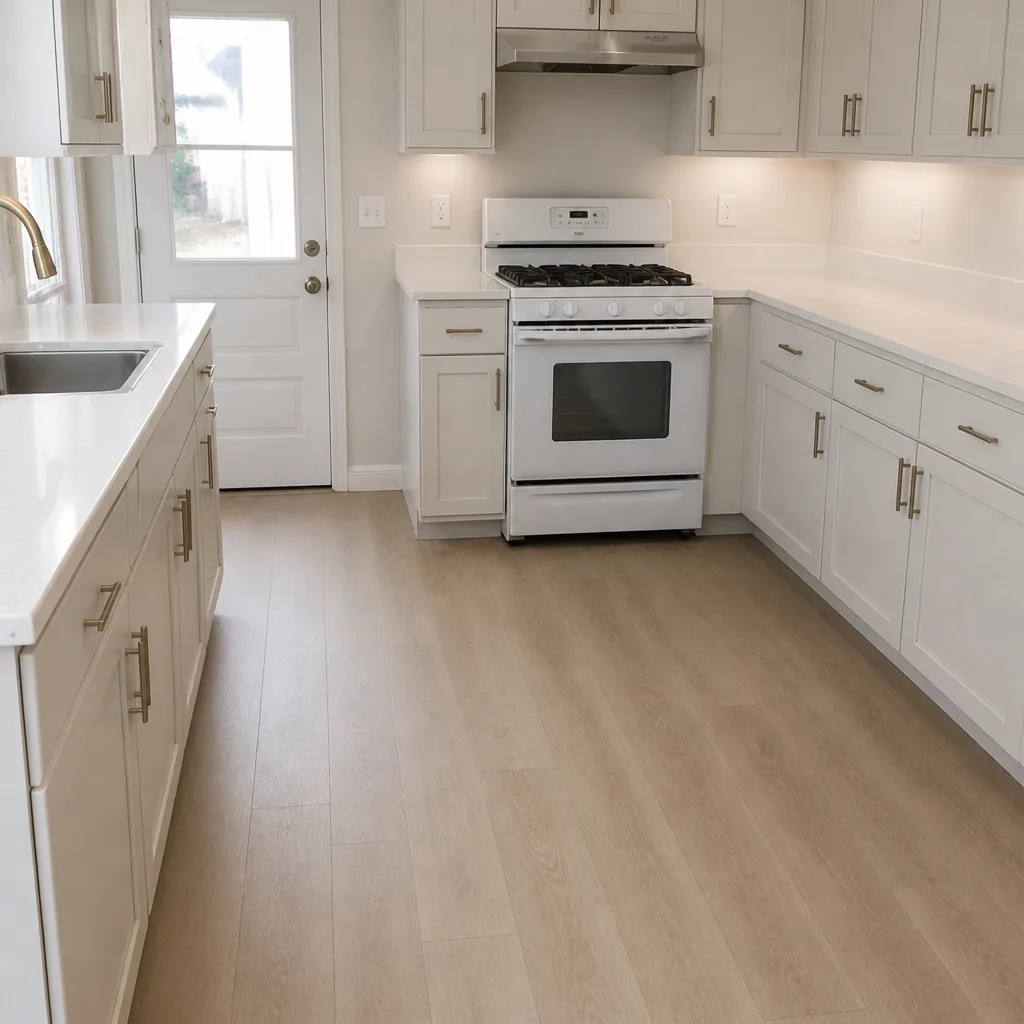 After
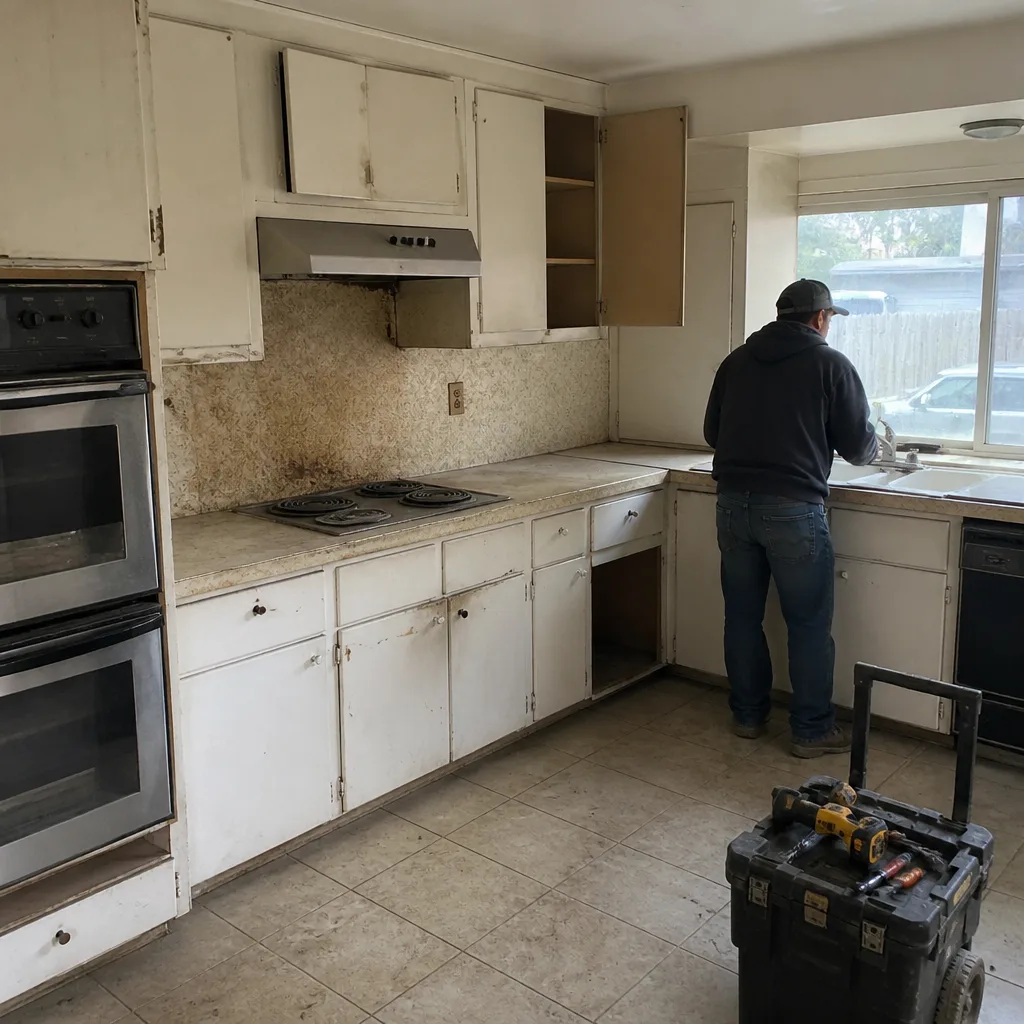 Before
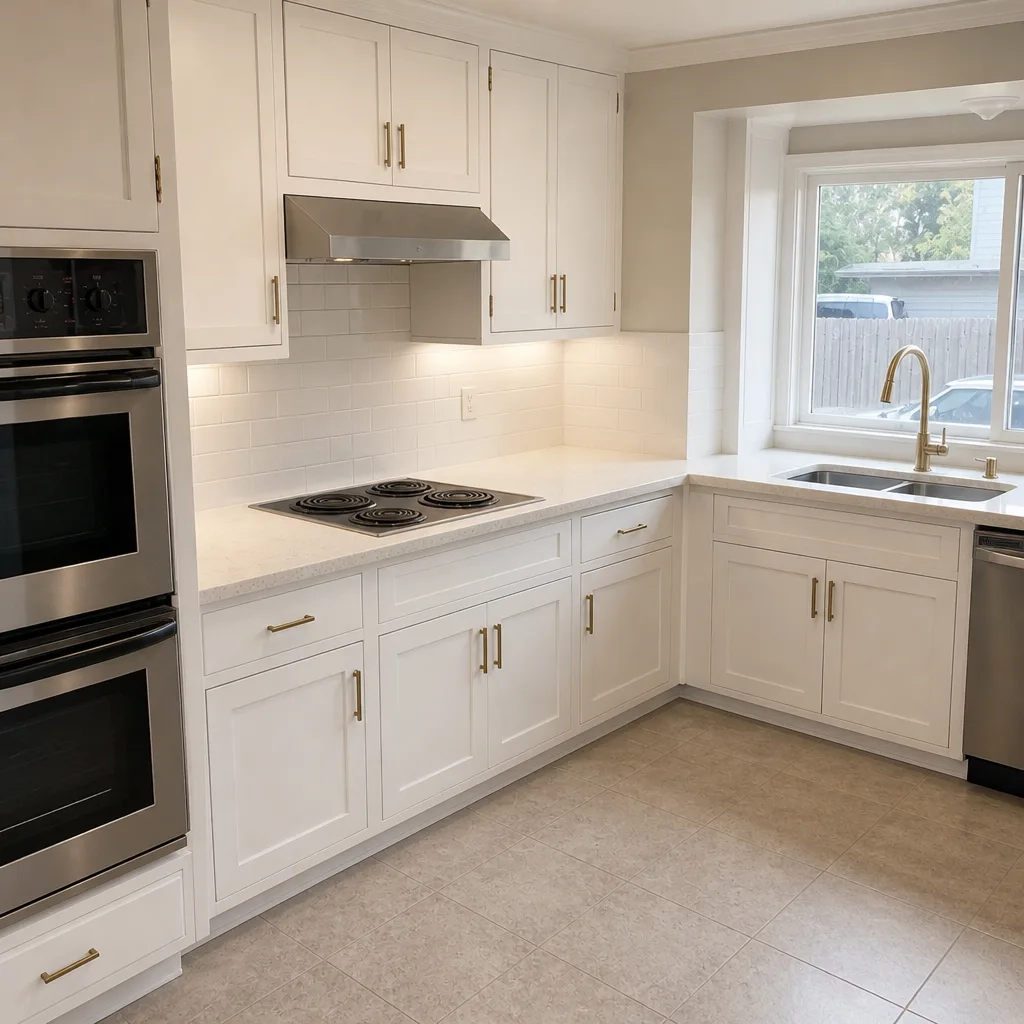 After
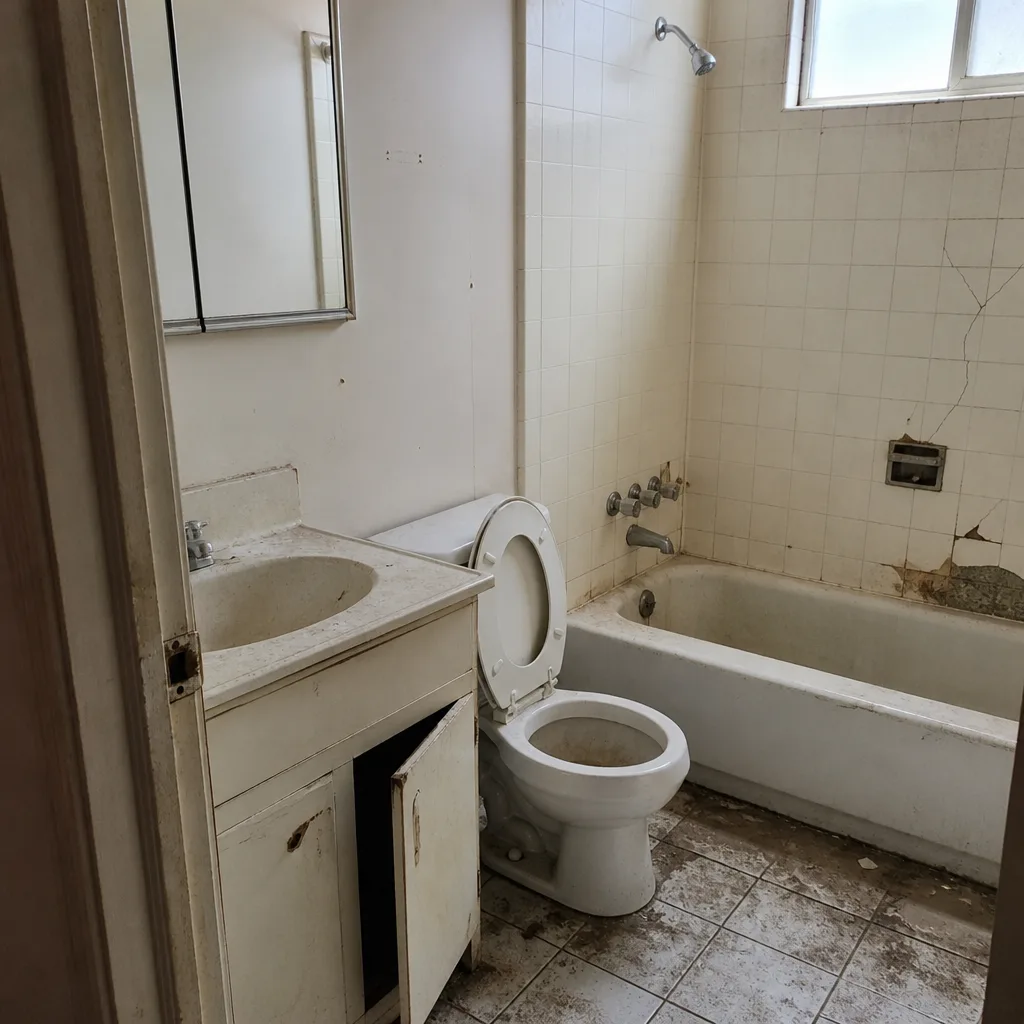 Before
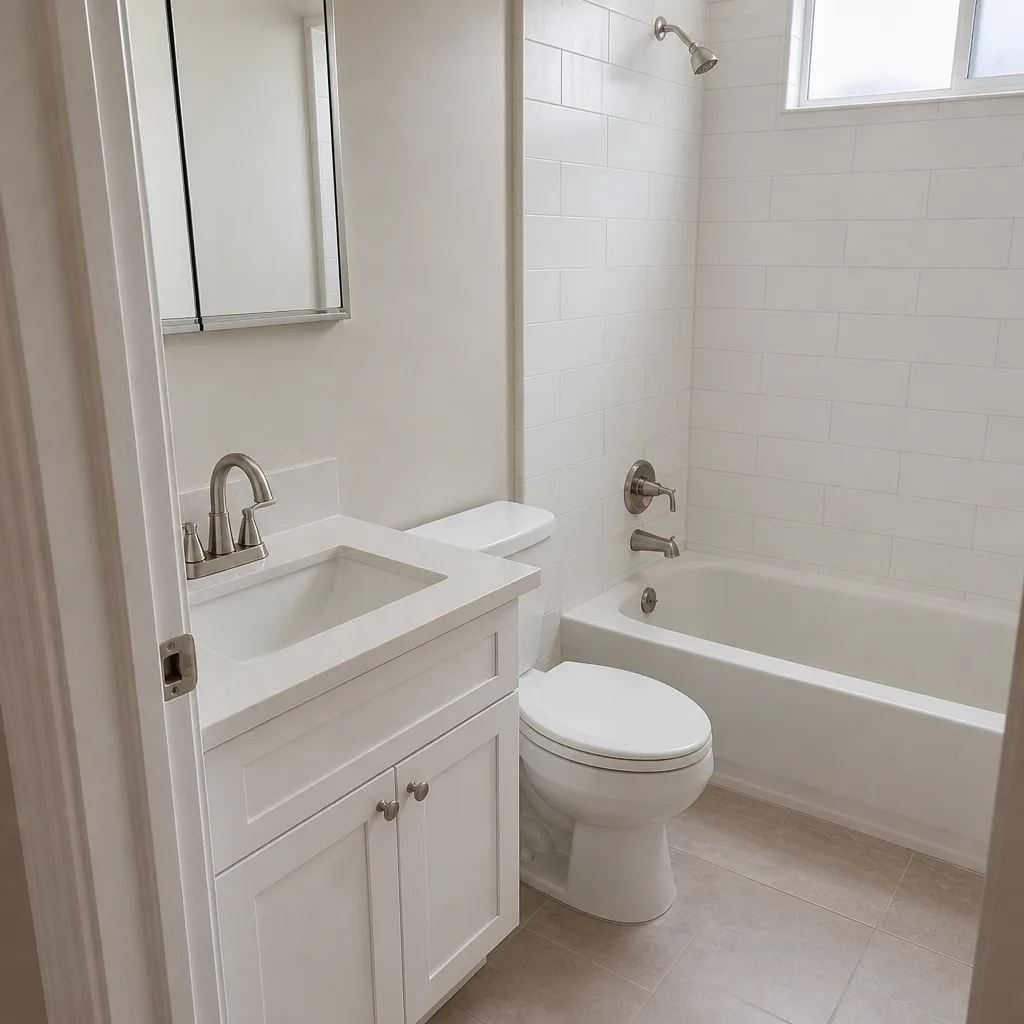 After
Brand Matters More Than You Think
The pavers themselves have a big bearing on how forgiving a DIY install is. Brands like Belgard have tight tolerances and consistent dimensions that make for clean lines, and they hold color under UV. Off-brand or seconds-grade pavers often vary in thickness by a quarter inch, which turns into rocking pavers underfoot. National brands also back their products with warranties, and those warranties survive installation only if the base and bedding meet spec. Check the spec sheet on any paver before you commit, and don’t assume the cheapest line is the same warranty story as the main line. Prefer a vetted line? The brands we specify on installs are ones whose warranties actually get honored when a base is done right.
When to Call a Professional
A few scenarios where the math and the safety realities clearly point to a professional install:
- Any driveway over 300 square feet with a clay subgrade (Willow Glen, Cambrian, Almaden Valley).
- Any driveway that widens the parking area or adds impervious surface – permits and drainage matter.
- Any driveway with a grade change steeper than roughly 5 percent, where edge restraint and drainage get complicated.
- Any driveway where the subgrade has already shown signs of settling, or where an old driveway is being replaced and the soil conditions are unknown.
- Any project you’re doing for resale – the warranty is worth more than the savings.
Groundwork Construction Co. of San Jose offers free estimates in San Jose – call (833) 988-3521. Every project is covered by our 730-Day Done Right Promise: if it’s not done right, we make it right. Calls are answered by a live person, 24/7, so you’re never stuck leaving a voicemail and waiting until Monday.
Frequently Asked Questions
A professionally installed paver driveway in San Jose runs $14 to $22 per square foot, which works out to roughly $11,000 to $17,600 for a 800-square-foot two-car driveway. DIY materials land around $4 per square foot before tool rentals and waste. Call (833) 988-3521 for an exact quote on your specific driveway – estimates are free, and pricing is upfront with no surprises.
Yes, and it’s the hybrid approach we recommend most often. Hiring out excavation and base compaction captures the two phases where equipment and skill matter most, while leaving you the finish work you can do well. Homeowners who take this route typically save $2,000 to $4,000 versus full professional scope on an 800-square-foot driveway, and they get a base the pros will actually stand behind.
For a like-for-like replacement of an existing driveway in San Jose, a permit is usually not required. Any change to drainage, impervious surface area, or the driveway footprint can trigger permit review. Unpermitted work often surfaces at resale and becomes a negotiation issue or a correction order. Ask the contractor who handles excavation to pull any required permits and to have the work inspected before you set pavers.
A professional crew installs a two-car paver driveway in San Jose in 3 to 5 days, weather permitting. The same driveway done by a capable DIYer typically takes 4 to 6 weekends, not counting the time lost to tool rental pickup and returns. Add demolition and haul-off on a replacement and the professional timeline extends to about a week.
In our experience, yes – roughly one in three DIY driveways shows settling or rutting within three years, almost always from inadequate base compaction. A properly installed base gives you 25-plus years even on San Jose’s heavier clay subgrades. The failure shows up as rocking pavers, wheel-path ruts, and pooling water after storms.
Not with us. Upfront pricing, no surprises – the number you see on the written line-item quote is the number you pay. We also offer 0% financing for 18 months and $1,000 off projects over $10,000, so larger exterior projects are accessible without piling on hidden costs. Call (833) 988-3521 to walk through your project and get a firm quote before you commit.
The final plate-compactor pass over the finished surface, done with a protective mat, seats pavers into the bedding sand and settles everything flush. It’s a step DIYers commonly skip, and skipping it leaves the surface slightly proud and prone to movement. This is one final piece of equipment you don’t need to own if a contractor handles it.
Every project is covered by our 730-Day Done Right Promise: if it’s not done right, we make it right. That’s one of the longest workmanship guarantees in the residential construction space. Brand-partner warranties on the pavers themselves extend further still, provided the install met spec.
The Bottom Line
The paver laying is the part you can do. The excavation and base compaction are the parts that decide whether your driveway survives the first three San Jose winters. Be honest with yourself about the physical realities – 15 to 20 tons of aggregate, four-plus compaction passes per lift, 6 to 8 inches of depth – before you commit to a full DIY driveway. The hybrid model, where you hire out excavation and base and do the finish work yourself, captures most of the savings without accepting most of the risk. And if you’re doing the whole thing professionally, make sure the base spec is written, the compaction passes are counted, the permits are pulled, and the warranty is longer than the next buyer’s attention span. From foundation to finish line, that’s how we build here in San Jose. Built to last, backed in writing.
When you’re ready for a free estimate and design consult in San Jose, call (833) 988-3521. Live person, 24/7. $1,000 off projects over $10,000. 0% financing for 18 months. Background-checked, uniformed technicians on every job. No-hassle upfront pricing, and a 730-Day Done Right Promise backing the work.
Written by the team at Groundwork Construction Co. of San Jose.