Last updated November 18, 2026




Free written scope consultation - allowances, timeline, and change-order rules on paper before a single trade is scheduled
Fence Installation Troubleshooting: Common Problems and How to Fix Them
Here’s the counterintuitive part about a leaning fence: when a post tilts while the concrete around it stays put, the concrete didn’t fail. The footing and the post moved together, because the footing wasn’t set deep enough to anchor below San Jose’s active soil layer. Drive a new post into the same shallow hole and you’ll be back here in two seasons, staring at the same lean. Most fence failures trace back to two decisions made on day one, post depth and concrete mix, and by the time the symptoms show up, homeowners are arguing over whether it’s a warranty problem or a physics problem. This guide gives you the vocabulary and evidence to win that argument.
Quick Answer
Most fence problems in San Jose come down to how the posts were set on day one. Post lean usually means a footing that’s too shallow for the soil, gate sag usually means undersized posts or the wrong hinges for the span, and board warping usually points to moisture wicking up from the ground or sun baking one face. Fixing any of these correctly starts with diagnosing the root cause instead of replacing the visible symptom.
Styles & brands we work with
- Kitchen remodeling
- Bathroom remodeling
- Home additions & ADU
- Roofing
- Windows & doors
- Driveway & pavers
- Fence
Table of Contents
- Diagnosing Post Lean: Soil Heave, Shallow Depth, or Bad Backfill
- Gate Sag: Hinge Selection, Post Sizing, and Span Width
- Wood Fence Board Warping: Reading the Pattern
- Fence Line Shift: Post Movement or Rail Failure?
- Concrete Footings and Mix: The Decisions That Decide Everything
- What to Document at Fence Completion
- Repair or Replace? An Honest Decision Guide
Diagnosing Post Lean: Soil Heave, Shallow Depth, or Bad Backfill
A leaning post isn’t one problem. It’s three, and each has a different fix. Getting the diagnosis wrong is how homeowners end up paying for a repair that repeats. Here’s how we walk through it on a San Jose job site.
1. Soil heave (expansive clay). Much of San Jose sits on expansive clay soils that swell when wet and shrink when dry. The rainy months lift, the dry months settle, and a footing set too shallow rides that cycle up and down. The tell: the whole footing tilts with the post, and there’s a visible gap or crack in the soil collar around the base. Re-plumbing the post without deepening the footing does nothing.
2. Inadequate depth. A post footing needs to sit below the active soil zone, the layer that moves with the seasons. A footing that stops inside the active layer has nothing solid to grab. The tell: lean appears within the first two winters, gets worse each wet season, and the post moves in the direction of prevailing soil pressure rather than wind.
3. Improper backfill. A footing that was backfilled with loose native soil instead of properly mixed concrete, or where the hole was wider at the top than the bottom, will gradually lose its grip. The tell: the post wiggles slightly under hand pressure even mid-shaft, and pulling reveals a crown-shaped void around the base.
A plumb line, a soil probe, and a close look at the base collar will usually tell you which of the three you’re dealing with in under ten minutes. Get that right before you call anyone, and you’ll know whether you’re looking at a warranty conversation or a rebuild.
Gate Sag: Hinge Selection, Post Sizing, and Span Width
Gate sag is the most misunderstood fence problem we see in San Jose. Homeowners reach for a turnbuckle kit because it’s cheap and it’s on the shelf, but a turnbuckle only compensates for a diagonally braced gate that has lost tension. It does nothing for the real causes.
The three root causes, in order of frequency:
- Undersized hinge posts. A gate post needs to be heavier than the line posts it’s attached to. A 4×4 hinge post holding a wide wood gate will twist and bow, and the gate follows. This is the failure we see most often on gates installed by contractors who sized the post by what looked right rather than by the gate load.
- Wrong hinge type for the span. Standard butt hinges work fine on a light 3-foot gate. On a 5-foot or wider gate on a wood fence, you need hinges rated for the load, or the gate binds at the latch side within a year. Self-closing hinges help with latch alignment but don’t fix the underlying load problem.
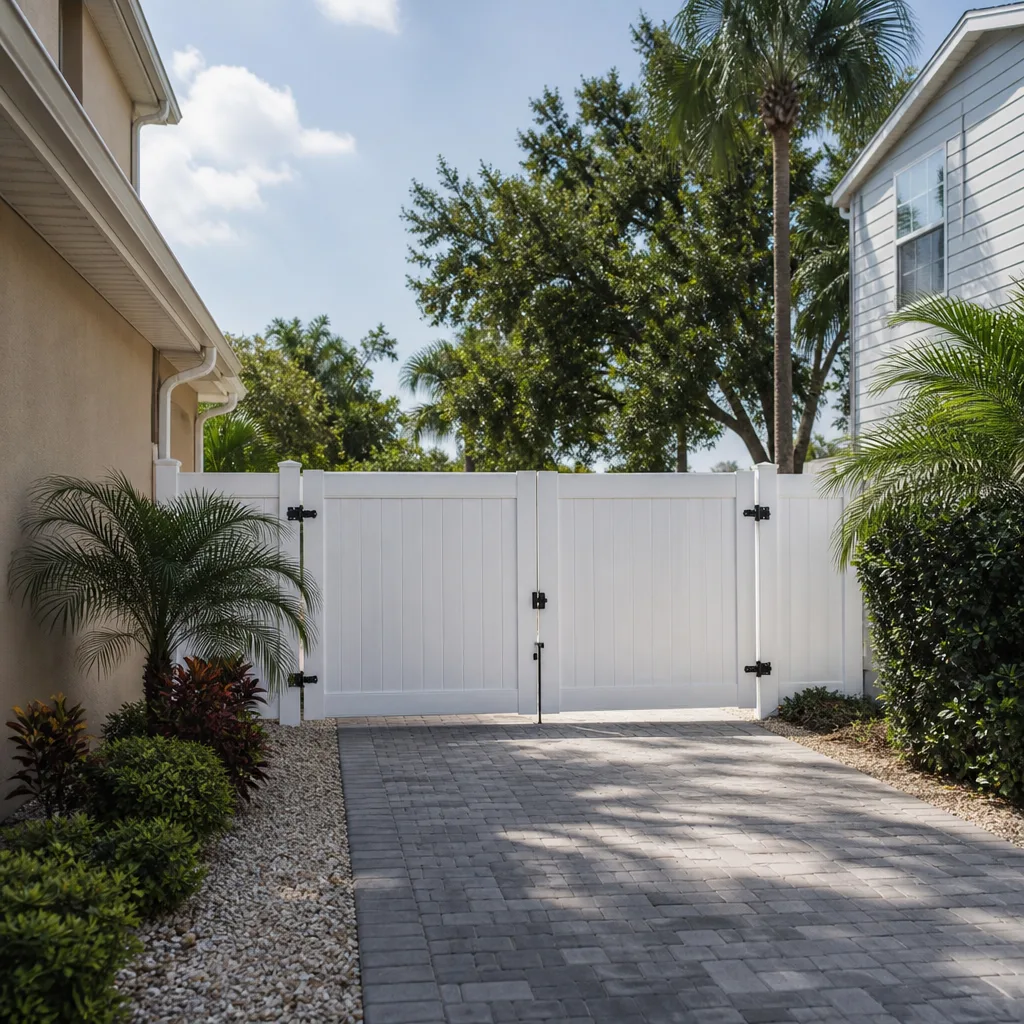
- Span width beyond the gate’s design. A single gate wider than about 6 feet, built as one panel, will almost always sag over time. The fix is a double gate with a center drop bolt, not a bigger turnbuckle.
The test: open the gate halfway and let go. If it swings on its own toward the latch, the post or hinge is the problem, not the frame. If it stays put but binds when you close it, the frame is out of square. Walk the post with a level, then measure the gap at the top and bottom of the latch side. A difference of a quarter inch or more means the post has moved and the fix has to start there.
Temporary fixes for gate sag include cross-bracing, adjustable hinges, and wheel kits. Real fixes start at the post. If you’re planning a new fence from scratch in San Jose, choosing the right hinge post size upfront is far cheaper than fixing it later. Our Fence Installation in San Jose service covers gate design alongside the fence line.
Wood Fence Board Warping: Reading the Pattern
Not all board warping is the same. The pattern of the warp tells you whether the problem is moisture from below or sun from above, and the two have completely different fixes.
Warping starting at the bottom of the board
Boards that cup, twist, or bulge at the bottom edge, with the top edge staying flat, are wicking moisture up from the ground. In San Jose, where the rainy months deliver concentrated moisture to the base of a fence line, this is common on fences where the bottom rail sits too close to grade or where soil was piled against the boards after installation. The fix is air space: a minimum 2-inch gap between the bottom board and the soil, and no landscape material or sprinkler spray aimed at the base of the fence.
Warping starting at the top of the board
Boards that cup toward the sun, with a smooth inner face and a tight, checked outer face, are showing the effect of one-sided sun exposure. South and west-facing fence lines in San Jose get the worst of it. The fix is either a lighter-colored finish that reflects instead of absorbs, or a species of wood or composite with better dimensional stability in heat.
Warping starting in the middle
Mid-board warp, particularly on boards that were installed green or without proper drying, is a moisture-content issue at the mill. It’s not fixable after the fact and it points to a board quality problem. When we install fences, we specify boards that have been properly dried and graded, because the fix for this is only “replace the boards.”
If you’re seeing any of these patterns on an existing fence, take a photo of the bottom and top edge of the most badly warped board, note which direction the face is looking, and that photo will tell a fencing contractor in thirty seconds what took you three seasons to notice. Our Groundwork Construction Co. of San Jose home page is a good place to start if you want a professional eye on it.
Fence Line Shift: Post Movement or Rail Failure?
A fence line that’s gone crooked does not automatically mean posts are failing. The fence line can shift because the posts moved, or because the rails failed, and the two require completely different repairs. Here’s how to tell before you assume which.
Step 1: Walk the line with a string. Pull a taut string from the first post to the last post, offset an inch from the faces. Any deviation from the string is a shift.
Step 2: Test each post at the base. Grab each post at chest height and rock it firmly. A post that rocks at the base with the footing moving means the footing has failed. A post that’s solid at the base but the rails are flexing means the rail connections have loosened.
Step 3: Check rail-to-post connections. Look at the fasteners at every rail-to-post joint on the shifted section. Backed-out fasteners, splits in the rail, or dark staining at the joint means the rail is the failure point.
Step 4: Look for the pattern. A single post that’s shifted points to a localized footing problem. Multiple posts shifting in the same direction point to soil movement along the whole line and may indicate a grading, drainage, or retaining wall issue behind the fence.
If most of the posts are solid but the rails have pulled, the repair is fastening. If the posts have moved, the repair has to address the footings. A San Jose fence that has run along the same soil conditions for years and suddenly shifts all at once almost always points to a drainage change, not installation. New landscaping, a regraded yard, or a neighbor’s new retaining wall can all shift the soil under a fence line.
Concrete Footings and Mix: The Decisions That Decide Everything
Post depth and concrete mix are the two decisions that decide whether your fence stands for twenty years or leans in two. We’ve seen both fail, and the failures are almost always invisible until the symptoms show up.
Post depth
Fence post footings need to extend below the active soil layer. In San Jose, where expansive clay is common, that’s deeper than in stable soil markets. A post set just 18 inches deep can look fine for a season and then start to ride the seasonal soil movement. The footing has to reach down past where the soil is stable.
Rules of thumb we use:
- Post depth should be at least a third of the above-grade post height, and in San Jose clay, we go deeper than the minimum.
- The footing needs a wider base than the top of the hole, so the concrete anchors instead of sliding.
- Gate posts need deeper and wider footings than line posts, since they carry gate weight plus swing load.
Concrete mix
A common mistake is backfilling the hole with dry mix and hoping groundwater cures it. That produces a weak, crumbly footing that looks solid for a season and then fails. Pre-mixed fast-setting concrete rated for fence posts is the right material, and the water has to be added per the bag instructions, not estimated.
When we plan a fence installation, footing depth and concrete mix are written into the scope before the first post goes in. If you’re comparing bids and the contractor won’t tell you the post depth or the concrete mix, that’s a real warning sign. Our Driveway & Pavers in San Jose service follows the same footing discipline when a fence runs along a paved line, since drainage has to be coordinated between the two.
What to Document at Fence Completion
The single best thing you can do for fence troubleshooting two years down the line is document the fence on the day it’s finished. Most homeowners don’t, and they end up paying for diagnostic work that a folder of photos would have eliminated.
Take these on completion day, on a clear morning:
- Every post, photographed at the base, with a tape measure visible and the base of the post in frame. This proves current soil line and gives you a reference for movement.
- Every gate, photographed at rest, showing the gap at the top and bottom latch side. Later, you can overlay these images to see how much movement has happened.
- The full fence line, photographed from each end at eye level, so you have a baseline for straightness.
- A ground-level photo of the entire bottom board on each side, showing the soil line and gap.
- The footing specification, written down. Post depth and concrete mix, on paper, signed by the installer.
- The hardware spec and gate span width. Hinge type, post dimensions, and gate panel width.
- The date of install, on the same document.
With those seven items, any future problem is diagnosable in minutes. Without them, every troubleshooting conversation starts from “well, it looks like it was installed…” and ends with somebody guessing. If you’re planning a fence and want completion documentation as part of the scope, our Home Additions & ADU in San Jose service partners use the same handover discipline on larger structural projects.
Repair or Replace? An Honest Decision Guide
Not every fence problem deserves a full rebuild, and not every repair is worth the money. The decision comes down to how many posts have failed and whether the soil conditions have changed.
Repair makes sense when:
- One or two posts have failed and the rest are solid.
- The soil conditions haven’t changed since installation.
- The failure is rail-level and the posts are true.
- The fence is less than ten years old and the boards are in good shape.
Replace makes sense when:
- Multiple posts have shifted along the line and the pattern is directional.
- The soil has changed underneath the fence (regrading, new landscaping, neighbor’s retaining wall).
- The fence is old enough that boards are showing their age alongside the posts.
- The original footings were shallow enough that the whole line is on the same clock.
A partial repair on a fence line where five of six posts have moved just kicks the problem down the fence. When we quote a fence repair in San Jose, we’ll tell you honestly which of these you’re looking at before you spend money.
Common Mistakes to Avoid
- Re-plumbing a leaning post without addressing the footing. If you’re resetting a post in the same shallow hole, you’re wasting the day. The lean will be back within two seasons.
- Patching gate sag with a turnbuckle instead of fixing the post. A turnbuckle only compensates for tension loss on a properly braced gate. If the hinge post is too small for the gate, the turnbuckle buys months, not years. This is the single most common repair we undo.
- Painting over or caulking a wicking board instead of restoring the air gap. The water has to have somewhere to go. Sealing the face doesn’t stop the moisture on the back side, and the board keeps swelling through the cycle until it splits.
- Adding soil against the bottom of the fence to hide erosion. In San Jose, this looks like a neat fix after a rainy season, but it moves the soil line up against the boards and accelerates the warping you were trying to prevent.
- Skipping the completion documentation. No photos, no written spec, no record of footing depth. Two years later, the troubleshooting conversation has no evidence to settle it, and everyone walks away unsatisfied.
- Assuming new construction is at fault when the soil has changed. A neighbor’s regraded yard or a new drainage run behind the fence can shift a fence line that was installed correctly. The repair has to address the soil change, not just reset the fence.
- Choosing the cheapest bid without asking about post depth and concrete mix. Bids that look identical on the paper usually differ in exactly the two specifications that decide whether the fence lasts five years or twenty-five.
See the difference
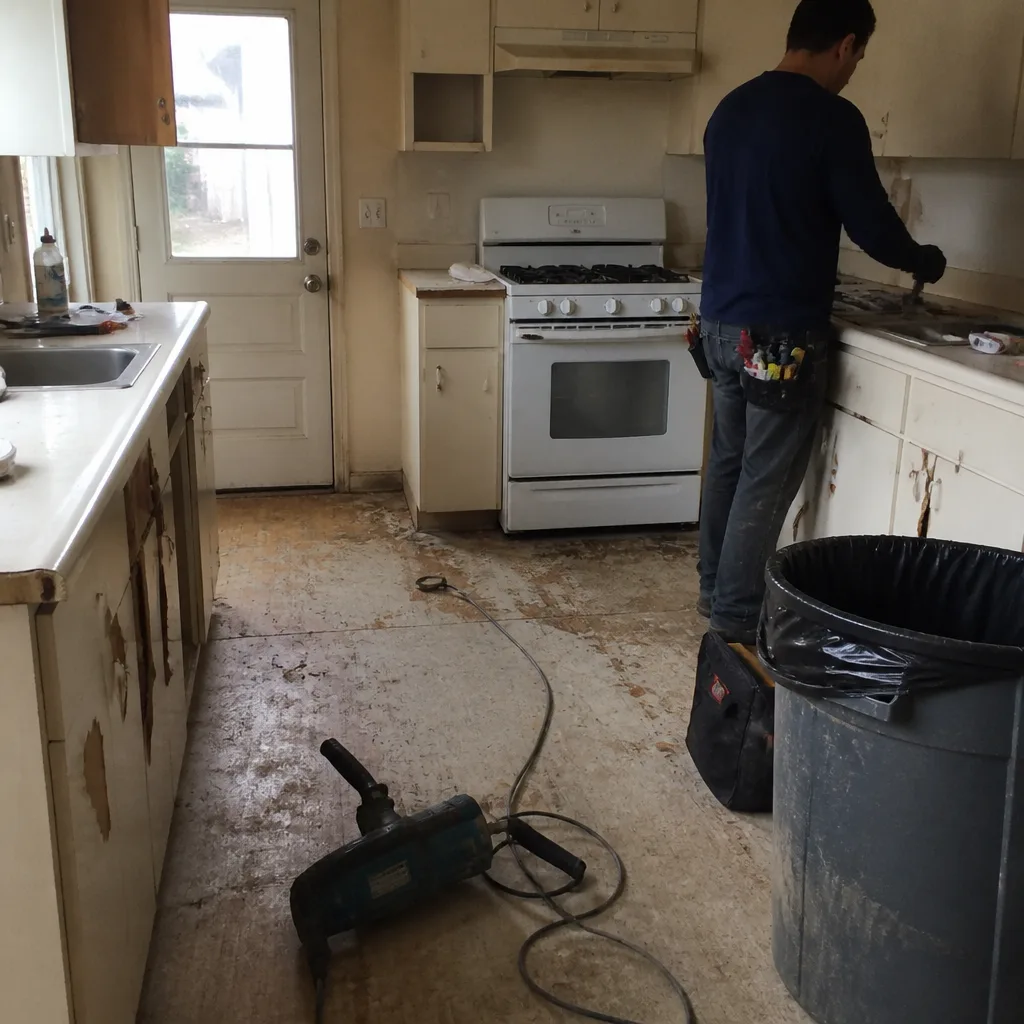 Before
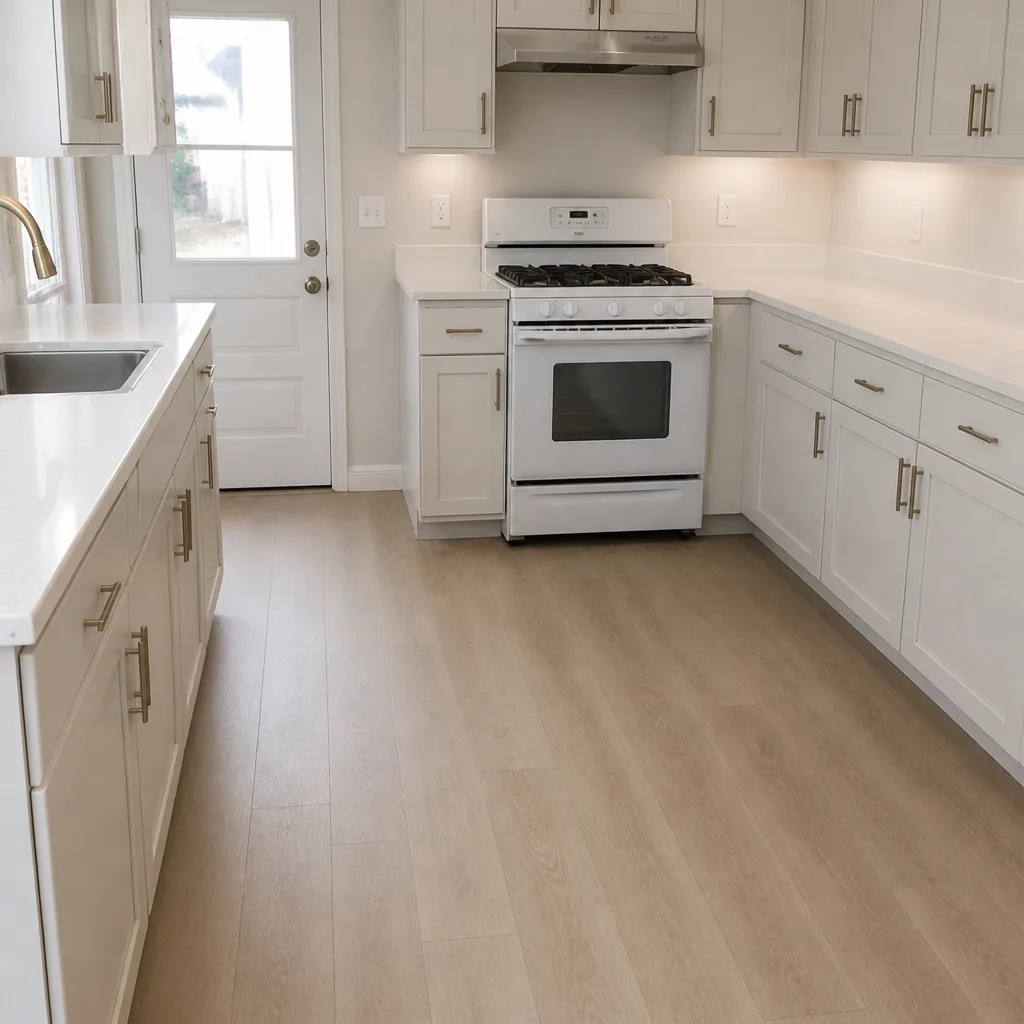 After
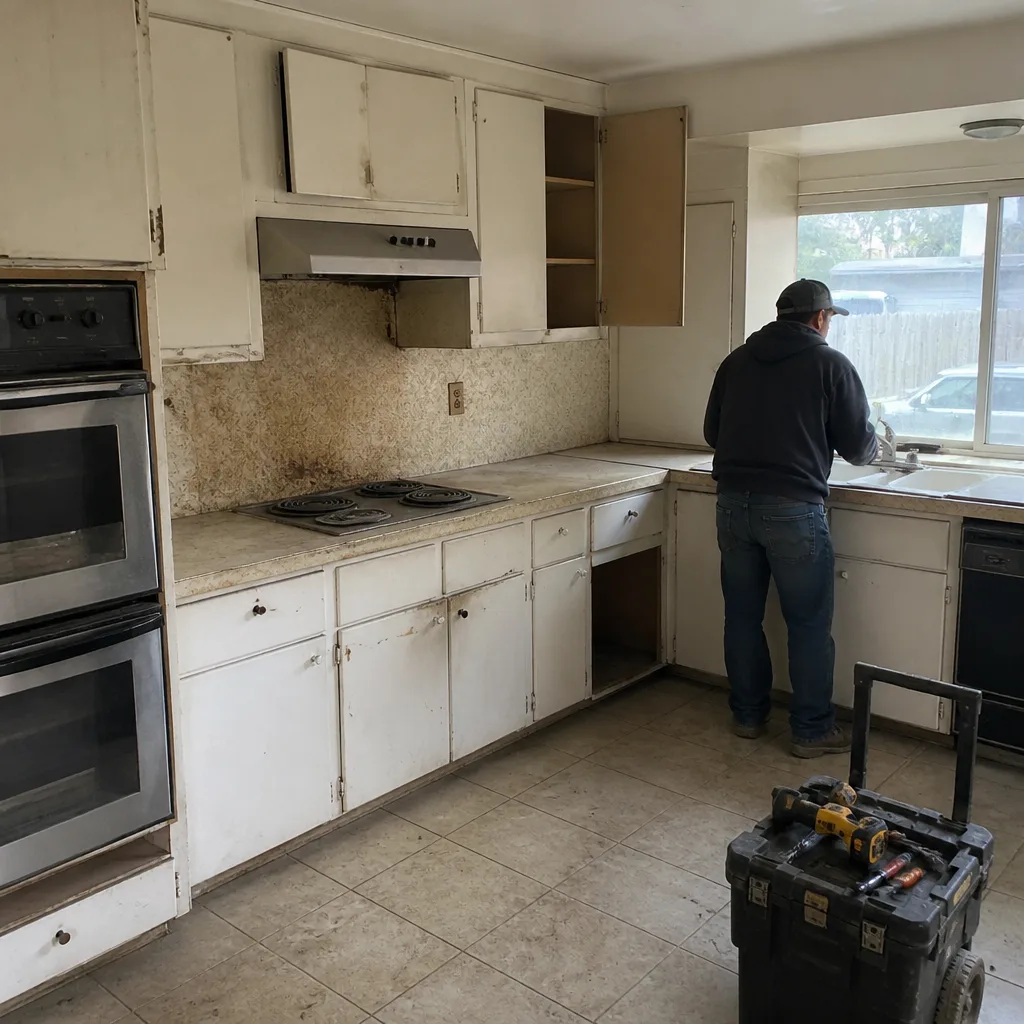 Before
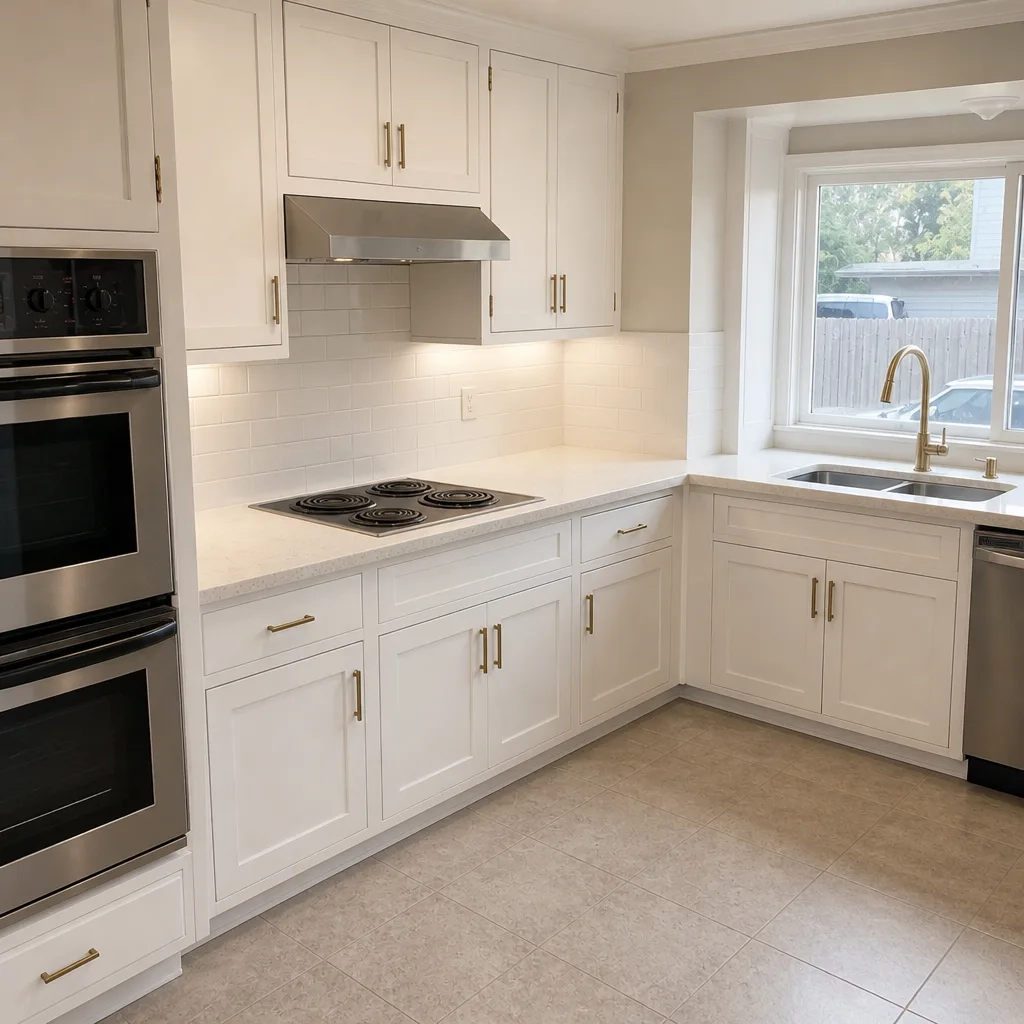 After
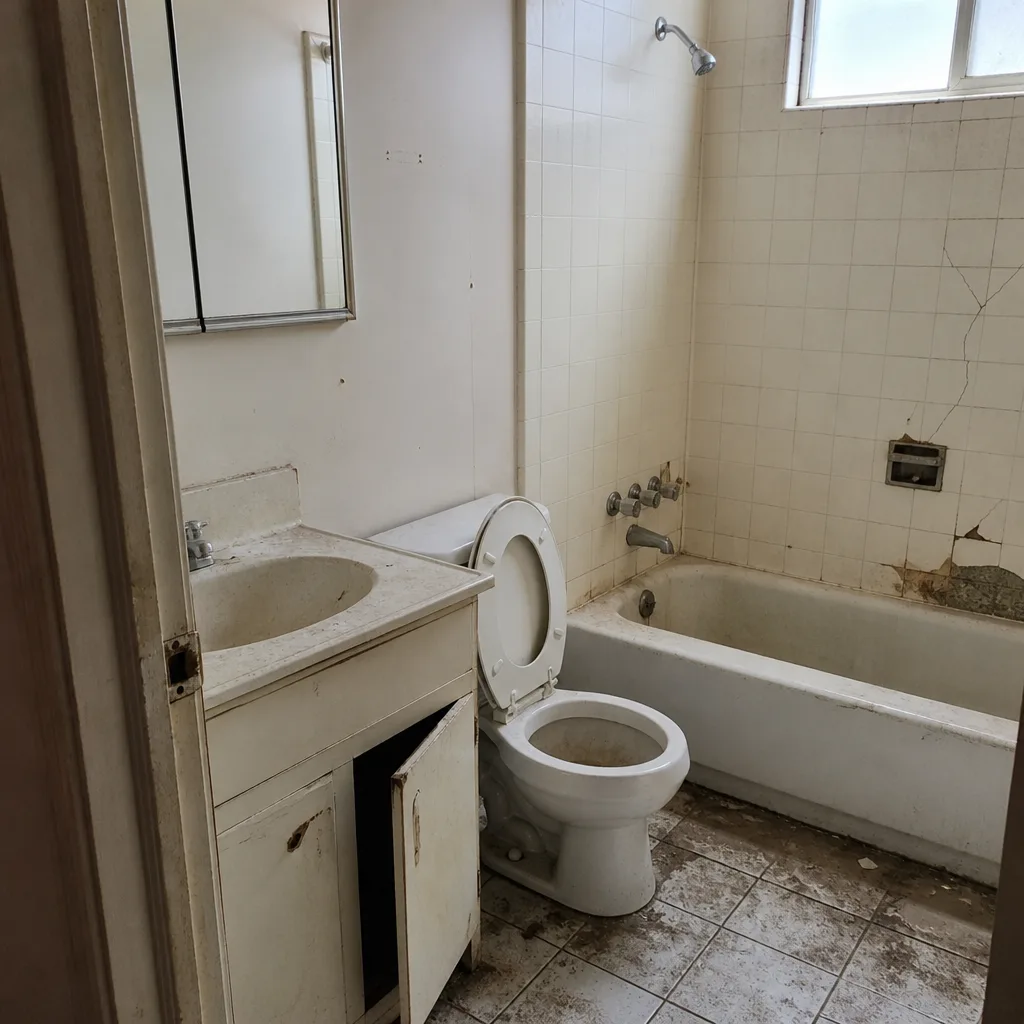 Before
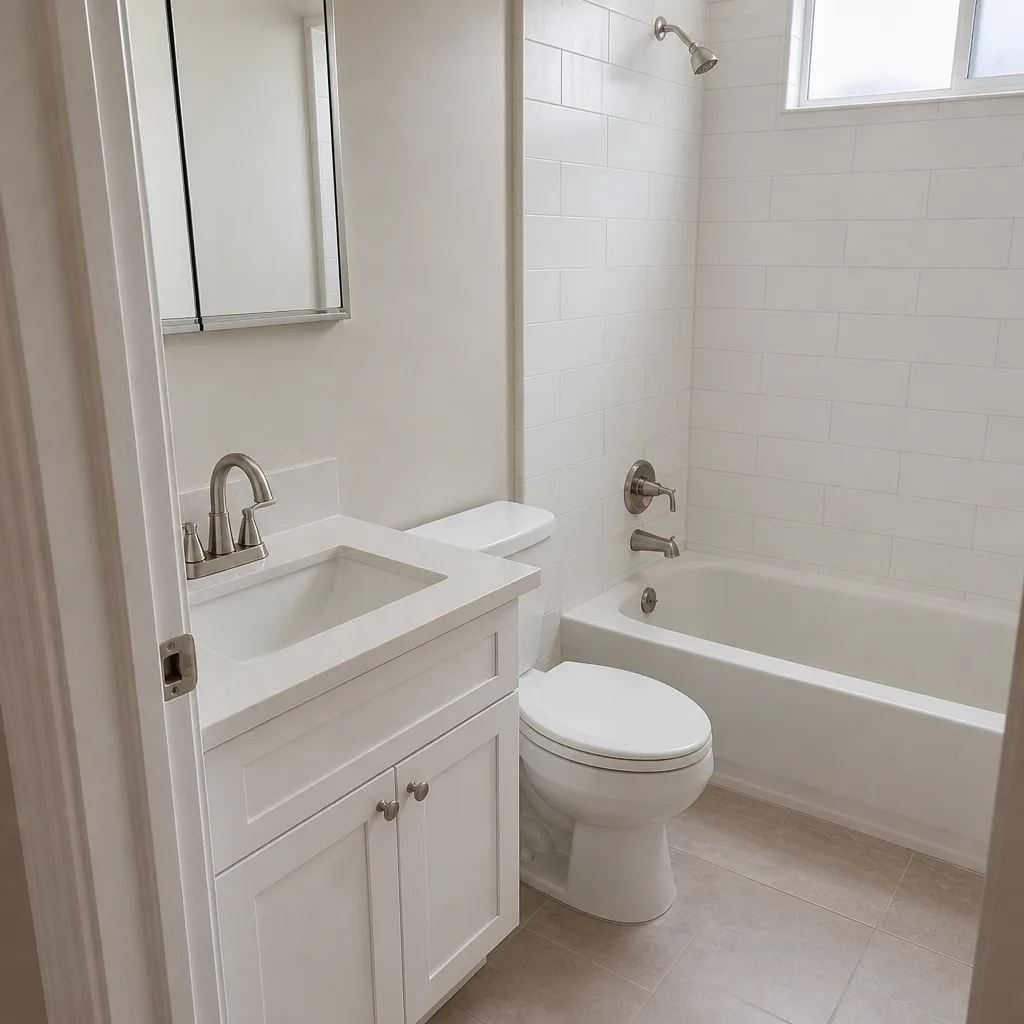 After
When to Call a Professional
Some fence problems are worth the diagnosis and the fix yourself. Others aren’t. If a post footing has failed and the repair means digging out cured concrete around a 6-foot leverage arm at the base of a heavy gate post, that’s a job with real physical risk and the potential for a crushed hand or worse. If the fence line has shifted along multiple posts and the underlying soil has changed, a structural repair can involve coordination with grading, drainage, or a neighbor’s line. If the original installation had shallow footings and the whole fence is on the same failing clock, only a full re-footing will hold.
We’ve walked this ground on a lot of fences in San Jose, and the pattern is clear: post-depth and concrete-mix problems don’t fix themselves, and the cost of the repair climbs with every season. Groundwork Construction Co. of San Jose offers free estimates in San Jose. Call (833) 988-3521 to schedule yours.
Frequently Asked Questions
Yes, if the surrounding posts are solid and the soil conditions haven’t changed. A single failed post can be re-set with a deeper footing and the fence re-attached. The trick is diagnosing whether the soil has moved along the whole line, because a repair on a shifting line will fail again.
Almost always an undersized hinge post or the wrong hinge for the gate span. If the post is too small for the gate’s weight and span, the post twists and the gate follows. Resetting the gate without addressing the post doesn’t hold, and the repair repeats within a year or two.
Deeper than the minimum for stable soil, because San Jose has expansive clay that swells and shrinks with the seasons. Post depth needs to reach below the active soil layer. If a contractor won’t tell you the post depth in writing before you sign, that’s a real warning sign on the bid.
Moisture is wicking up from the soil. The fix is air space: at least a 2-inch gap between the bottom board and the soil line, and no landscaping or sprinkler spray aimed at the fence base. Sealing the outer face doesn’t solve it, because the moisture comes from behind and below.
Sometimes, but only if the damage came from a named peril like a storm, a falling tree, or a vehicle impact. Gradual post lean from soil movement typically isn’t covered, because it’s considered a maintenance issue. Document the fence at completion and keep the records; if you ever file a claim, the baseline evidence matters.
Ask three things: post depth, concrete mix, and gate hinge-post size. Those three specifications decide whether the fence stands for twenty years or fails in five, and any professional should be willing to state them in writing. Also ask for the completion documentation they’ll hand over, including photos and the footing spec. Groundwork Construction Co. of San Jose offers free estimates on fence installation and repair. Call (833) 988-3521 for an exact quote.
The Bottom Line
Most fence failures were decided on day one, when the post depth and the concrete mix were chosen. By the time the symptoms show up, homeowners are stuck arguing warranty versus physics. This guide gives you the diagnostic tools: read the lean, test the gate, watch the warp pattern, pull a string along the line, and photograph everything on completion day. If you’re comparing bids on a new fence in San Jose, ask the two questions that matter, post depth and concrete mix, and put the answers in writing. A fence that lasts starts with those two decisions, and the repair conversation is much shorter when you made them right the first time.
If you’ve got a fence problem that needs an expert eye, or you’re planning a new install and want the footing done right the first time, Groundwork Construction Co. of San Jose offers free estimates on fence repair and installation. Call (833) 988-3521 to schedule yours, and we’ll walk the line with you.
Written by the team at Groundwork Construction Co. of San Jose.