Last updated November 18, 2026


Free written scope consultation - allowances, timeline, and change-order rules on paper before a single trade is scheduled
Home Additions & ADU Troubleshooting: Common Problems and How to Fix Them
The crack in your new addition’s drywall probably isn’t a drywall problem. It’s a foundation or framing problem that was baked in months before the walls even went up. In our experience across San Jose additions and ADUs, the most expensive repairs are the ones that start at the design table, sit unnoticed through permitting, and only show themselves after you’ve moved the furniture in. This guide walks through the problems that actually surface after construction, how to tell cosmetic settling from structural warning signs, where moisture sneaks in, why your ADU keeps tripping breakers, and what to do when a final inspection fails in San Jose.
Quick Answer
Most home addition and ADU problems trace back to three phases: design and permitting (undocumented changes, missed structural calcs), the transition zone between old and new construction (the failure-prone seam where moisture and movement concentrate), and rough-in work (electrical and plumbing that was undersized or rushed). Fixing them starts with diagnosis, not repair: identify the phase where the problem originated, gather your documentation, and hold the responsible party accountable before the small issue becomes a structural or legal liability.
Styles & brands we work with
- Kitchen remodeling
- Bathroom remodeling
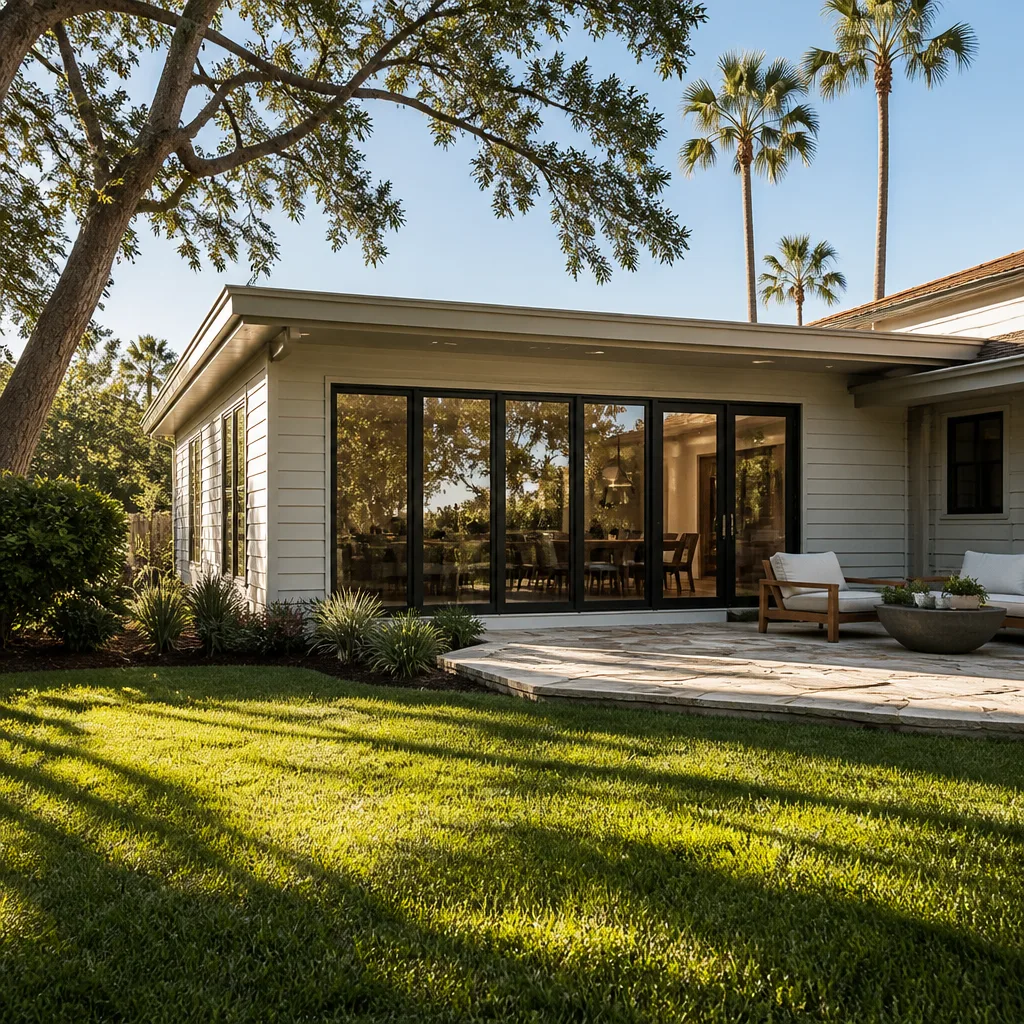
- Home additions & ADU
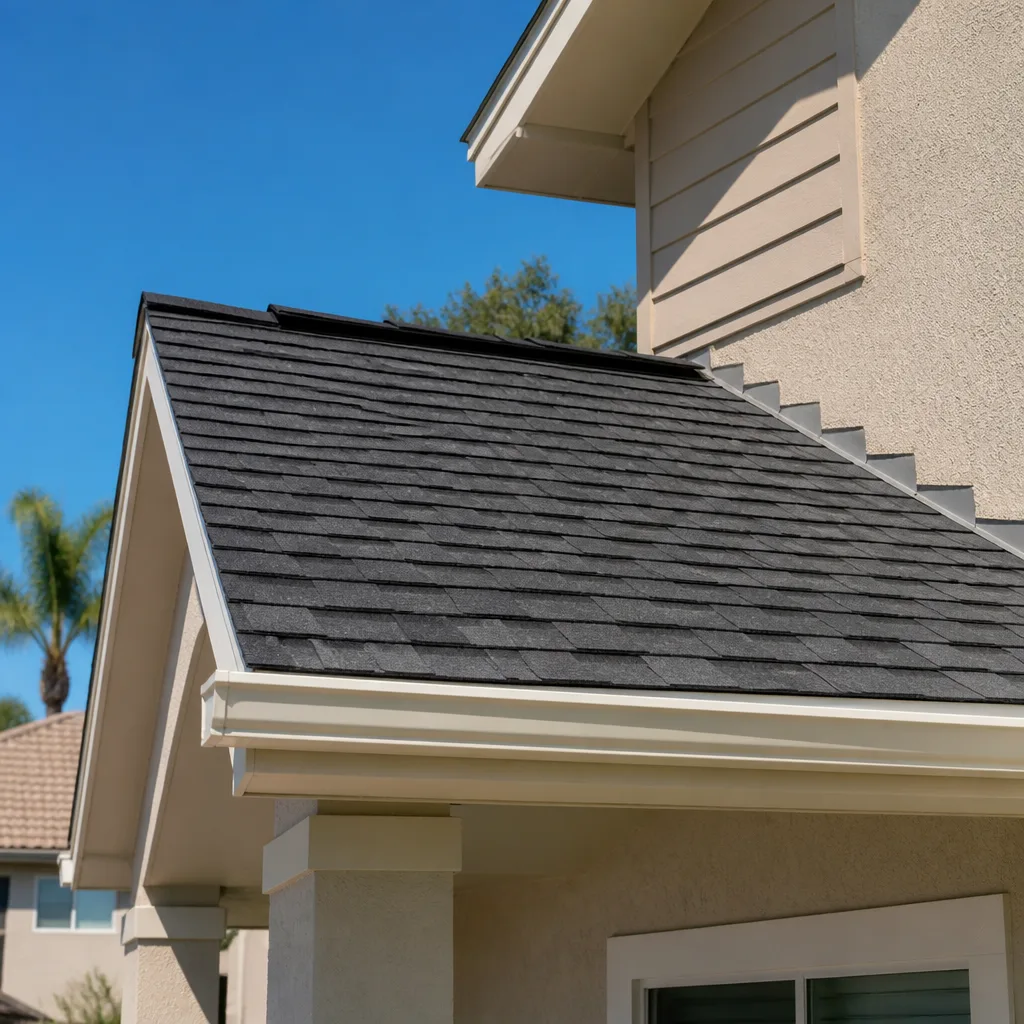
- Roofing
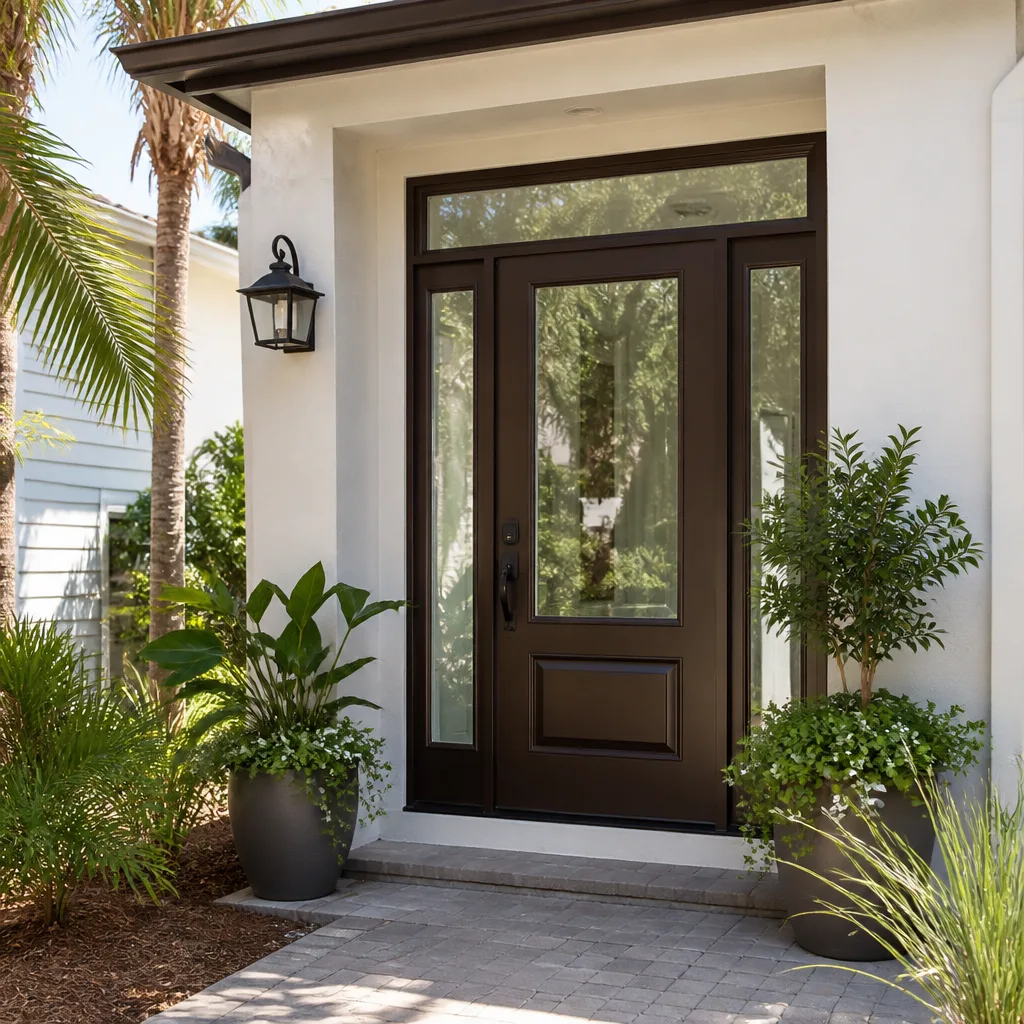
- Windows & doors
- Driveway & pavers
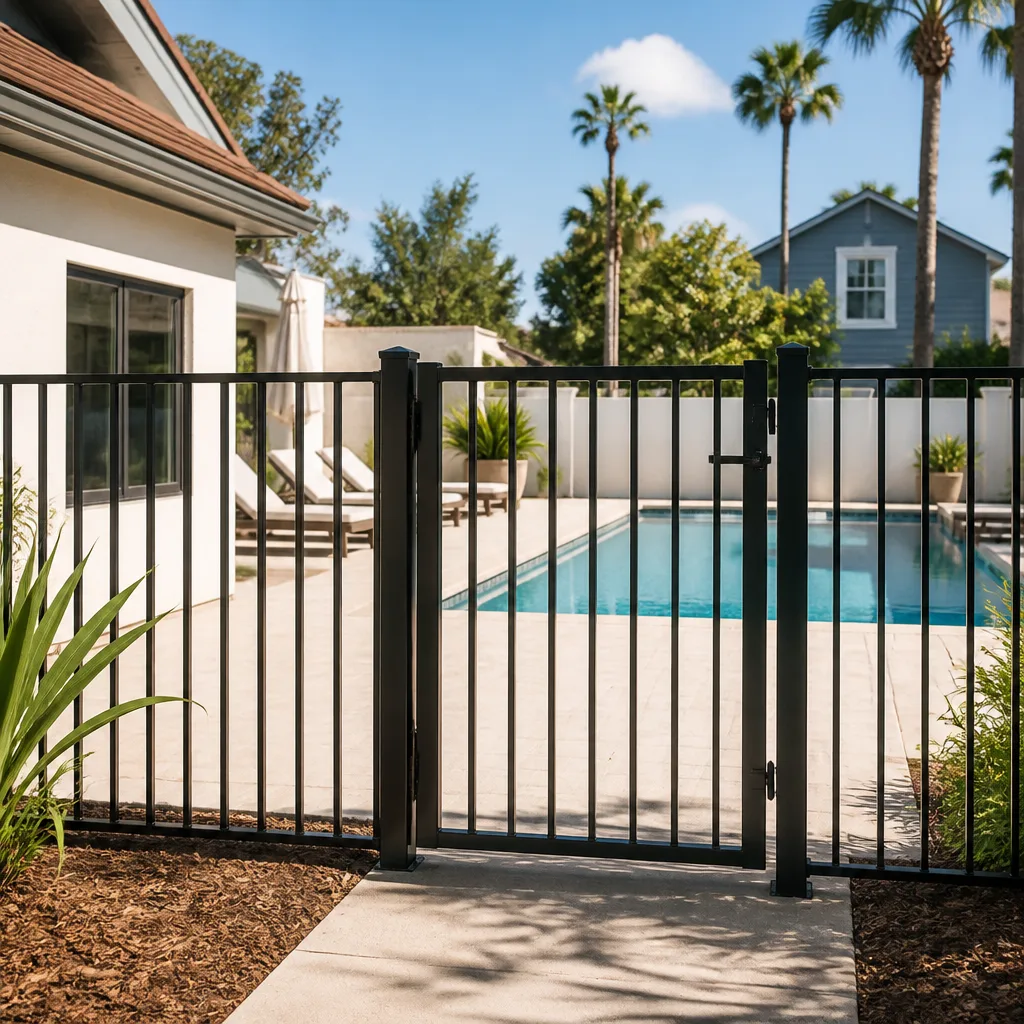
- Fence
Table of Contents
- How to Tell Post-Construction Settling from Structural Warning Signs
- Moisture Intrusion at the Old-to-New Transition Zone
- Electrical and Plumbing Load Problems After an ADU Is Occupied
- What to Do When Your Addition or ADU Fails Final Inspection
- Permitting and Design Problems That Cause Downstream Failures
- How to Pursue Warranty Claims and Contractor Accountability
- The Documentation You Need from Day One
How to Tell Post-Construction Settling from Structural Warning Signs
Every new addition settles. Wood dries, framing shrinks slightly, and minor cosmetic movement in the first 12 to 18 months is normal. The question is whether what you’re seeing is normal settling or the early warning of a structural defect. The distinction matters because one is cosmetic and the other can cost five figures to correct.
Here’s what separates the two:
- Hairline cracks (under 1/16 inch) at drywall seams, corners, or above door frames: cosmetic settling. Usually stabilizes and can be patched and repainted once.
- Diagonal cracks radiating from the corners of door or window openings: could be settling, but if they’re wider than 1/8 inch or growing, they point to differential movement between old and new foundations.
- Stair-step cracks in brick or exterior stucco: a serious sign of foundation settlement below. Not cosmetic.
- Doors that suddenly won’t latch or that swing open on their own: the frame has racked, which means something below it has moved.
- A floor that slopes more than 1/4 inch across a 10-foot span: framing or subfloor issue, not settling.
- Gaps opening between the addition and the original house at the ceiling or floor line: differential settlement at the tie-in.
In San Jose, our clay-heavy soils in neighborhoods like Willow Glen and Cambrian expand and contract more dramatically through the wet-dry cycle than the sandy soils farther south. That means additions built without proper foundation design for expansive soils tend to show movement faster than homeowners expect. If you’re seeing wide or growing cracks within the first two years, get a structural engineer’s opinion before patching anything. Patching hides the symptom; it doesn’t stop the cause.
Foundation and framing issues are almost always cheaper to diagnose early than to repair late. Getting a licensed engineer out to review the tie-in between the original structure and the addition is the single most useful early step.
Moisture Intrusion at the Old-to-New Transition Zone
The seam where your existing house meets the new addition is the most failure-prone area of the entire project, and it’s the area almost no one talks about. Two structures built years apart move differently, drain differently, and were waterproofed with different methods. When that transition fails, water finds its way in and the damage shows up far from the source.
Where the leaks actually originate:
- Roof-to-wall flashing at the connection: the most common failure point. If the flashing wasn’t stepped correctly into the existing wall or was sealed with caulk instead of properly integrated, water gets behind it.
- Siding and cladding transitions: where new siding butts against old siding, the joint needs a proper flashing detail, not just sealant. Sealant fails within a few years in San Jose’s sun.
- Foundation stem wall joints: the new slab or crawl space meets the old foundation; if the joint wasn’t properly keyed and waterproofed, groundwater wicks through.
- Sill plate and framing at the seam: moisture trapped against the old exterior wall (now interior) causes rot that shows up as stains or musty smells long after the leak started.
Here’s how we troubleshoot it when a homeowner calls us with a mysterious stain in a new bedroom that shares a wall with the old house:
- Trace the stain back to the transition wall. Water travels along framing; the stain is usually not where the water got in.
- Check the roof-to-wall connection first. Ninety percent of transition leaks in San Jose additions start at the flashing detail above the old roofline.
- Look for improper caulk-sealed joints where siding should have been flashed. If caulk is doing the waterproofing, it’s already failing.
- Check the sill plate for rot. A moisture meter on the interior framing at the seam tells you whether water is actively sitting against the wood.
- Inspect the foundation tie-in during the dry season when you can see cracks clearly without standing water.
Waterproofing at the transition zone is a detail-level job. It’s the kind of thing a homeowner can’t fix retroactively without opening up walls, so it has to be done right the first time. If you’re planning a San Jose addition with premium roofing materials like CertainTeed or Owens Corning systems, insist that the transition flashing detail is called out explicitly in the drawings and installed by a roofer who has done the transition work before.
Electrical and Plumbing Load Problems After an ADU Is Occupied
An ADU is a second household living under the same roof as your own. It draws power, water, and hot water like a separate home, and if the rough-in work was undersized or shortcut, the problems show up the first week the tenant moves a space heater or runs the shower while the dishwasher is going.
Tripped breakers are the most common ADU complaint. They usually mean one of three things:
- The panel wasn’t upsized to handle the new load. A detached ADU with its own panel is fine; an attached ADU sharing the main panel with the primary house frequently needs a service upgrade that was never done.
- The circuits are undersized. A single 15-amp circuit running kitchen outlets, a microwave, and a coffee maker trips routinely. Real kitchens need dedicated appliance circuits.
- The drywall or framing was assembled with the wiring run improperly, causing a hot wire to arc against metal studs or a staple that’s too tight.
Water pressure drops are the other loud signal. When a renter in the ADU takes a shower and pressure in the main house falls to a trickle, the rough-in plumbing is undersized. The line feeding the ADU should have been sized for the fixture count at the far end, not just at the meter. If the ADU was added to a 3/4-inch service line without upsizing, the drop is baked into the pipe in the ground.
Hot water that never gets hot often means a tankless or heater that couldn’t keep up with the added demand, or a recirculation loop that was never installed across the longer distance to a detached ADU. In San Jose, where a detached ADU in the backyard can sit 60 feet from the main water heater, this is a common issue we see in secondary unit conversions.
Every one of these is diagnostic. If you’re seeing them, you need an electrician and a plumber who can read load calculations against the original permitted drawings, not just reset the breaker and move on.
What to Do When Your Addition or ADU Fails Final Inspection
A failed final inspection is not a disaster, but it is a deadline. San Jose’s building department gives you a correction list and a window to fix and re-inspect, and if you miss it, the case can move to a more expensive enforcement path. The good news is that most final-inspection failures are correctable within days if you know what the inspector flagged.
The most common correction items we’ve seen in San Jose re-inspections:
- Improper smoke and carbon monoxide detector placement. Every sleeping room, outside each sleeping area, and on each level. ADUs need their own detector set with interconnection.
- Missing or inadequate fire separation between the ADU and the main house. A one-hour fire-rated assembly at the shared wall, with the right drywall and taping, is a frequent correction.
- Electrical panel clearance. Thirty-six inches of clear working space in front of the panel, and 30 inches wide. Homeowners block it with a water heater or furnace.
- Missing GFCI and AFCI protection at kitchens, baths, laundry, and outdoor outlets, and on all bedroom circuits.
- Egress window sizing. Bedrooms need an operable window with the right clear opening for emergency escape.
- Unpermitted finished mechanical or plumbing alterations done after rough-in inspection that the inspector catches at final.
- Grading and drainage at the addition’s exterior not sloping away from the foundation at the required fall.
What to do next, in order:
- Get the written correction list from the inspector. Never act on a verbal summary.
- Read each item literally. Inspectors write specific code sections. Match your fix to the section cited.
- Fix all items in one pass if possible. Multiple re-inspection fees add up.
- Photograph each correction before it’s closed up. Some fixes are hidden after final.
- Schedule re-inspection within the allowed window. In San Jose, delaying beyond the correction period is where extra fees start.
- Keep the signed-off inspection card in your project file. You’ll want it for resale and for any future permit.
If your contractor has vanished or is unresponsive at the final inspection stage, that’s a serious warning sign and one of the top items covered in our guide to Home Additions & ADU in San Jose. A contractor who walked the job all the way through should not leave you standing in front of an inspector on your own.
Permitting and Design Problems That Cause Downstream Failures
Most of the failures we get called in to fix didn’t start at the construction site. They started at the drafting table. A design that skipped the structural engineer’s stamp, or a set of plans that undercounted the electrical load, or a permit pulled without the required geotechnical report for expansive soils, sets up problems that don’t show for months.
The specific design and permitting lapses that create downstream problems:
- Structural drawings stamped by an architect instead of a structural engineer. In California, certain loads and lateral bracing require a licensed engineer’s calculations. Without that, the addition may move more than it should.
- Framing plans that don’t account for the height and span of the addition against the existing structure. The wrong header or beam size causes deflection, which cracks drywall and binds doors.
- Missing soils reports for additions on San Jose’s clay-heavy ground. Expansive soils move, and the foundation design has to be sized for them.
- Unpermitted changes made during construction. A planned closet added after rough-in, a window relocated after framing, a beam changed on the fly. Each one risks failing final inspection.
- Incomplete title-24 energy calcs. Windows, doors, and insulation documents have to be submitted as part of the package; missing information means delays and corrections.
- ADU dimensions that don’t match local zoning envelope. Setbacks, height limits, and lot coverage requirements vary by parcel. A fully built unit that fails zoning review is the most expensive mistake in this list to correct.
The fix is procedural, and it starts before the permit is pulled. Have the full design package reviewed against current city requirements before filing. Have a structural engineer’s stamp on the drawings that need it. Walk the plan through the inspection checklist mentally, section by section, before rough-in starts. Every hour spent here saves five at re-inspection time. If you want to see how a full-scope contractor sequences this work, from design through framing, our Groundwork Construction Co. of San Jose home page has the overview; the point of the guide, though, is that you should demand this sequencing from whoever builds your addition.
How to Pursue Warranty Claims and Contractor Accountability
When problems surface after your addition is “finished,” the first question is whether the contractor is still on the hook. The answer is almost always yes, but only if you have the documentation to prove what was promised and when the defect appeared. Warranty claims fail more often on documentation than on merit.
The one document that matters most is the written contract with a defined workmanship warranty period. In San Jose, most reputable contractors offer a warranty in the one-to-two-year range for workmanship, and the good ones offer more. The 730-Day Done Right Promise is Groundwork’s version of this, and it’s one of the reasons we lead with it whenever workmanship trust comes up. If your contract states a warranty period, that’s your boundary. If you were promised a warranty verbally and it isn’t in writing, the claim gets much harder.
The claims process, step by step:
- Document the defect in writing with dated photos, measurements, and a plain-language description. Email is your friend; it timestamps the claim.
- Reference the contract and warranty language in your message. Quote it. Don’t argue, just cite.
- Request a specific remedy in writing, whether it’s an inspection, a repair, or a written diagnosis from a third party.
- Give a reasonable window to respond. Reputable contractors will respond quickly; the ones who don’t are telling you something.
- Escalate if needed. California’s Contractors State License Board (CSLB) accepts complaints, and a well-documented file is the best leverage you have. Filing also flags the contractor’s license.
- Get an independent inspection if the contractor disputes the diagnosis. A structural engineer’s or licensed inspector’s written report is what turns a dispute into a resolution.
What most homeowners don’t realize is that the strongest protection against this scenario is an upfront, line-item written scope and a stated warranty period at contract signing. That’s what “upfront pricing, no surprises” means in practice. For the other services that tie into an addition, such as rebuilt driveways or new fencing around the completed unit, our Driveway & Pavers in San Jose and Fence Installation in San Jose pages each discuss warranty and workmanship expectations in the same vein.
The Documentation You Need from Day One
The homeowners who resolve their addition or ADU problems quickly and cheaply are the ones who can produce a complete paper trail on demand. The ones who struggle are missing a contract page, a permit number, or the original structural drawings. If you haven’t started your project yet, here’s the documentation checklist we recommend. If you’re already deep in a problem, collect as many of these as you can now.
Collect and store in one place (physical and digital):
- The signed contract, with all change orders, including the line-item scope and warranty terms.
- All permit applications, issued permits, inspection cards, and the final sign-off.
- The full plan set, including structural, architectural, mechanical, and electrical drawings with engineer stamps.
- The soils report if one was required.
- Product datasheets and warranties for installed materials, e.g., roofing, windows, and appliances (CertainTeed, Owens Corning, IKO, and Atlas all publish material warranties you should keep).
- Photos taken at rough-in, framing, and waterproofing stages, before walls closed.
- All emails, texts, and written communications with the contractor, in chronological order.
- Payment records and receipts, with dates.
- The exact warranty start date, and the exact warranty end date.
A simple three-ring binder and a cloud folder cover it. It’s the cheapest insurance you’ll ever buy on a six-figure project, and it turns a contractor dispute from a he-said-she-said into a one-page fact sheet.
Common Mistakes to Avoid
- Skipping the structural engineer’s stamp on plans. Saving $1,500 on engineering is how you end up with a five-figure foundation repair two years later. In San Jose’s expansive clay soil, this is not negotiable.
- Accepting a verbal warranty. If the workmanship warranty isn’t written into the contract with a start date and a defined scope, it barely exists. Get it in writing or get a different contractor.
- Patching hairline cracks before diagnosing them. Patching hides the symptom. If the crack is wider than 1/8 inch or diagonal from an opening, get an engineer to look before the drywall guy covers it up.
- Adding the ADU without upgrading the electrical service. The most common post-occupancy call we get. Do the load calculation before rough-in, not after the tenant moves in.
- Installing premium roofing over a flawed transition flashing detail. CertainTeed and Owens Corning make excellent shingles, but no shingle defends against poorly flashed roof-to-wall joints at your addition seam.
- Doing unpermitted change orders mid-build. Every change made outside the permit puts your final inspection at risk, and it’s the top reason a San Jose addition fails re-inspection.
- Failing to photograph rough-in before walls close. You can’t prove what was installed if you can’t see it. Take photos at framing, electrical, plumbing, and waterproofing stages.
See the difference
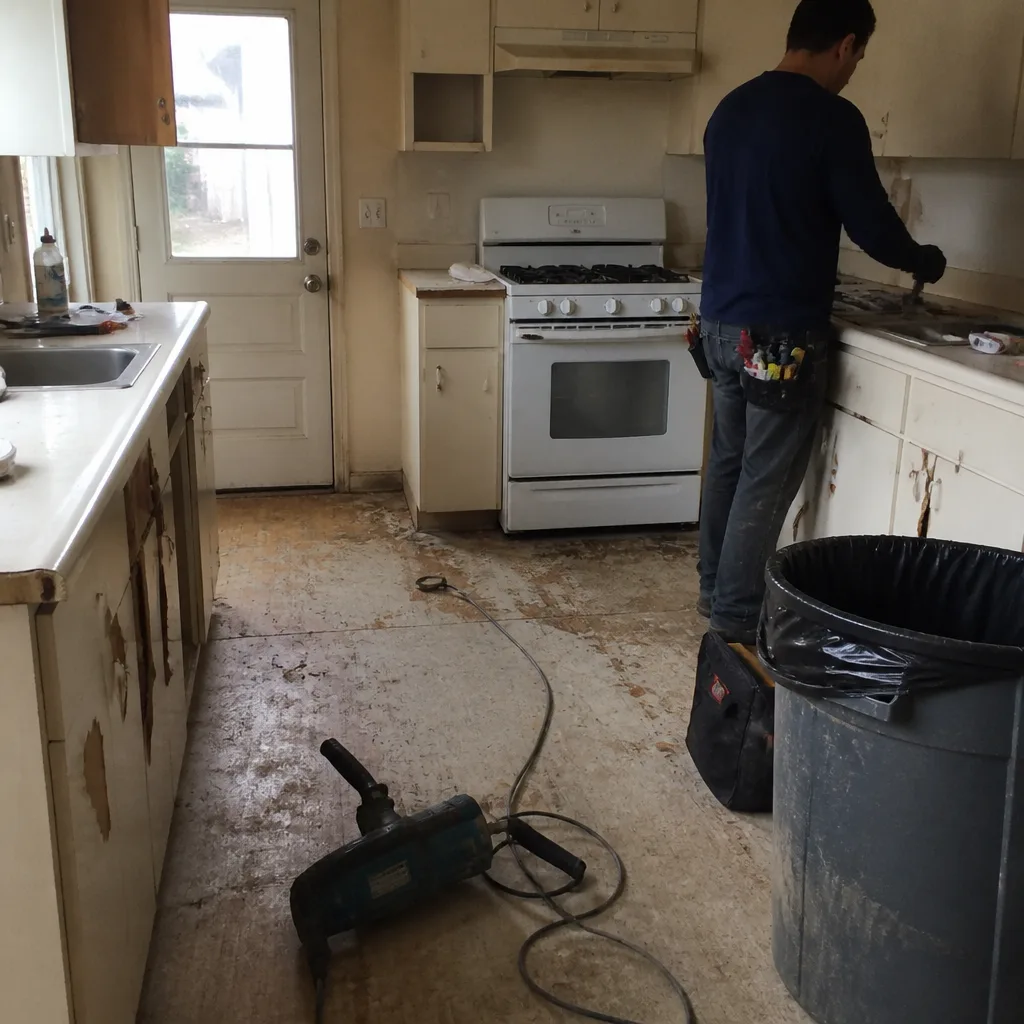 Before
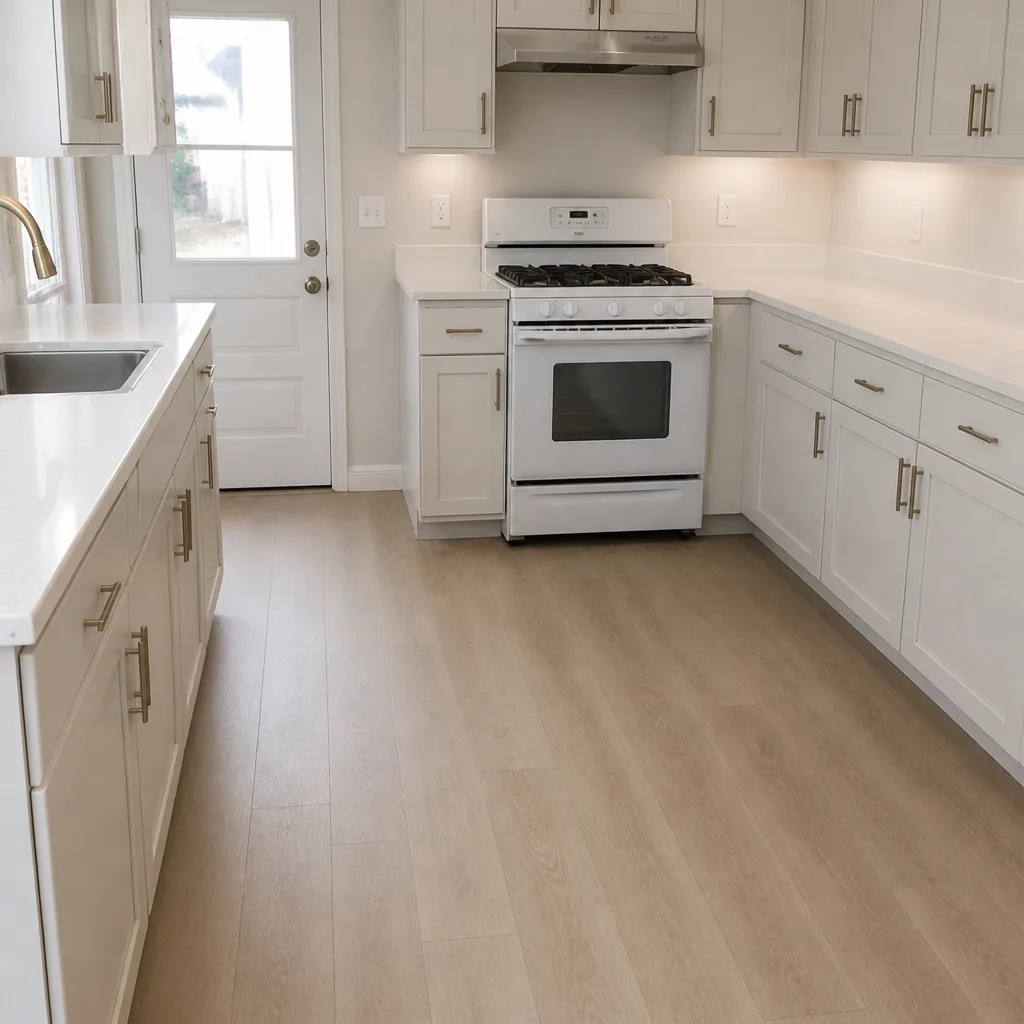 After
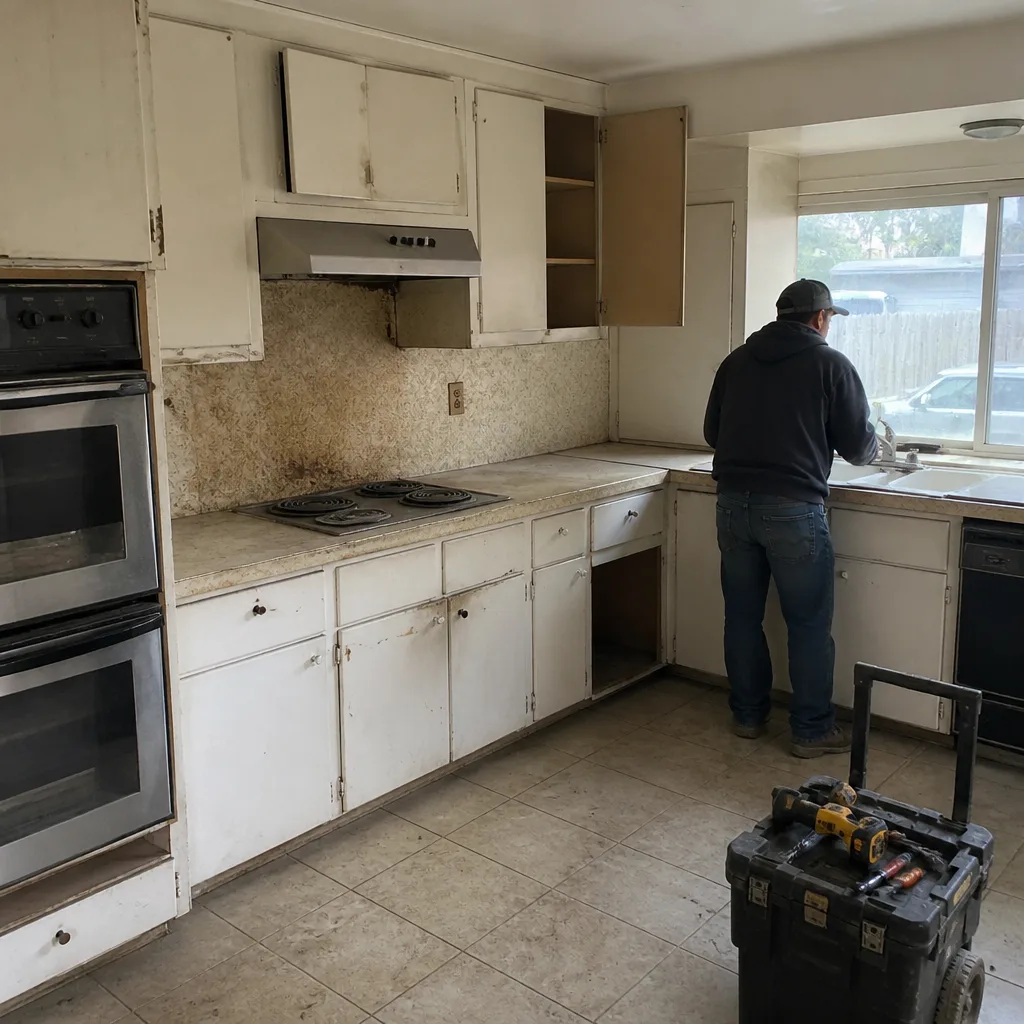 Before
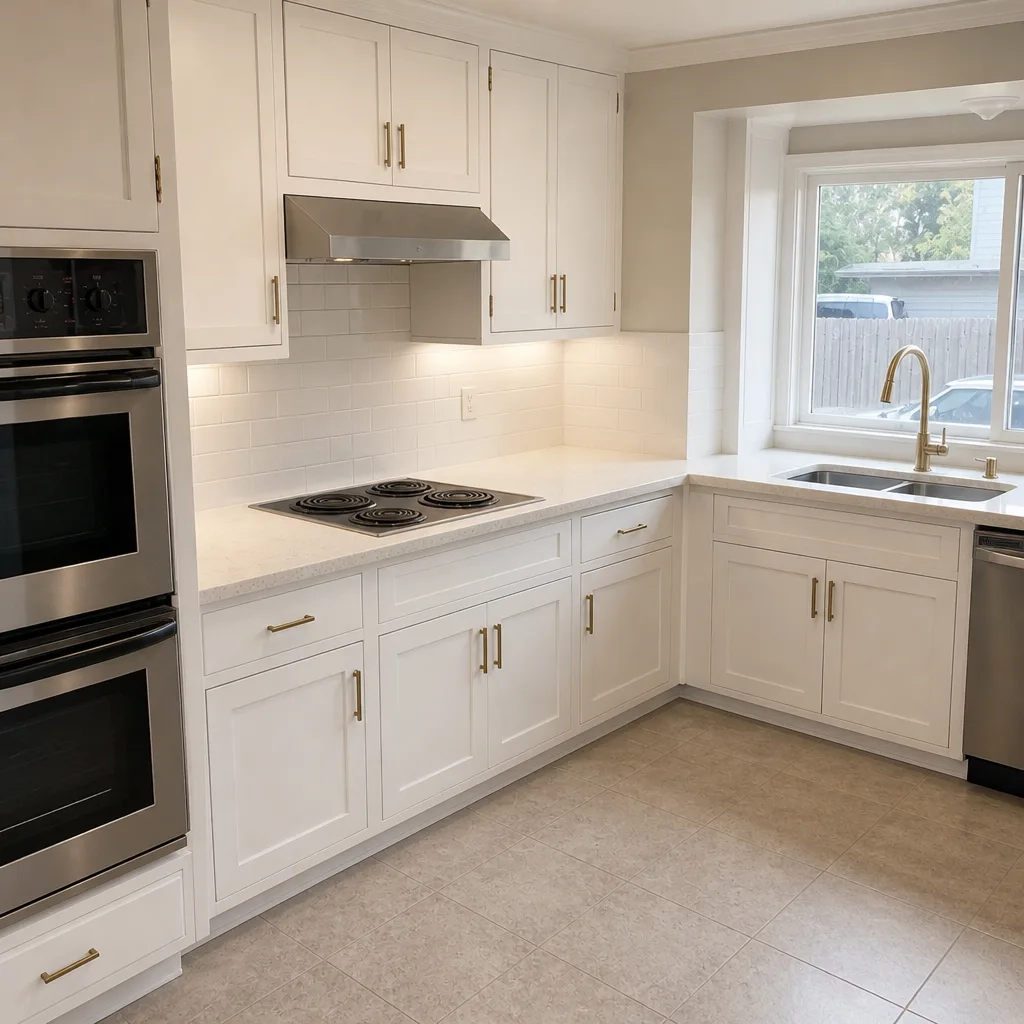 After
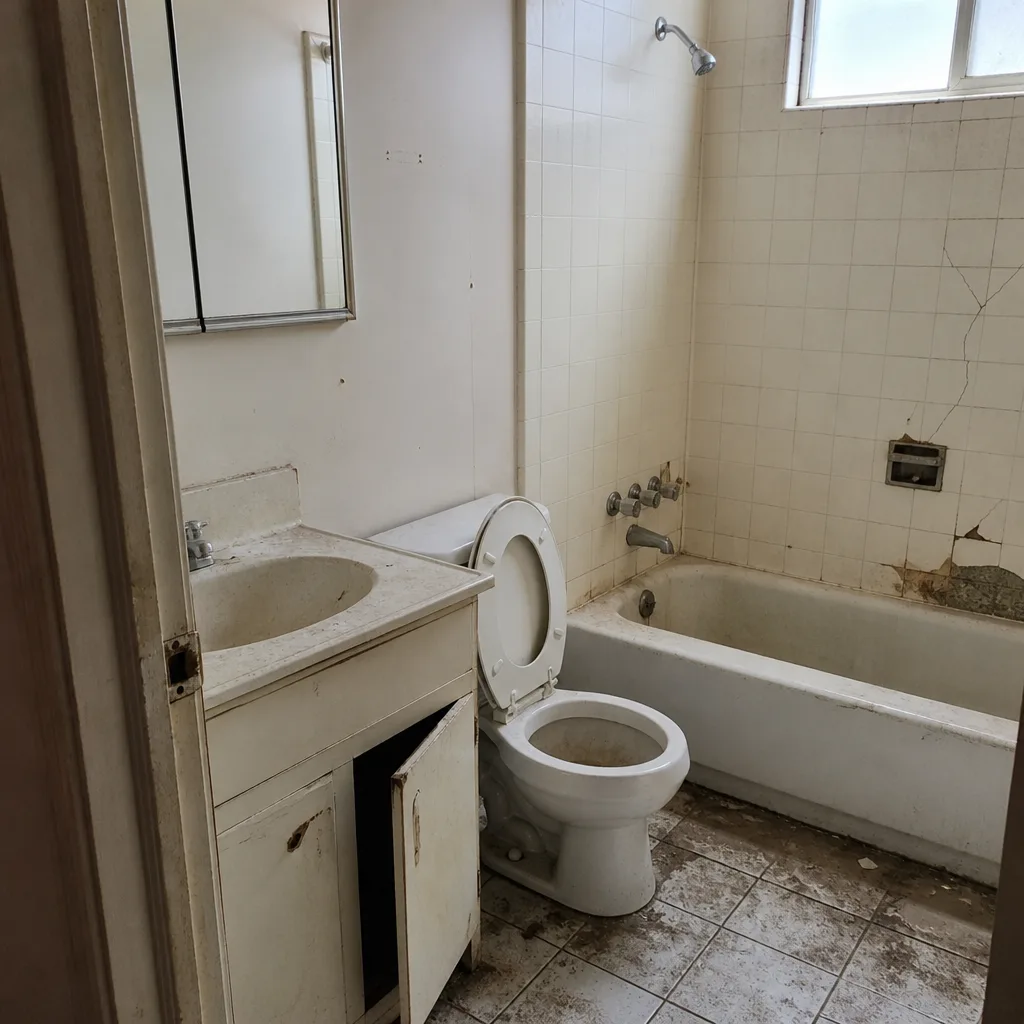 Before
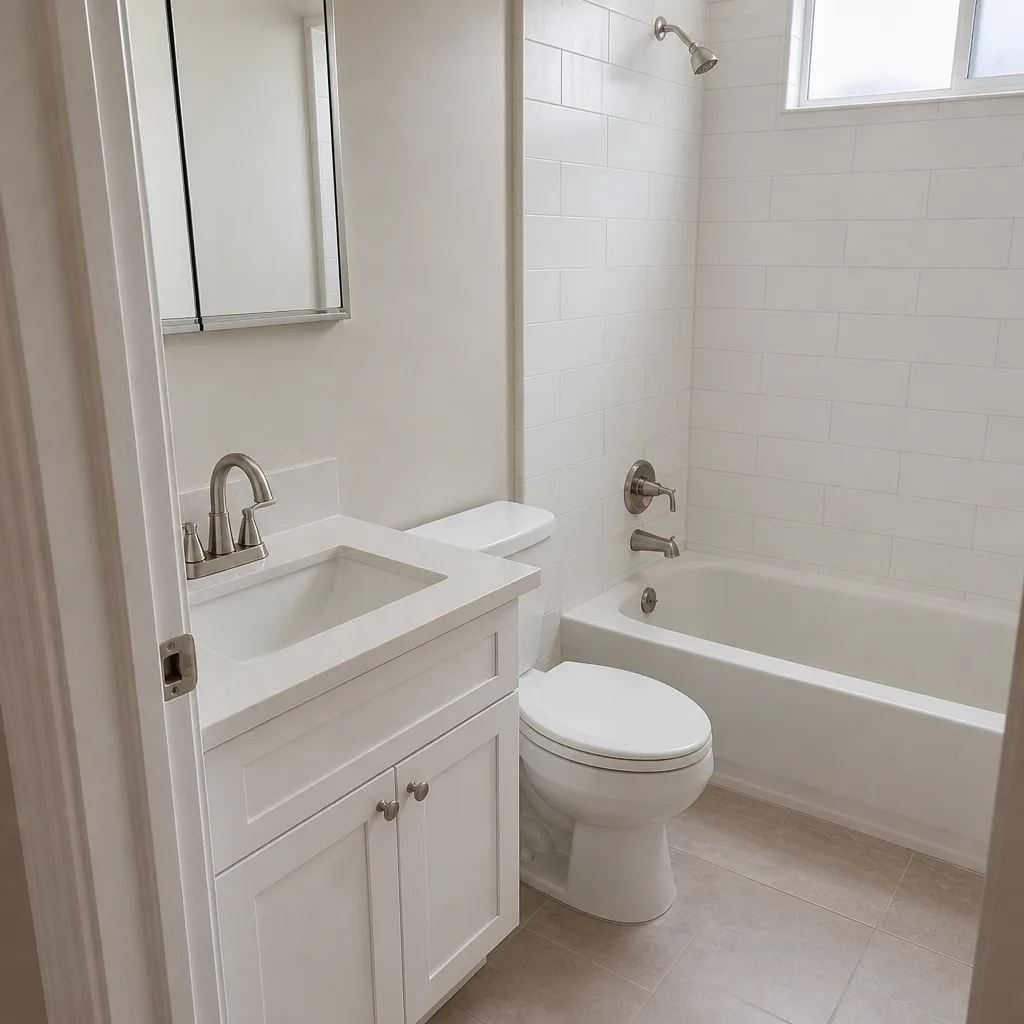 After
When to Call a Professional
Call a licensed contractor or engineer when you see any of the following: diagonal or stair-step cracks in exterior cladding or foundation; doors or windows that suddenly bind within a year of completion; a floor that slopes noticeably; water stains near the transition wall or in the new addition’s ceiling; a tripped breaker that resets and trips again within the hour; a failed final inspection with items you don’t recognize. These are not problems to monitor. They’re problems to diagnose.
There’s a smaller set of problems you can handle yourself: patching a hairline drywall seam, replacing a failed GFCI outlet, tightening a door hinge. Anything that involves opening up a wall, foundation, or the electrical panel is a professional job, and the safety duty of care here is real. Amateur work on the panel or the exterior wall framing is how a manageable problem becomes a chronic one. Groundwork Construction Co. of San Jose offers free estimates in San Jose. Call (833) 988-3521 to schedule yours, or use the free project estimate and design consult to get a second opinion before you commit to a repair.
Frequently Asked Questions
Cracks are serious if they’re wider than 1/8 inch, diagonal (radiating from a door or window corner), stair-stepped in brick or stucco, or growing over weeks. Hairline cracks under 1/16 inch at drywall seams are normal settling and can be patched once. When in doubt, get a structural engineer’s opinion before patching; diagnosis is far cheaper than a misdiagnosed repair. Call (833) 988-3521 for a free estimate on a professional assessment.
The most common cause is improper roof-to-wall flashing at the connection, followed by caulk-sealed siding joints where proper flashing was skipped, and foundation stem wall joints that weren’t keyed or waterproofed. In San Jose’s dry sun climate, caulk fails within a few years and takes the waterproofing with it. The transition zone is the single most failure-prone area of an addition. Call (833) 988-3521 for a free estimate – a repair here is far cheaper than a chronic leak.
An ADU trips breakers when the electrical panel was never upsized for the additional load, when individual circuits are undersized (a single 15-amp circuit trying to feed a kitchenette), or when the wiring was stapled too tightly or arced against framing during installation. Check the panel’s load calculation against the permitted drawings before just resetting the breaker. Call (833) 988-3521 to schedule a free estimate with a licensed electrician who can read the rough-in properly.
You receive a written correction list and a window to fix the items and re-inspect. The most common correction items in San Jose are smoke/CO detector placement, fire separation between the ADU and main house, electrical panel clearances, GFCI/AFCI protection, egress window sizing, and exterior grading. Fix all items in one pass, photograph each correction, and schedule re-inspection within the allowed window. Call (833) 988-3521 for a free estimate on corrections before your case goes to enforcement.
Yes. A documented warranty claim doesn’t require the contractor’s cooperation. Put your claim in writing referencing the contract warranty language, email it with dated photos, and give a reasonable response window. If there’s no response, file a complaint with the California Contractors State License Board (CSLB); a well-documented file triggers their review of the contractor’s license. Call (833) 988-3521 for a free estimate if you need a second opinion before escalating.
Yes, for many San Jose homeowners, if the numbers work for the specific lot. An attached or detached ADU adds rental income and long-term property value, but the project only makes sense when the design, permits, and electrical and plumbing loads are sized correctly from day one. Skipping any of those three is where the “worth it” calculation falls apart. Call (833) 988-3521 for a free project estimate and design consult before committing.
The Bottom Line
Most addition and ADU problems are born at the design table and permitted into the structure before a single nail is driven. The homeowners who avoid the expensive version of these problems do three things: insist on a fully engineered permit set, document the rough-in with photos before walls close, and demand a written workmanship warranty at contract signing. If problems surface anyway, diagnose before you patch, trace moisture to the transition zone first, and pursue warranty claims with a written paper trail. From foundation to finish line, the difference between a manageable issue and a structural or legal liability is how early you intervene. Groundwork Construction Co. of San Jose builds with a 730-Day Done Right Promise behind every project because the paperwork has to outlast the construction.
Call (833) 988-3521 to schedule your free estimate. Calls are answered by a live person, 24/7, and upfront pricing means the number you see is the number you pay. If you’re planning a new addition or need a second opinion on one that’s already troubled, our team walks in with the same documentation discipline we’re asking you to use.
Written by the team at Groundwork Construction Co. of San Jose.