Last updated November 18, 2026






Free written scope consultation - allowances, timeline, and change-order rules on paper before a single trade is scheduled
Driveway & Pavers Maintenance Checklist for San Jose Homeowners
The number one cause of premature paver failure in San Jose isn’t freeze-thaw damage like in colder climates. It’s root intrusion from valley oaks and liquid amber street trees that homeowners never see coming until jointing sand starts disappearing. Those roots lift a paver a quarter inch, water finds the gap, and the base layer starts to soften long before anything looks wrong from the sidewalk. A driveway that should last 25 years can be ready for replacement in 10 if you miss the tasks that actually matter here. This checklist is built around Santa Clara Valley’s real climate, its clay soils, and the tree patterns that shape how pavement behaves in San Jose.
Quick Answer
For San Jose homeowners, driveway and paver maintenance comes down to four seasonal tasks: replenish joint sand every 2 to 3 years, seal the surface in late September or early October before the rainy season, clear organic debris from joints and drains ahead of winter, and watch for rocking pavers that signal subsurface washout. The dry summer and moisture-shifting winter create a stress cycle unique to the valley. Follow the schedule here and you protect both the pavement and the base beneath it.
Styles & brands we work with
- Kitchen remodeling
- Bathroom remodeling
- Home additions & ADU
- Roofing
- Windows & doors
- Driveway & pavers
- Fence
Table of Contents
- Why San Jose’s Climate Demands a Different Checklist
- The Seasonal Sealing Schedule Tied to San Jose Rainfall
- Clay Soils in Willow Glen and Almaden Valley: Differential Settling
- Joint Sand Replenishment: Intervals That Actually Work
- Spotting Early Subsurface Washout Before Pavers Rock
- Pressure Washing: What Restores Polymeric Sand and What Destroys It
- Tree Root Intrusion and Street Tree Patterns
- A Month-by-Month Maintenance Calendar
Why San Jose’s Climate Demands a Different Checklist
Most paver maintenance guides are written for the Northeast or Midwest. They assume frost heave, salt damage, and long freeze cycles. San Jose doesn’t have that problem. What it has is a five-to-six-month dry stretch with almost no rain, followed by a winter where moisture returns quickly and the soil underneath pavement swells and contracts. That’s a different kind of stress, and it calls for a different set of tasks.
San Jose averages roughly 15 inches of rain a year, almost all of it between November and March. During those dry summer months, the clay-heavy subgrade beneath a driveway dries and shrinks. When the first real storms hit in late November or December, that soil takes on water fast, expands, and can shift. If a paver base wasn’t compacted to standard or the drainage plane is compromised, you see the result: pavers that were tight in August start rocking in January.
There’s a second San Jose factor most checklists miss entirely: UV exposure. The valley gets around 260 sunny days a year, which is brutal on polymeric joint sand. That sand is what locks pavers together and keeps water out of the joints. Under constant sun and heat, polymeric binders break down faster here than the manufacturer’s general guidance assumes. Replenishing on a 3-year cycle might be fine in a mild coastal climate. In San Jose, you should inspect joints annually and plan to top off sand every 2 to 3 years depending on sun exposure and foot traffic.
The takeaway: a generic spring-and-fall checklist won’t protect a San Jose driveway. What protects it is understanding the dry-then-wet cycle and staying ahead of it. If you’d rather hand the whole maintenance picture to a pro, our Driveway & Pavers in San Jose team handles installation, repair, and resealing.
The Seasonal Sealing Schedule Tied to San Jose Rainfall
Seal your paver driveway in late September or early October, before the first meaningful rain. That single timing decision matters more than the sealant brand. Here’s why.
Sealer needs a dry, clean surface and a curing window with no rain. In San Jose, the reliable dry window ends around mid-October. If you seal in November, you risk a storm hitting before the sealer cures, which traps moisture and leaves a milky haze. If you seal in spring, the surface is about to face its hardest UV months with a fresh coat that will wear faster than it should.
Late September and early October give you a clean setup: months of dry weather behind you so the surface is fully dry, and the rainy season still weeks away so the sealer cures correctly. We’ve watched too many San Jose driveways get sealed in the wrong window and pay for it with a cloudy finish that never fully clears.
What the annual cycle should look like:
- Late September / early October: Deep clean the pavers, inspect joints, top off joint sand, then apply sealer. This is the one big maintenance event of the year.
- November through March (rainy season): Clear debris from joints and drainage channels after storms. Check for pooling water, which signals a drainage problem worth fixing now.
- April through August (dry season): Sweep regularly, inspect for joint sand loss, spot-clean stains, and let the pavement breathe. Don’t seal in this window.
If you live near the foothills in Almaden Valley or on the eastern edge of San Jose near the hills, your local rainfall can run higher than the valley floor average, so getting the seal down by early October matters even more. For homeowners thinking further ahead and planning a full surface replacement, a coordinated project plan from foundation to finish through Groundwork Construction Co. of San Jose home keeps the driveway, fence, and landscaping phases from stepping on each other.
Clay Soils in Willow Glen and Almaden Valley: Differential Settling
San Jose’s soils aren’t uniform, and that’s the detail most maintenance guides skip. Two neighborhoods illustrate the problem clearly.
Willow Glen sits on older, established lots with mature trees and soil that has been worked and reworked for generations. Much of the area has clay loam that holds moisture well but drains slowly. Almaden Valley has heavier expansive clay in many pockets, particularly toward the hillsides. Expansive clay does one thing very well: it swells when wet and shrinks when dry. Under a driveway, that movement is uneven. One corner of the slab can heave slightly while the rest stays put. That’s differential settling, and it’s what causes the hairline heaves and low spots that eventually become rocking pavers.
What to watch for if your home is in one of these neighborhoods:
- Water pooling in a low corner after rain instead of draining off the surface. That’s a sign the base has settled unevenly.
- Individual pavers sitting a fraction higher or lower than their neighbors. Differential movement starts small.
- Grass or weeds sprouting from joints on one side of the driveway while the rest stays clean. Weeds follow water, and water follows settling.
- Larger-than-normal gaps opening between pavers after a wet winter, which points to the base moving underneath.
The fix isn’t always a full replacement. In many Willow Glen and Almaden Valley driveways, a targeted repair that lifts the affected pavers, re-levels and re-compacts the base, and reinstalls them solves the problem for years. The earlier you catch the settling, the less it costs. Ignore it and the movement spreads.
Joint Sand Replenishment: Intervals That Actually Work
Joint sand is the working part of a paver driveway. It locks the pavers together, transfers load across the surface, and blocks water from getting into the base. When the sand is gone, everything the pavement does gets harder. In San Jose, the sun and dry air wear that sand down faster than most general advice suggests.
A working rule for San Jose driveways:
- Light foot traffic (walkways, patios): Replenish joint sand every 3 to 4 years, and inspect it every year.
- Driveway with regular vehicle traffic: Replenish every 2 to 3 years, and check after every rainy season.
- High-sun, fully exposed driveways: Inspect twice a year; plan on replenishing every 2 years.
Check the joints yourself in five minutes by pressing a thumb or a dull screwdriver head into a joint. If the sand sits flush or near flush with the paver surface, you’re fine. If there’s a visible recess of a quarter inch or more, it’s time to top it off. Use a polymeric or stabilized joint sand matched to the manufacturer’s spec, sweep it into the joints, and mist it lightly to activate the binder.
The reason to stay on top of this in San Jose specifically: when sand disappears from a joint, rain and irrigation water run straight into the base layer. The base layer is the silent foundation of the whole driveway. Keep the sand full and the base stays dry and stable. Let it wash away and you accelerate the exact settlement problem that leads to replacement.
Spotting Early Subsurface Washout Before Pavers Rock
Visible paver rocking is the late-stage warning. By the time a paver rocks underfoot, water has usually been working under the base for a season or two. Catch it earlier with these checks.
- Walk the driveway after a heavy rain. Look for any spot where water pools instead of sheeting off. Standing water is the first clue the base is no longer pitching correctly.
- Press each paver at its corners. A properly bedded paver is dead flat and silent. Any slight give or faint hollow sound is a red flag.
- Look for sand migration. Sand collecting in the gutter at the low end of the driveway, or a dark, damp-looking patch near an edge, suggests water is moving through the joints and out from under the pavement.
- Check the edges and transitions. Where the driveway meets the garage apron or the sidewalk, edges are the most common place for washout to start, because that’s often where the drainage plane ends.
- Look near downspouts and irrigation heads. A downspout pointed at a driveway corner or a sprinkler head aimed at a paver joint will shortcut a season’s worth of water damage in a few months.
If you find any of these signs, don’t wait. A small repair that lifts a few pavers, corrects the base, and reinstalls them is far cheaper than replacing a whole section later. In San Jose, the best time to do the inspection is late fall, right as the rainy season starts, so any fix goes in before winter water works on it.
Pressure Washing: What Restores Polymeric Sand and What Destroys It
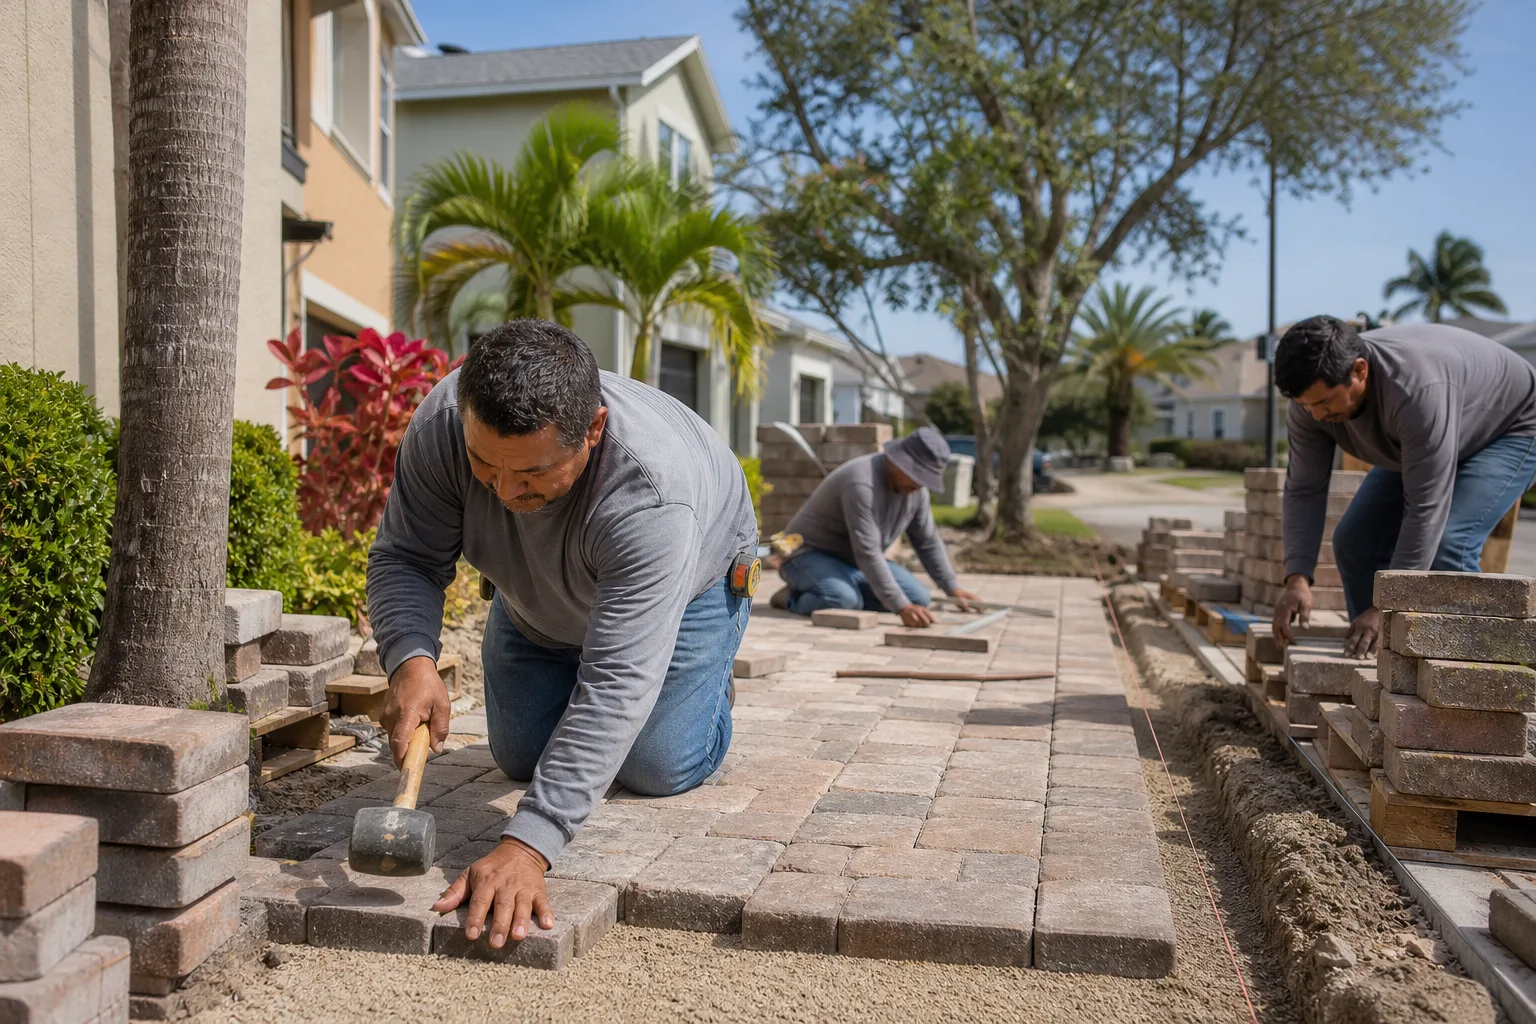
Most guides get this backward. They tell you to blast the driveway with a high-pressure washer to remove stains and grime, which is exactly how you ruin polymeric sand. High-pressure water, especially when aimed at a joint, strips the binder right out of the sand and blows it out of the joint. A single aggressive wash can undo three years of maintenance.
The correct method for a paver driveway:
- Use a surface cleaner attachment, not a wand. A rotating surface cleaner spreads water pressure evenly instead of concentrating it in one spot. It cleans the paver faces without driving into the joints.
- Keep pressure moderate. Wide nozzle, low pressure, and a steady pass. The goal is removing organic growth and surface grime, not scouring the paver surface.
- Never hold the nozzle at a joint or an edge. That’s where damage happens. Sweep across the surface, not into the joints.
- Clean before you re-sand, not after. Wash, let it dry fully, then top off the joint sand and reseal. Cleaning after re-sanding washes out the fresh sand.
- Skip the harsh chemical sprays near landscaping. Pre-treat organic growth with a light, paver-safe cleaner and let it do the work instead of cranking up pressure.
The restoration move for polymeric sand isn’t pressure washing at all. It’s cleaning the surface gently, letting it dry, then replenishing the sand and resealing. That keeps the joint binder intact. In our experience across San Jose jobs, that simple correction makes the biggest difference between a driveway that looks tired after five years and one that looks sharp after fifteen. For help with a clean-and-seal job, the Driveway & Pavers in San Jose page covers what’s involved.
Tree Root Intrusion and Street Tree Patterns
Tree roots are the hidden threat in San Jose that most homeowners never consider until the damage is visible. Valley oaks, liquid amber, and the large street trees common in older San Jose neighborhoods send roots under driveways that were set too close to a mature tree, or laid over a root zone that ran deeper than anyone accounted for.
What root intrusion actually looks like:
- Joint sand disappearing from a line of pavers, often following a path that traces a root run.
- A single paver or a short section lifting while neighbors stay flat.
- Cracking at the edge of a driveway nearest a large tree, particularly a fixed concrete apron or border.
- Heavy weed growth in a joint line after rain, because the root lifted the paver and let water in.
Root management in San Jose has a practical limit. You can’t cut large structural roots from a protected oak without risking the tree, and removing a healthy mature street tree is usually not an option. The workable approach is to plan for movement. That means flexible joint sand that can absorb minor heave, periodic inspection along the tree side of the driveway, and when a root has clearly lifted a section, lifting and re-bedding those pavers on a mat or a modified base layer. In some San Jose yards, relocating the driveway border or adding a root barrier near the tree is worth the cost because it stops the problem at the source.
If you’re planning a new Fence Installation in San Jose or a driveway replacement, talk about tree roots and the root zone before work starts. Planning around roots from the beginning costs a fraction of digging up a lifted driveway later.
A Month-by-Month Maintenance Calendar for San Jose
Here’s the full year laid out in the order San Jose’s climate actually runs, not the generic version.
- January through March (rainy season): After each significant storm, clear debris from joints and drainage paths. Check for pooling water and rocking pavers. Fix any downspout or irrigation runoff that hits the driveway.
- April (first dry stretch): Sweep thoroughly, spot-clean stains, and do a full joint check now that winter movement has settled. Note any pavers that shifted.
- May and June (early dry season): Address any repairs identified in April before the heavy summer heat. Repairing base problems in mild weather gives the materials a better curing window.
- July and August (peak heat and UV): Light maintenance only. Inspect joints for sand loss from sun and traffic, spot-clean, and keep irrigation from spraying the pavement.
- September (pre-seal prep): Deep clean the surface, confirm joints are full, and schedule sealing for late September or early October.
- October (sealing season): Apply sealer in dry, moderate weather with a clear forecast. This is the main event of the year.
- November and December (storm season entry): Clear any leaf drop from joints and gutters, confirm drainage is flowing, and check the seal is holding.
Keep this calendar handy. The tasks are simple. It’s the timing that protects the driveway. If you’re planning a bigger project alongside a driveway refresh, our Home Additions & ADU in San Jose team can coordinate the site work so the new construction doesn’t undo what you just maintained.
Common Mistakes to Avoid
- Sealing in the wrong season. Sealing in spring or summer traps the pavement headed into its hardest UV months with a fresh coat that wears early and can haze. Wait for late September or early October in San Jose.
- Pressure washing at high pressure into the joints. This strips polymeric sand binder and opens the joints to water. Use a surface cleaner attachment and moderate pressure, or don’t do it.
- Ignoring joint sand loss. A quarter inch of missing sand in San Jose leads straight to base washout and differential settling. Check joints twice a year on a full-sun driveway.
- Planting or keeping a large tree too close to the driveway. Valley oaks and liquid amber send roots under pavement. Plan around root zones from the start instead of lifting pavers later.
- Letting irrigation and downspouts dump onto the driveway. Redirect them away from the pavement. This is the cheapest fix on the entire list and the one most often skipped.
- Waiting until pavers visibly rock to investigate. Rocking is late-stage. Watch for pooling water and sand migration first, when repairs are small.
- Using the dry-season weather as an excuse to skip inspection. The dry months are exactly when you can see settlement and joint problems clearly, with no rain to hide them.
See the difference
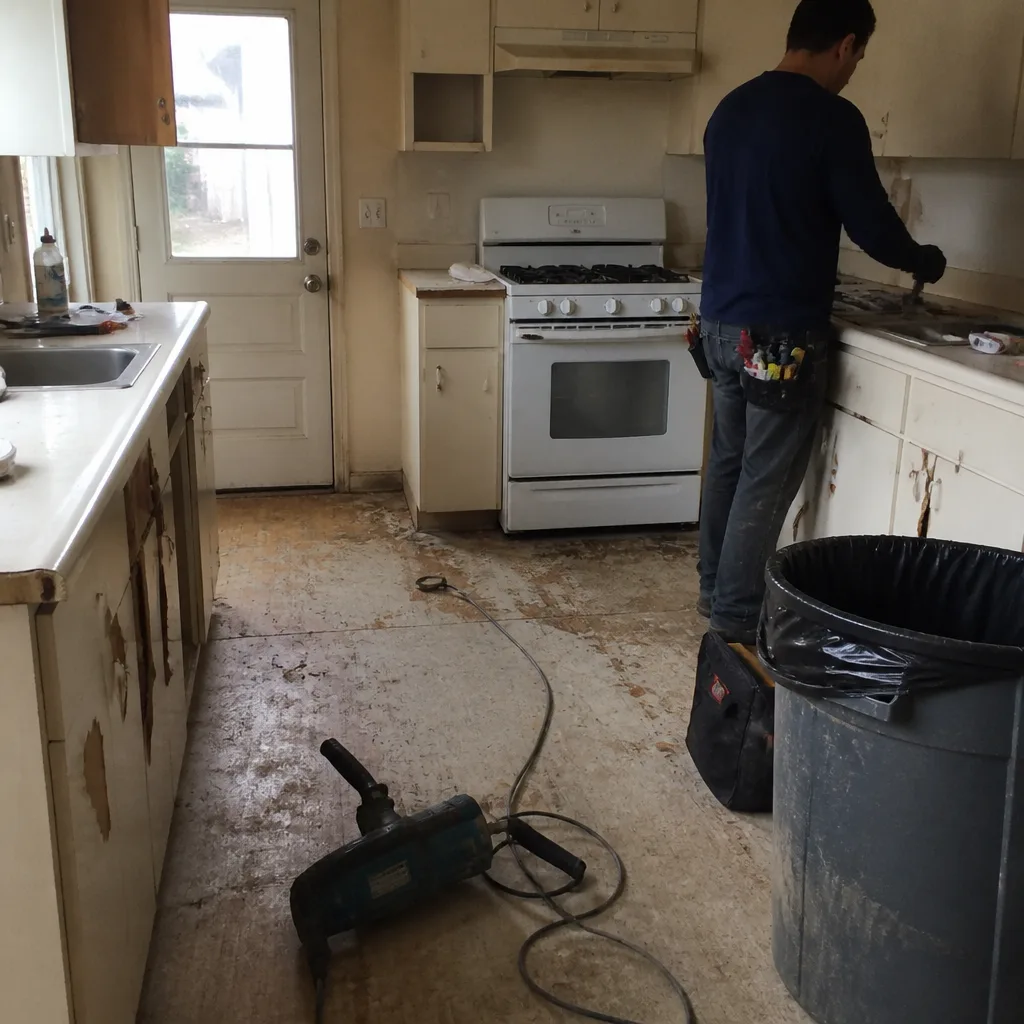 Before
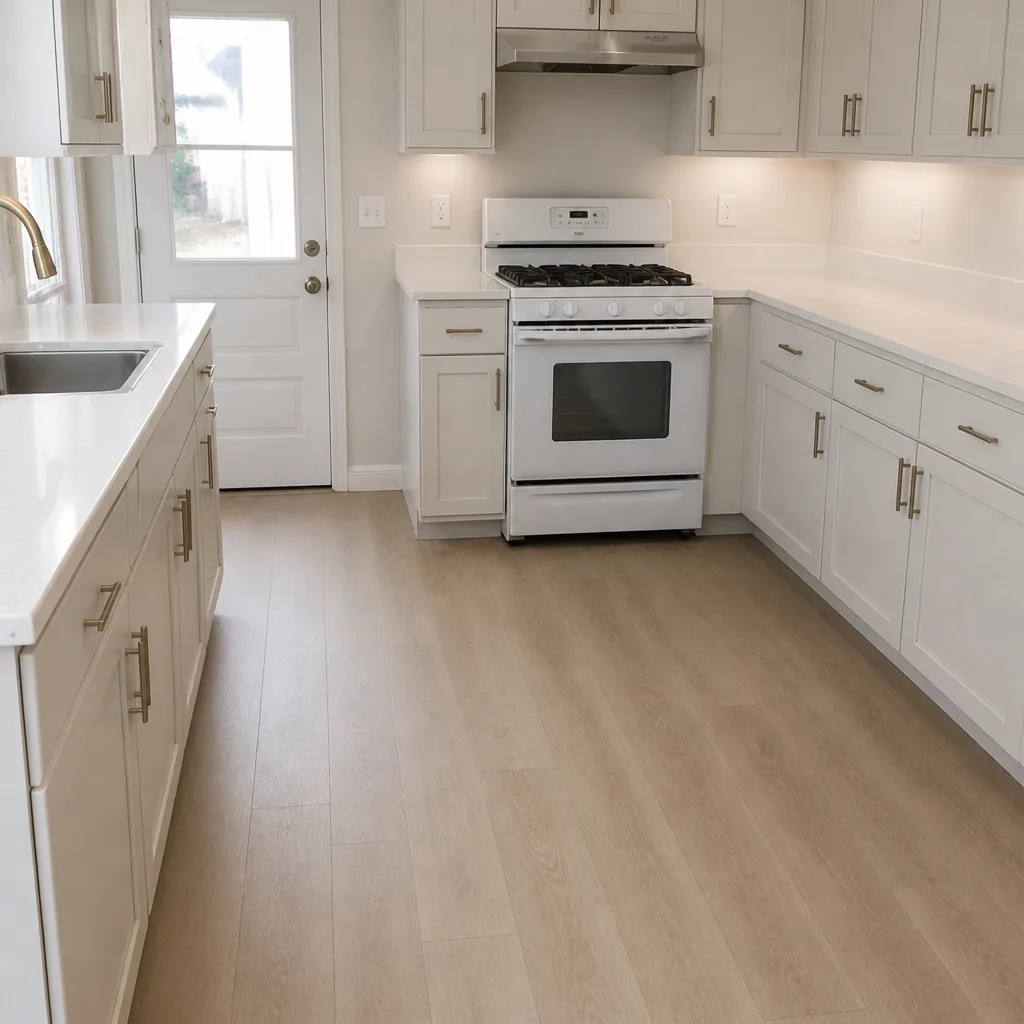 After
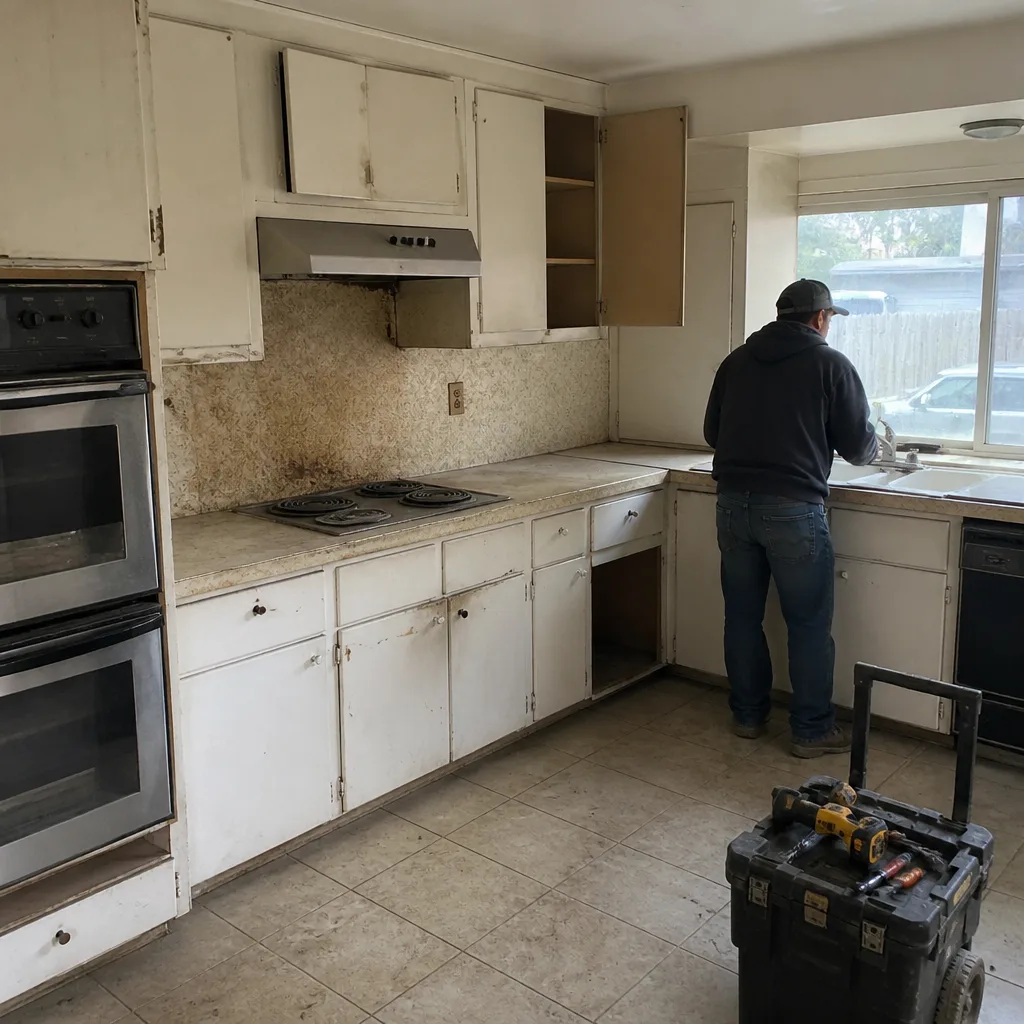 Before
 After
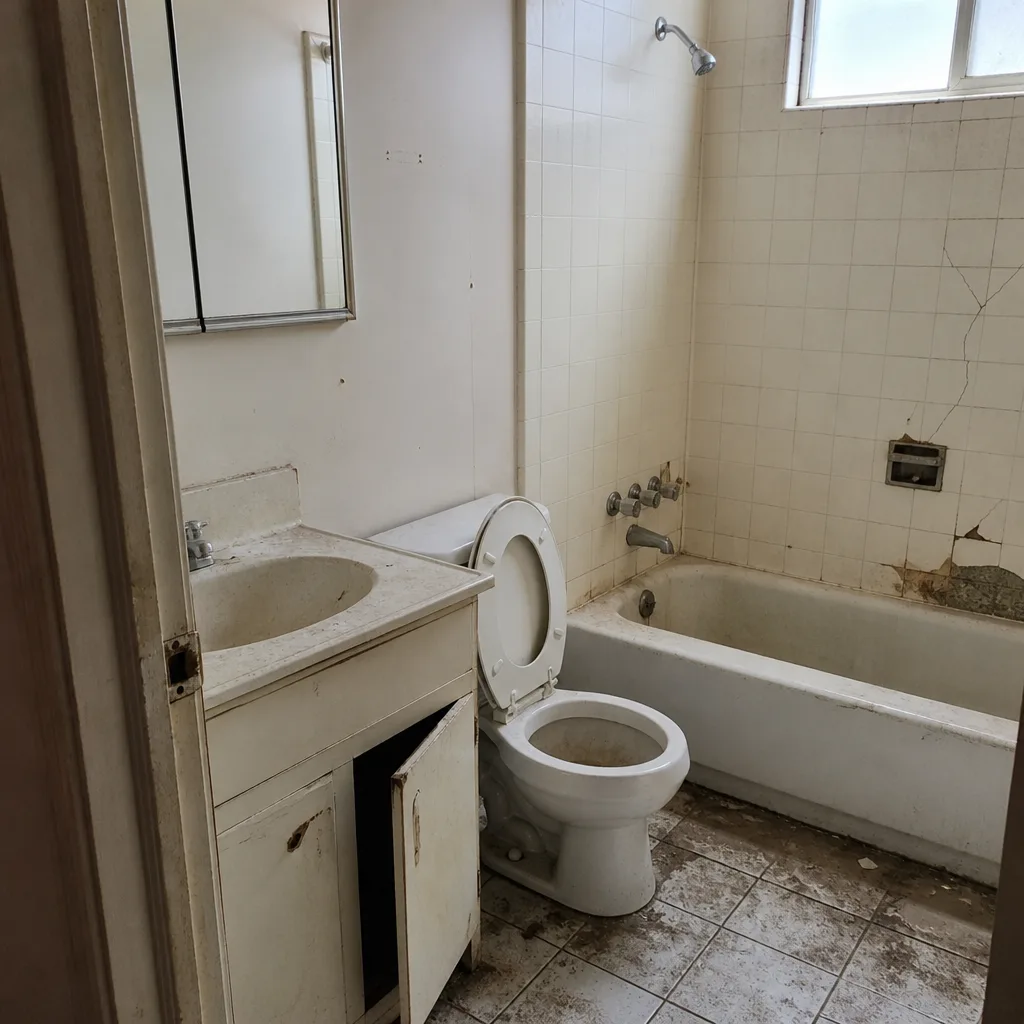 Before
 After
When to Call a Professional
Most of this checklist you can do yourself: sweeping, inspecting joints, redirecting downspouts, and clearing debris. But some problems need a professional before they get expensive. Call a pro if you see pavers rocking in more than one area, if water pools on the driveway after rain, if joint sand keeps disappearing despite topping it off, or if root intrusion has clearly lifted a section. Those are signs the base layer needs attention, and that work means lifting pavers, correcting the base, and reinstalling correctly. For those jobs and for a full reseal, Groundwork Construction Co. of San Jose offers free estimates in San Jose. Call our number to get a written, upfront quote with no surprises. Estimates are free.
Every project we take on is covered by our 730-Day Done Right Promise: if it’s not done right, we make it right. Our technicians have up to 12 years of experience, and the local pro is state-licensed and insured as required.
Frequently Asked Questions
Seal a paver driveway in San Jose every 2 to 3 years, and always apply it in late September or early October before the rainy season. San Jose’s intense UV exposure and dry summers break down sealer faster than in cooler climates, so a full-sun driveway may need sealing closer to the 2-year mark while a shaded one can stretch to 3. Call (833) 988-3521 for a free estimate on a clean-and-seal job.
Joint sand disappears fastest in San Jose because of high summer UV exposure and the dry-then-wet seasonal cycle. The sun degrades the polymeric binder, and winter rain and occasional irrigation runoff wash the loose sand out. If it keeps happening in the same spots, tree roots or a base drainage problem may be lifting the pavers and letting water in. Call (833) 988-3521 for a free inspection and estimate.
You can, but only with a surface cleaner attachment at moderate pressure, never a high-pressure wand aimed at the joints. High pressure strips the polymeric sand binder right out of the joints, which is the opposite of maintenance. Clean gently, let the surface dry fully, then top off the joint sand and reseal. Estimates are free at (833) 988-3521 if you want it handled correctly.
Differential settling in those San Jose neighborhoods comes from the expansive clay soil, which swells when wet and shrinks when dry. One side of the driveway can heave while the other stays put, and the result is low spots, hairline heaves, and eventually rocking pavers. Older Willow Glen lots with mature trees add root movement. A targeted repair that re-levels and re-compacts the base fixes most of it. Call (833) 988-3521 for a free estimate.
Yes, if the tree is a valley oak, liquid amber, or another large street tree whose roots run under the driveway. The roots lift individual pavers, which opens the joints and lets water into the base. You can’t cut large structural roots from many protected trees, so the practical approach is planning around root zones and re-bedding affected pavers. Call (833) 988-3521 for a free assessment.
Routine paver maintenance in San Jose, including a clean, joint sand top-off, and reseal, is a modest annual or multi-year expense compared to a full replacement, and pricing depends on the size of the driveway and its condition. A full replacement is a much larger investment, which is why staying on this checklist pays for itself. Call (833) 988-3521 for an exact quote with upfront pricing. Estimates are free.
The Bottom Line
Protecting a paver driveway in San Jose comes down to timing that matches the valley’s real climate, not a generic national checklist. Seal in late September or early October, not spring. Check and replenish joint sand every 2 to 3 years based on UV exposure. Watch for the early signs of washout before pavers rock. Clean with moderate pressure, never a high-pressure wand into the joints. And plan around the clay soils in Willow Glen and Almaden Valley and the tree roots that run under older San Jose driveways. Do these, and a driveway that should last a few decades actually will. Skip them, and you shorten its life by half.
If you’re ready to get ahead of it, Groundwork Construction Co. of San Jose is here. Call (833) 988-3521 for a free estimate. Live people answer around the clock, our pricing is upfront with no surprises, and every job is covered by the 730-Day Done Right Promise. Your driveway is a big investment. Back it in writing.
Written by the team at Groundwork Construction Co. of San Jose.