Last updated November 18, 2026




Free written scope consultation - allowances, timeline, and change-order rules on paper before a single trade is scheduled
Driveway & Pavers Maintenance Schedule: What to Do and When
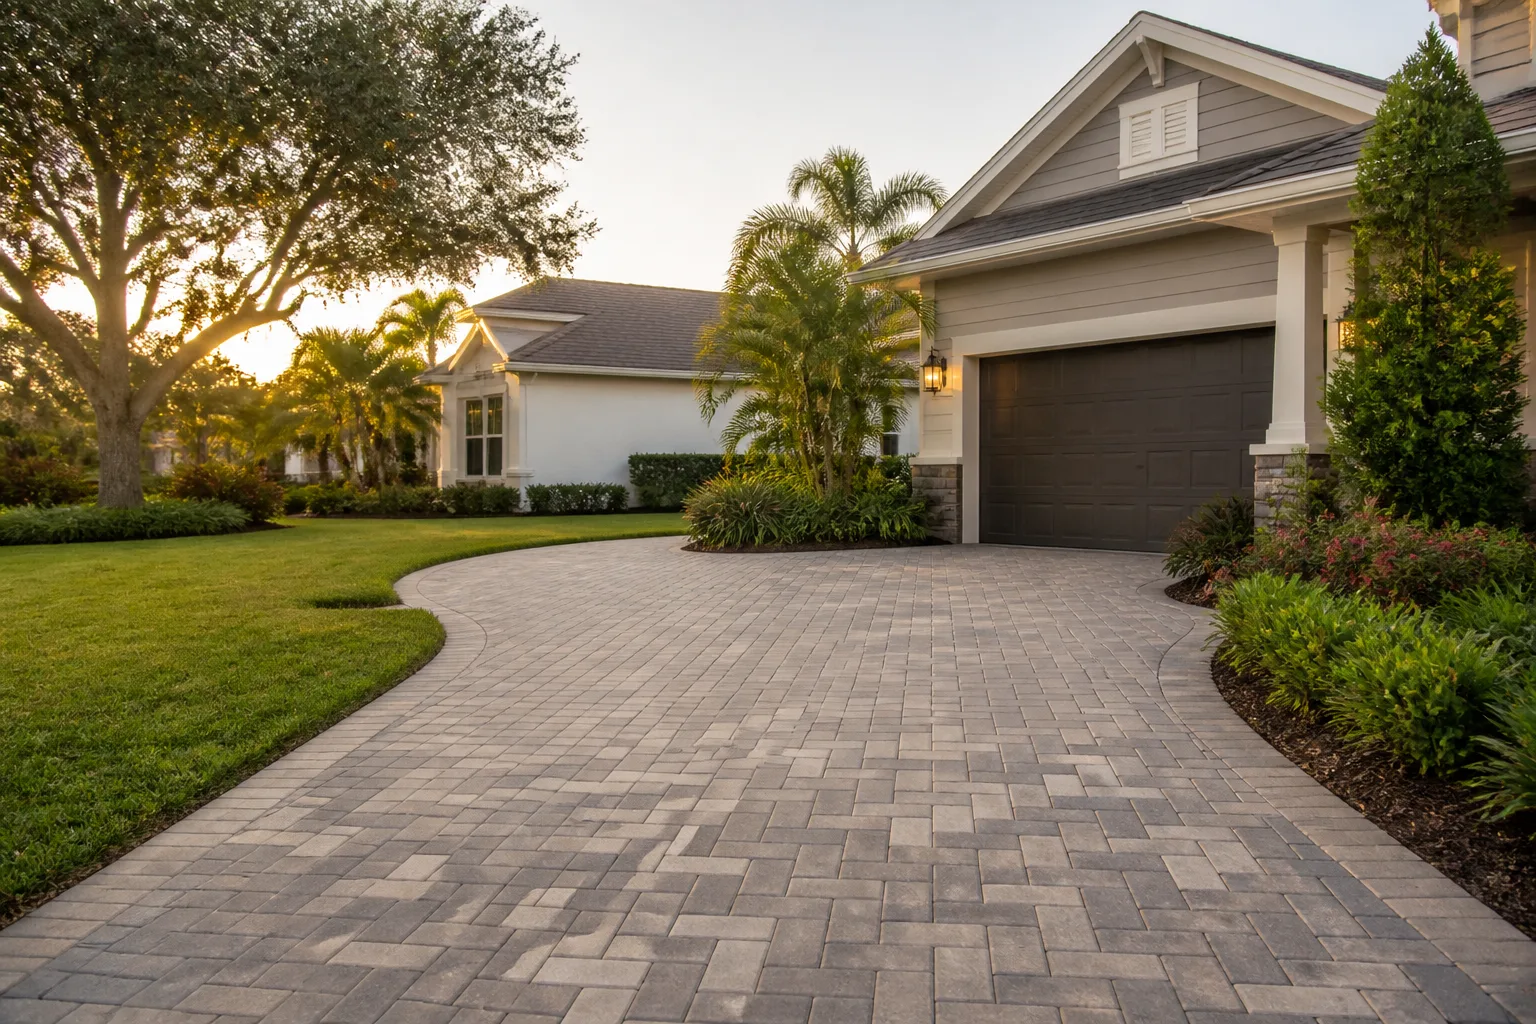
Joint sand is the cheapest insurance your paver driveway will ever have, and it is the first thing San Jose homeowners let slide. The numbers are unforgiving. Five minutes of top-off in spring and another pass in fall costs a few hundred dollars. Skip that for three consecutive dry seasons and joint sand washes out, pavers shift, the base beneath them starts pumping silt, and you are looking at a rebuild. We have walked plenty of San Jose driveways where a $400 maintenance job turned into a $6,000 reinstall because nobody touched the joints. The lesson is simple: maintenance is not about the pavers. It is about the base underneath them. This guide gives you a real schedule built around San Jose’s wet winters and bone-dry summers, not a national template copied from a Midwest supplier. You will learn what to do each season, how often to reapply polymeric sand, how to pick and time a sealer by paver material, how to inspect edge restraints before small movement spreads, and what to log so a future warranty claim or resale inspection does not turn into a fight.
Styles & brands we work with
- Kitchen remodeling
- Bathroom remodeling
- Home additions & ADU
- Roofing
- Windows & doors
- Driveway & pavers
- Fence
Quick Answer
The short version: a paver driveway needs two deep cleanings and joint sand checks per year, one sealer application every three to five years depending on material and traffic, and a quick edge-restraint inspection each spring. In San Jose, the critical window is late October through early November, before the first soaking rains hit. Get sand in the joints and restraints locked down then, and the structure below your driveway stays dry all winter.
Table of Contents
- Why Paver Maintenance Is About the Base, Not the Surface
- The San Jose Seasonal Calendar: What to Do Each Season
- How Often to Reapply Polymeric Sand (and the Signs It Is Failing)
- Choosing and Timing a Sealer by Paver Material
- Inspecting Edge Restraints Before Movement Spreads
- The Maintenance Log That Protects Your Warranty and Resale Value
- Cleaning and Stain Care for San Jose Conditions
- Common Mistakes to Avoid
- When to Call a Professional
- Frequently Asked Questions
- The Bottom Line
Why Paver Maintenance Is About the Base, Not the Surface
A paver driveway is a layered system, not a slab. Underneath the visible surface sits a compacted aggregate base, typically 4 to 6 inches of crushed stone, sometimes more if your San Jose soil skews toward expansive clay. That base does two jobs: it spreads the load of vehicles across a wide area and it drains water away from the pavers. When joint sand migrates out of the paver seams, water finds its way down rather than shedding off. Once water gets into the base and cannot drain, the fines in the base material start to migrate, the compaction loosens, and pavers begin to settle unevenly.
This is why a driveway that looks perfectly fine can suddenly show a dip near the garage apron or a rocker paver after the rainy season. The base was giving way for a season or two before the surface told you. We see this most often on older pavers in neighborhoods like Willow Glen and the Almaden Valley, where original installations are pushing 20 years and joint sand has been replenished perhaps once.
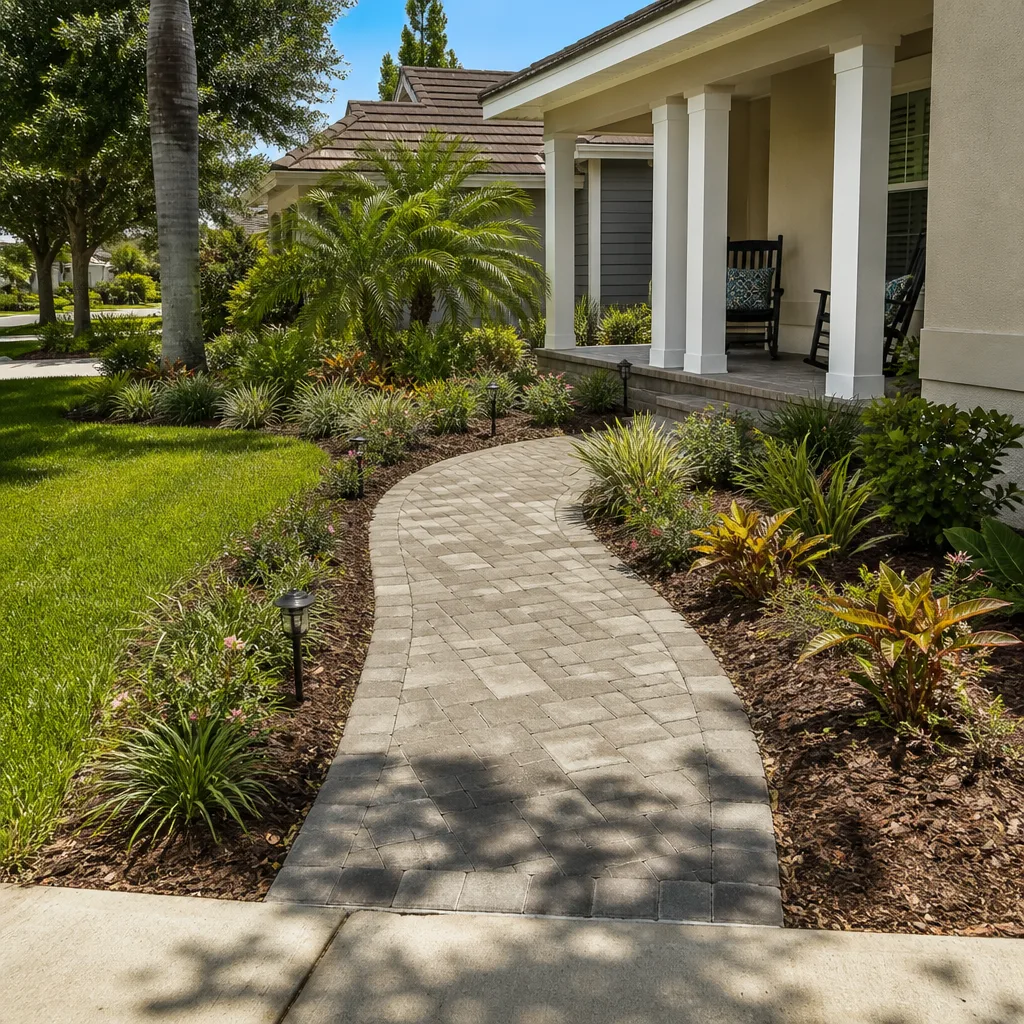
The maintenance schedule below is built to keep that base dry and stable. Two things protect it: joint sand that stays in place and ready drainage that lets winter rain exit instead of pooling. Both are cheap to maintain. Neither is cheap to rebuild. Matching your driveway to how our Driveway & Pavers in San Jose work is installed from the ground up is a fair way to think about it: the surface is the last layer, not the important one.
If your pavers are raising the grade of the driveway relative to turf or beds, drainage matters even more. Water that used to run off has to go somewhere, and a low spot near the street or a nearby downspout can turn a small issue into a seasonal puddle that quietly eats the base.
The San Jose Seasonal Calendar: What to Do Each Season
San Jose has two real seasons for paver maintenance: a bone-dry summer that runs roughly May through October and a wet season that can bring measurable rain from November into March. That cycle drives everything. The spring window is about repairing what winter did. The fall window is about preventing what winter will do. Miss either and the other gets more expensive.
Here is the schedule we recommend for a San Jose paver driveway:
Spring (March to May): Recovery and Inspection
- Walk the whole surface after the last significant rain. Pay attention to any paver that rocks slightly underfoot or shows a small dip near the edges.
- Inspect edge restraints and curbing on all four sides. Probe for loose stakes, cracked blocks, or a curb that has pulled away from the field.
- Clean out any mud or silt that washed into low spots and joints during winter. A shop vac with a narrow nozzle works if the deposit is loose.
- Top off joint sand where it has dropped below the bevel of the pavers. In San Jose, spring top-offs are usually light because the heavy rain period is over.
- Check the drainage path to the street or a catch basin. Clear leaves and debris from any channel or French drain.
Summer (June to September): Deep Clean and Prep
- Do your deep clean now, not in October. Sun and warm, dry air help joints and surfaces dry fully, which matters before any sand or sealer goes down.
- Remove oil stains, rust, and tire marks while the surface is dry and stable. Mild detergents and a stiff brush or low-pressure washer are usually enough.
- If your sealer is due, this is the best window. Sealer needs a dry surface and 24 to 48 hours without rain, which San Jose reliably gives you in July and August.
- Avoid re-sealing during a heat wave. Surface temps above roughly 90°F can cause flashing or cure issues on some products.
Fall (late October to early November): The Critical Window
This is the highest-ROI window on the entire schedule. Before the first soaking storm, do all of the following:
- Refill all joints with fresh polymeric sand to within 1/8 inch of the paver bevel. Do not leave joints recessed or you will hand water a channel straight to the base.
- Inspect and tighten edge restraints again. Any movement now will propagate through the whole field over winter.
- Confirm drainage. Clear gutters, downspout splash paths, and street-side inlets.
- If you are applying a sealer this fall instead of summer, do it at least two weeks before the first expected rain and check the cure time on the label.
Winter (December to February): Watch and Protect
- Stay off the driveway during heavy storms if possible. Traffic on saturated joints pushes sand out faster.
- Use a broom or blower to move debris and leaves out of drainage paths weekly during the rainy months.
- Do not pressure-wash joints in mid-winter. You can drive sand out and it will not compact right until spring.
- Watch for standing water after a rain. A puddle that lingers more than a few hours is a signal a low spot or drainage issue has developed.
How Often to Reapply Polymeric Sand (and the Signs It Is Failing)
Polymeric sand should be reapplied every two to three years on a busy San Jose driveway, and every three to four years on a lighter-use walkway or patio. The exact interval depends on traffic, sun exposure, and whether the previous application was a proper stabilizer-fortified product. What matters more than the calendar is recognizing the failure signs early. By the time weeds are growing out of the joints, you are roughly a season late and the sand has already been doing its job poorly.
Here is what to look for:
- Joint depth recession. On a healthy driveway, polymeric sand fills the joint to within 1/8 inch of the bevel. If you can see more than a quarter inch of joint depth in most seams, it is time.
- Sand dust on the surface after rain. Fresh silt or sand residue on the pavers after a storm is usually sand migrating out of the joints.
- Visible gaps in the field. Look down at a shallow angle in low evening light. Missing sand in the joints shows up clearly.
- Small weeds, especially in the joints. Any weed is a sign that the joint is no longer sealed. Pulling it is fine, but the joint needs sand more than the weed needs attention.
- Water pooling in joint lines after a light rain. Water should drain down and off the pavers, not sit in the joints.
The three-year skip is where we see the real damage. In San Jose’s dry season, joint sand erodes slowly enough that you barely notice. Then a wet winter hits, water channels into the joints and down into the base, and the pumping action starts. On a typical residential paver driveway in San Jose (500 to 800 square feet of drive surface), a professional polymeric sand reapplication with proper cleaning runs roughly $500 to $1,200. A full drain and rebuild of the base and paver reset runs $6,000 to $12,000 or more on the same driveway, depending on slope and access. That is the spread protecting you: a few hundred every few years versus a full reinstall once.
Two more notes. First, always use a polymer-modified joint sand intended for vehicular traffic, not standard silica sand. Standard sand in a driveway joint will bleed out within a season. Second, do the application on a dry surface, with dry joints, and let it cure according to the manufacturer’s instructions before exposing it to water. A rushed fall application right before rain is almost a guaranteed failure.
Choosing and Timing a Sealer by Paver Material
Sealer is where paver marketing gets loud and useful information gets scarce. The right choice depends on what your pavers are made of, how they are installed, and what you want the surface to do. It is not just “matte versus glossy.” Here is the practical version we use on San Jose projects.
- Concrete pavers with a modern surface: a penetrating, water-based sealer is usually the best fit. It soaks into the pores and helps repel water without trapping moisture. Film-forming sealers can look great but can also blister or haze if applied too thick or over a damp surface.
- Concrete pavers with efflorescence or older installs: a breathable acrylic film sealer can be a good option, but only after a full efflorescence treatment. Sealing over efflorescence traps the salt crystals under the film and the surface will haze and fail.
- Clay brick and traditional pavers: a solvent-based penetrating sealer is often the strongest fit. It handles the surface better than acrylic films, which can look shiny and artificial on clay.
- Natural stone or travertine pavers: check the manufacturer’s recommendation and verify that the sealer is trowel-friendly on the surface. Some stone surfaces will darken significantly with an acrylic film.
For timing: in San Jose, the two safe windows are June through August (best) and late September through early October, provided a dry 48- to 72-hour window is on the calendar. Avoid sealer on new pavers until the install has fully cured, usually 30 to 60 days after installation. That gives any residual moisture a chance to escape.
What sealer does for you: it slows water intrusion at the surface, resists stains, and in some cases deepens color. What it does not do: seal your joints. Sealer is not a replacement for polymeric sand. It is a supplement. If your joints are open, fix the joints first, then consider sealer.
If your pavers were installed recently with the same standard we hold on our Groundwork Construction Co. of San Jose home projects, verify the install date before any sealer is applied. Applying sealer to green pavers is one of the more reliable ways to void a workmanship warranty.
Inspecting Edge Restraints Before Movement Spreads
Edge restraints are the concrete curbing, plastic edge restraint track, or compacted gravel edge that holds the outer course of pavers in place. They are the hardest-working part of the driveway and the least visible. When restraint gives way, the field starts to spread, joints widen, and joint sand drains out at a faster pace than any top-off can handle.
The inspection takes about ten minutes. Here is the routine:
- Walk the curb line on each side of the driveway, from the street up to the garage apron.
- Press firmly on the outer course of pavers. There should be almost no movement.
- Look at the line of the curb. A curb that has begun to pull away from the field will usually show a widening gap of 1/4 inch or more at one end.
- Probe the restraint itself with a screwdriver along its length. A stake or restraint that moves easily is a problem.
- Check the transition where the driveway meets the garage slab and where it meets the sidewalk or street apron. These are the highest-stress joints and fail first.
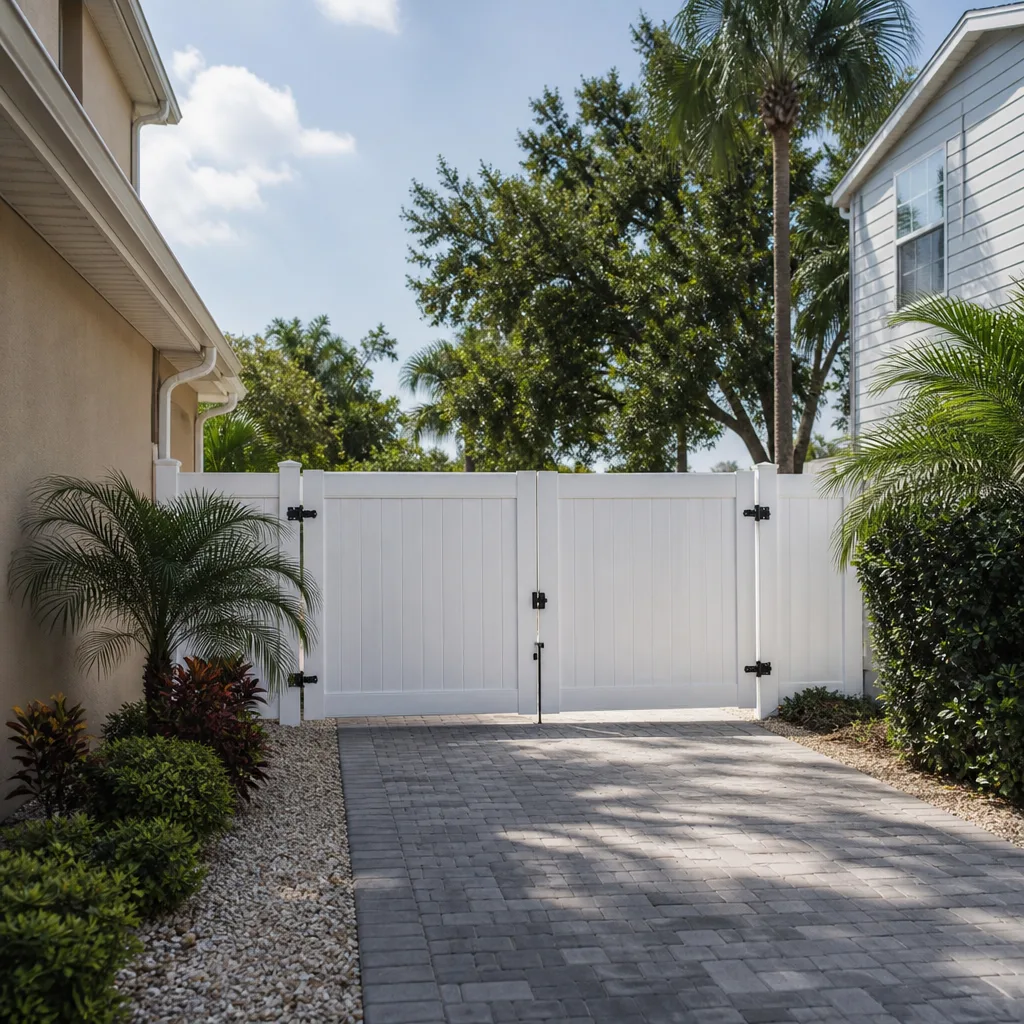
If you find movement, do not ignore it and do not try to top off the joints thinking that solves it. A loose edge allows the outer paver to slide, which puts tension on every joint between it and the next stable course. In a winter with a few good storms, a single compromised edge restraint can cascade into a wobbling field across several feet of driveway. Get the restraint reset and re-staked before the fall rains. On San Jose properties, this is cheap prevention compared to re-laying courses of pavers after a spread has run through the driveway. If your driveway is bounded by a perimeter Fence Installation in San Jose project, coordinate the two jobs. A fence post footing that lands near the paver edge is worth inspecting at the same time as the restraint.
The Maintenance Log That Protects Your Warranty and Resale Value
Most homeowners never keep a maintenance log for a driveway. Most contractors would benefit if they did, because a simple log is the single best defense when a warranty question arises three years after installation. It also converts a future home sale from an “unknown surface condition” into a documented asset.
Keep it simple. One page in a folder or a shared note on your phone is plenty. Include:
- Installation date and installer name. Note the paver brand, the model, and the type of base material used.
- Polymeric sand applications, with date, product name, and who did the work.
- Sealer applications, with date, product name, and dilution or application notes.
- Any spot repairs, including restraint resets, paver replacements, and drainage corrections.
- Photographs each spring. One wide shot of the whole driveway and two close-ups (one joint, one edge). This is easy to do and enormously helpful later.
- Any professional inspections, with date and findings.
Two reasons this actually matters. First, most workmanship warranties exclude damage caused by deferred maintenance, so a logged maintenance record is proof the surface was maintained to schedule. Second, on resale, buyers and inspectors see a paver driveway as a premium feature when it is documented, and as a question mark when it is not. A driveway with a paver surface and a two-page record of care reads very differently than the same driveway with nothing on paper. Our installs are backed by our 730-Day Done Right Promise, and a documented maintenance history fits neatly alongside that coverage as the owner’s side of the record.
Cleaning and Stain Care for San Jose Conditions
San Jose’s dry, dusty summers mean most driveway problems are stains before they are structural. Dust, mulch, and blown leaf litter are the three consistent offenders. Here is what works:
- Weekly light sweep or leaf blow. Five minutes. Prevents debris from breaking down in the joints.
- Oil and grease. Blot immediately with a dry absorbent, then use a mild degreaser with a stiff brush. Do not soak the joint sand.
- Rust, from sprinklers or patio furniture. A dedicated rust remover intended for concrete pavers is the safe route. Household acids can etch paver surfaces.
- Efflorescence, the white powdery bloom on newer pavers. This is normal on cement-based pavers during the first year or two. Use an efflorescence cleaner, not a general-purpose detergent, and do not seal until it has cleared.
- Pressure washing. Low pressure only (under about 1,500 psi), and never on the joint line. High pressure blows sand out of the joints faster than anything else.
One San Jose-specific note: if your driveway sits near a mature olive or ficus tree, black fruit and sap stains are common in late summer. Address them with a mild citrus-based cleaner within a week. Left for a season, those stains become much harder to lift without etching the paver surface.
Common Mistakes to Avoid
- Skipping the fall joint sand top-off. This is the one mistake that undoes everything else on the schedule. In San Jose, the first storm of November will test every open joint.
- Using standard silica sand in the joints instead of polymeric sand. It will wash out within the first wet season. The joint is not a cosmetic feature; it is part of the drainage system.
- Sealing over a wet or newly installed driveway. Sealer trapped water and blisters, and it can void the installer’s warranty on a newer build. Verify install date before you or a contractor applies sealer.
- Pressure washing at high pressure on the joints. It removes the polymeric sand and drives water into the base in one pass. Most “damage” we see on three-year-old paver installs traces back to this.
- Ignoring a moving edge restraint. A curb that has pulled away at one end looks harmless but transmits tension through the field. Fix it in fall, not next spring.
- Letting efflorescence stay and then sealing on top. Efflorescence is normal on new pavers in San Jose’s dry-to-wet transition, but sealing before it clears traps it. Clean, wait, then seal.
- Never keeping a record. When warranty questions come up, a log of maintenance and photos makes the difference between a covered claim and a declined one.
When to Call a Professional
Some maintenance you can absolutely do yourself: sweeping, leaf removal, mild stain cleanup, and a light joint sand top-off in the spring. Bring in a professional when the work involves anything below the surface. Specifically, call us when you see a paver that rocks underfoot, a dip or sag near the garage apron or a low corner, a joint line that stays wet after rain, a curb or edge restraint that has moved, an open joint more than a quarter inch deep across the field, or an oil or rust stain that will not lift with mild cleaning. Any of these signals a structural or drainage issue where a professional inspection is worth the modest cost. A trained eye can spot the difference between a quick fix and a base problem that needs a proper repair before winter does more damage. Groundwork Construction Co. of San Jose offers free estimates in San Jose. Call (833) 988-3521.
Frequently Asked Questions
Every two to three years on a normal residential driveway, and every three to four years on walkways and patios with lighter foot traffic. In San Jose’s dry summers, check the joint lines each fall for depth and missing sand and top off proactively rather than waiting for a scheduled interval. Call (833) 988-3521 if you want an exact quote on a professional application; estimates are free.
June through August is the best window, and late September through early October works as a secondary window if the forecast shows 48 to 72 hours of dry weather. Avoid sealing right before the first rains and avoid sealing within 30 to 60 days of a new install. Call (833) 988-3521 for an exact quote before committing to a sealer schedule.
Yes, but only at low pressure and never directly on the joint line. High-pressure washing is the fastest way to blow polymeric sand out of the joints, and once it is out, the water goes straight into the base. Stay under roughly 1,500 psi and keep the nozzle moving. If you are unsure, ask us for a walkthrough before you start.
A paver that rocks underfoot, a dip or sag near the garage apron, or a joint line that stays wet after a rain. These are all symptoms of a compromised base, not a surface issue. Do not top off the joints as a fix. Call (833) 988-3521 for a free estimate so a professional can confirm whether the base needs repair before winter.
Yes. San Jose’s pattern of very dry summers followed by a condensed wet season means the fall joint-sand top-off before the first rains is more important than the spring top-off. In wetter coastal cities where rain is spread across more months, the intervals work differently. Our schedule for San Jose is built around the November-to-March rain window, not a national template.
Install date, paver brand and model, every polymeric sand and sealer application with dates and products, any repairs, and photos each spring. Most workmanship warranties exclude deferred maintenance, so a maintenance record is the proof that the surface was cared for. If you are unsure whether a repair is covered, call (833) 988-3521 and we will walk through the record with you.
The Bottom Line
Paver maintenance in San Jose comes down to two windows a year and a small handful of tasks. Refill joints and check edge restraints before the first November rains. Deep clean and seal during the dry summer months when cure conditions are reliable. Reapply polymeric sand every two to three years on a driveway and stay on top of stains and efflorescence between applications. Every one of those tasks protects the base under your pavers, and the base is where the real money is. A few hundred dollars every couple of years buys you twenty extra years on a driveway. Skipping it buys you a reinstall. If you want the work done right and backed in writing, our team can handle it. Call (833) 988-3521 for a free estimate, and we will look at your driveway and give you a written plan for the year.
Written by the team at Groundwork Construction Co. of San Jose.
See the difference
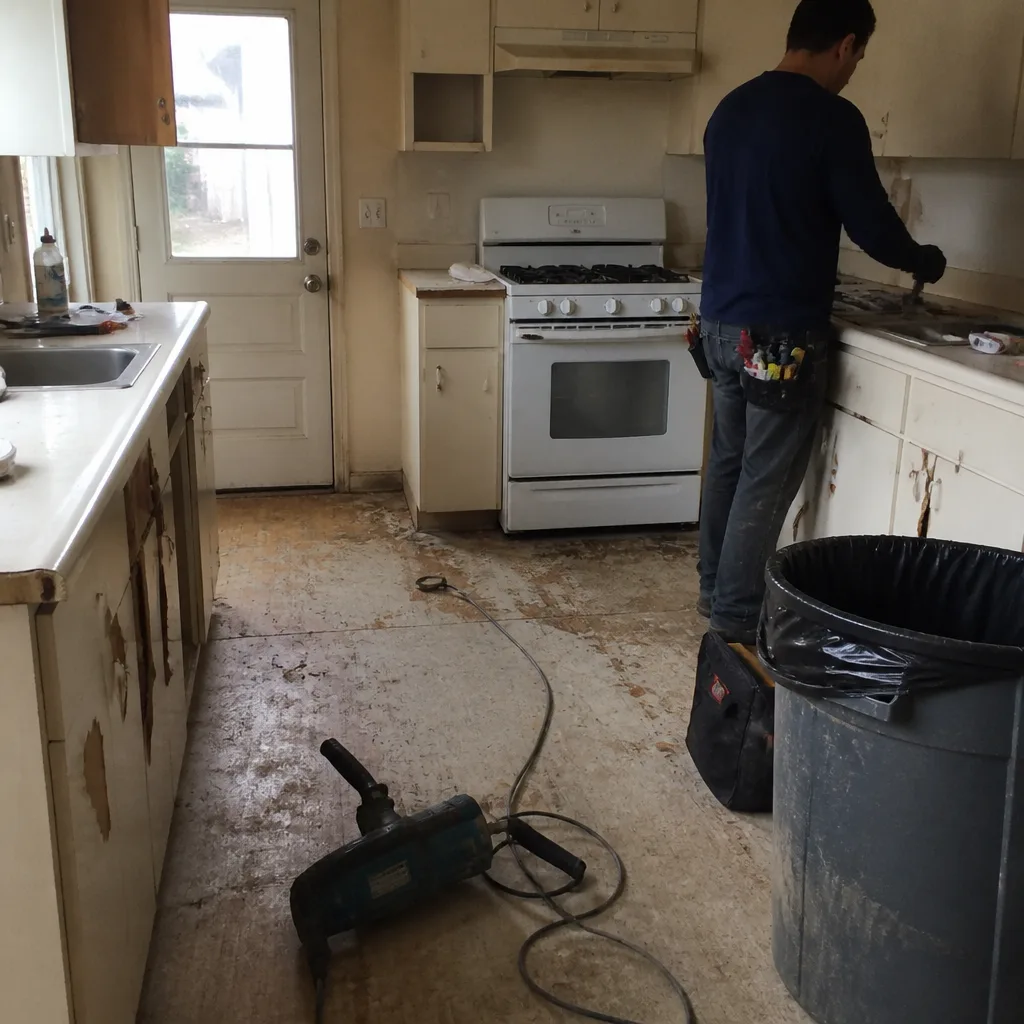 Before
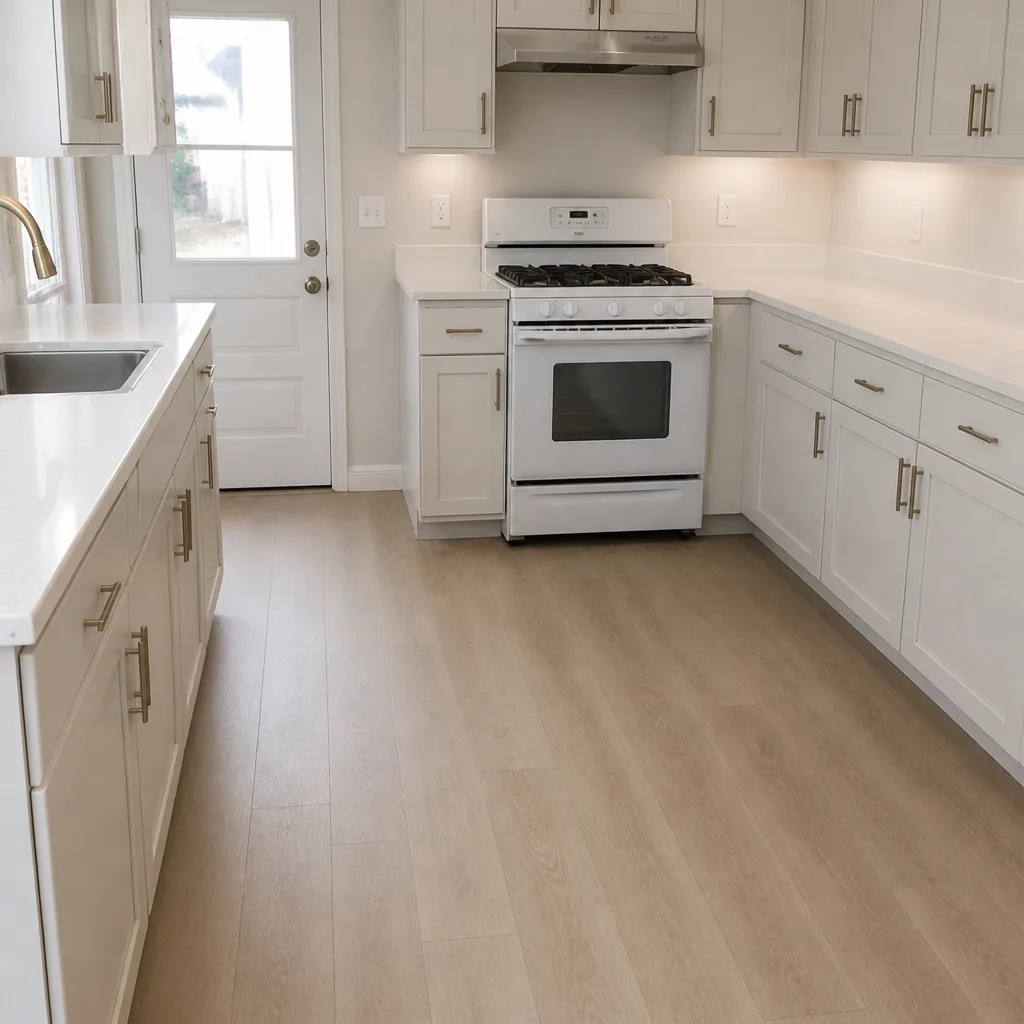 After
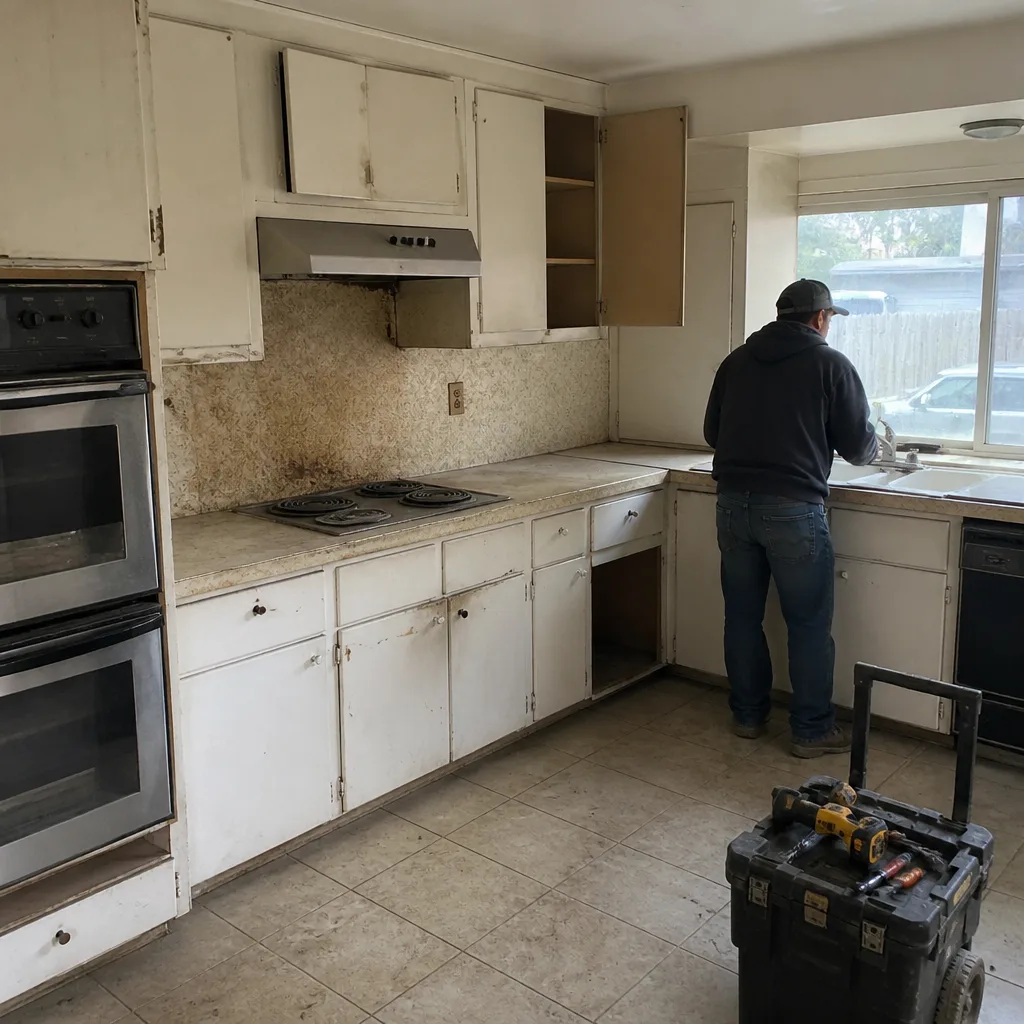 Before
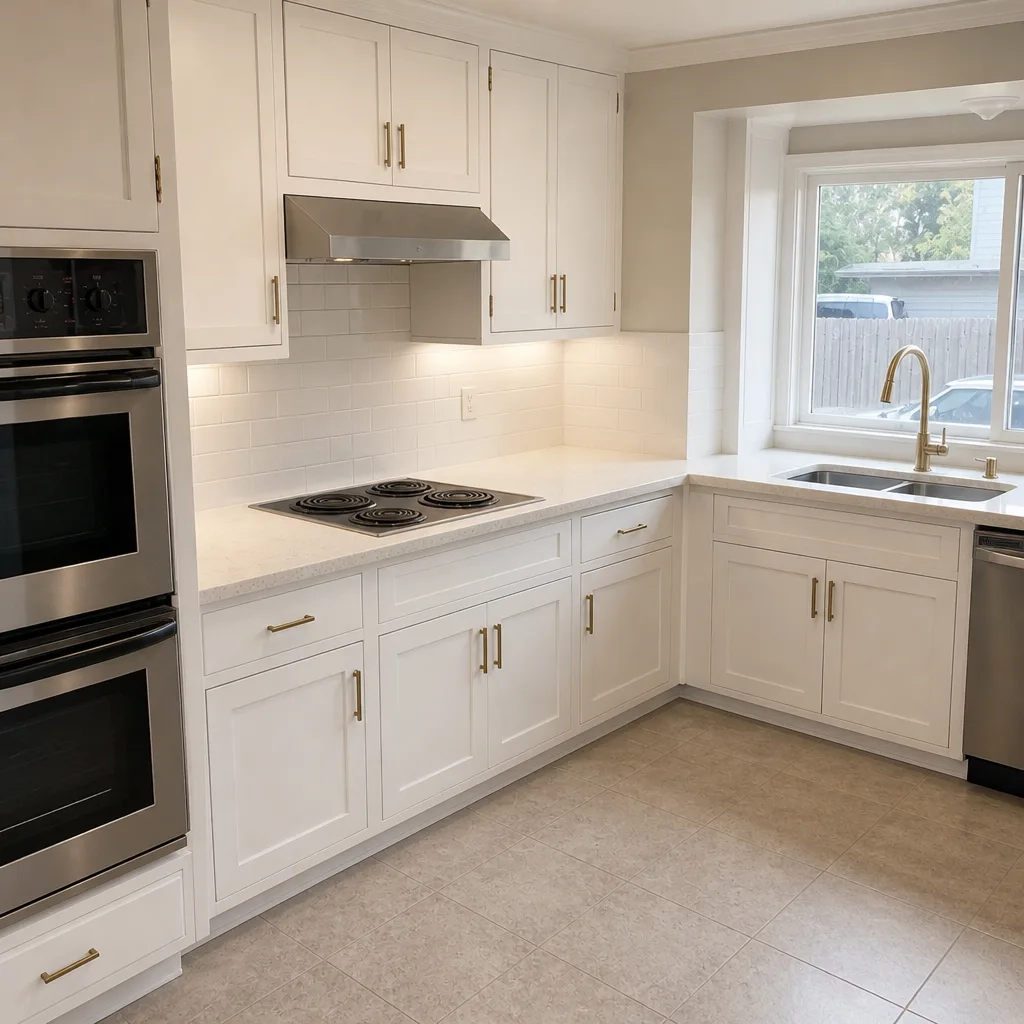 After
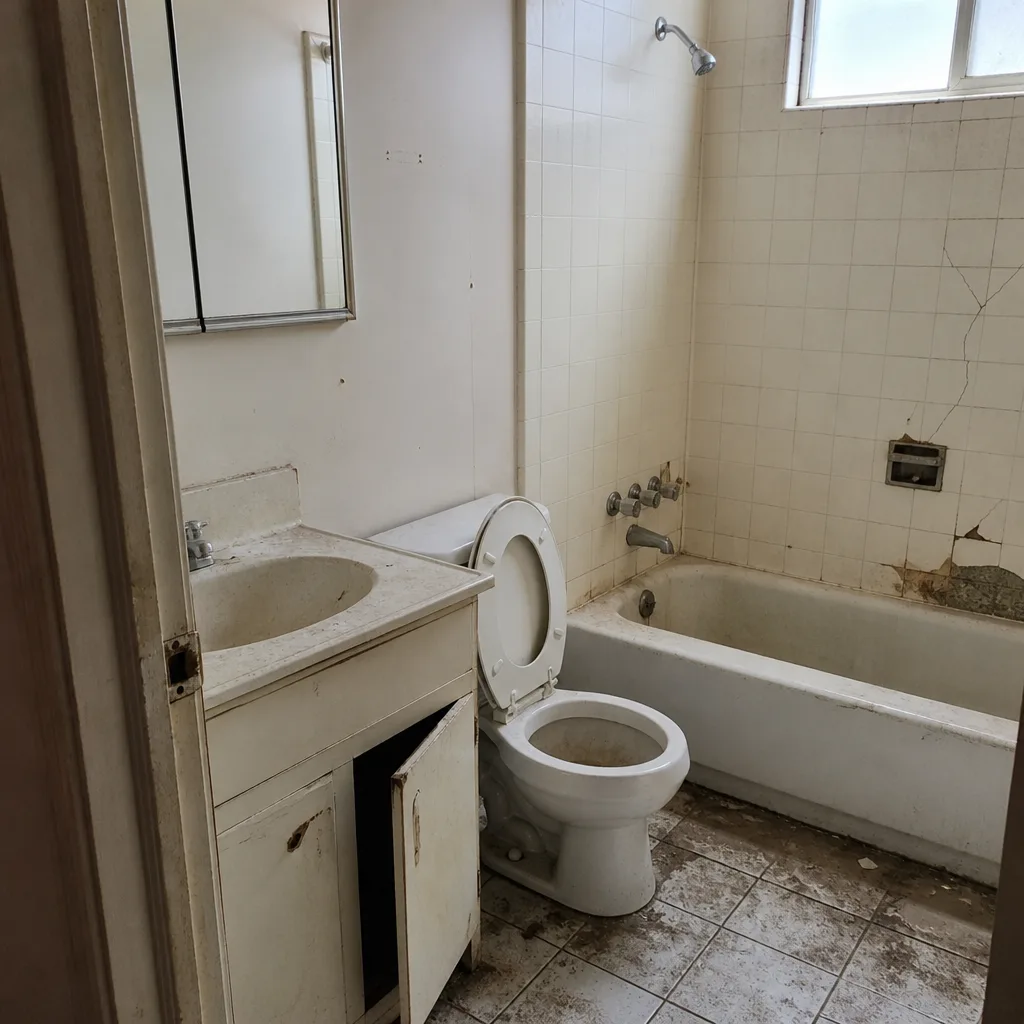 Before
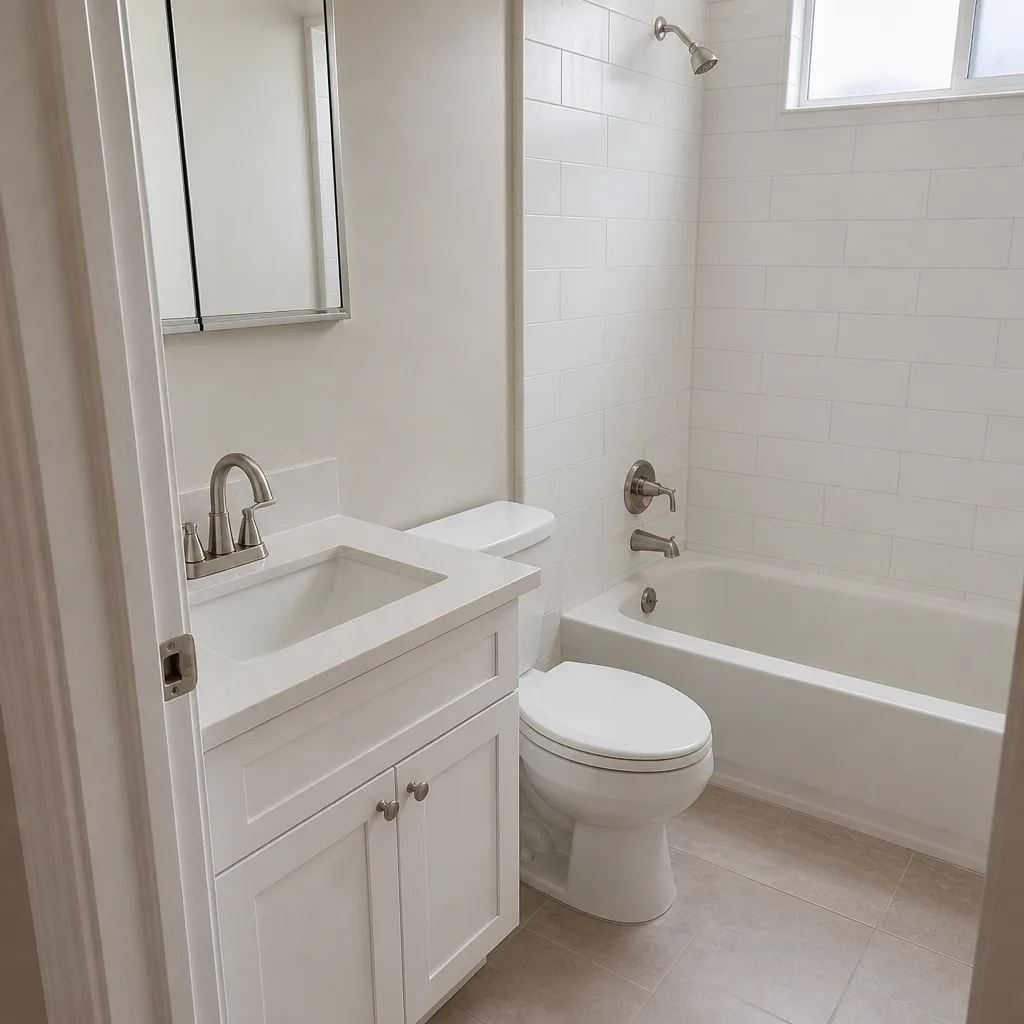 After