Last updated November 18, 2026
Free written scope consultation - allowances, timeline, and change-order rules on paper before a single trade is scheduled
Driveway & Pavers Troubleshooting: Common Problems and How to Fix Them
A single sunken paver isn’t a paver problem. It’s almost always a base failure that’s already spreading to the next three feet, and patching just the visible stone is the most expensive mistake a homeowner can make. We’ve watched San Jose homeowners spend $400 to reset one rocking paver in spring, then spend $3,800 the following winter to rebuild the same eight-foot stretch after the first heavy rain. The stone was never the problem. The diagnosis was.
This guide teaches you to read the failure before you spend a dollar on it. You’ll learn to tell surface settling from base collapse with a straightedge and a garden hose, spot edge creep at the border restraint instead of the field, separate cosmetic efflorescence from structural spalling, and decide honestly whether a repair is a real fix or a contractor selling you a band-aid. We’ve been installing and repairing driveways across San Jose since 2014, and the patterns here repeat block after block.
Quick Answer
Most driveway paver failures come down to three root causes: a base that wasn’t compacted to depth, water that can’t drain off the slab, and edge restraint that let go. A repair is legitimate when the failure is one isolated stone with an intact base. It’s a redo when the same stone has sunk twice, when a low spot holds water across three feet or more, or when the border pavers have crept more than half an inch.
Styles & brands we work with
- Kitchen remodeling
- Bathroom remodeling
- Home additions & ADU
- Roofing
- Windows & doors
- Driveway & pavers
- Fence
Table of Contents
- How to Diagnose a Paver Problem Before You Pay for a Fix
- Surface Settling vs. Base Failure: The Straightedge and Hose Test
- Edge Paver Creep and Why It Always Starts at the Border Restraint
- Efflorescence vs. Spalling: Cosmetic vs. Structural
- Is It a Drainage Design Flaw or Soil Compaction Failure?
- Repair vs. Full Redo: The Honest Decision
- San Jose-Specific Problems: Clay Soil, Dry Springs, Wet Winters
- The Maintenance Routine That Doubles Paver Life
How to Diagnose a Paver Problem Before You Pay for a Fix
Diagnosis is the whole game. Before you call anyone, do three things in sequence. First, walk the entire driveway in bare or sock feet and note every loose stone by feel, not just sight – a paver that clicks underfoot is already rocking on its bedding. Second, pour a cup of water on each low spot and time how long it takes to soak in versus run off. Third, lay a four-foot straightedge (a level, a 2×4, or a broom handle works) across every visible dip and photograph the gap under it. Those three exercises tell you more than any contractor pitch.
The key insight: paver problems cluster. Failures don’t happen independently across a driveway. They happen in families – a sunken stone, a rocking neighbor, a hairline crack in the joint sand all within arm’s reach of each other usually share one cause underneath. When you map the failures by location and see them concentrating at a low corner, near a downspout, or along the curb edge, you’ve found the source before spending money.
In San Jose, we recommend doing this diagnostic in late February, right after the wettest stretch of winter. That’s when failed base shows itself most clearly – the soil has had months to shift and saturate, and every problem is at its most visible. A driveway that looks perfect in August can hide a soft base that shows up plainly by March.
Write down what you see. Note the location of each failure, the size of each low spot, and whether water soaks or pools. That documentation is what a good contractor will use to write you an honest scope instead of a guess.
Surface Settling vs. Base Failure: The Straightedge and Hose Test
Surface settling is what most homeowners think they have. Base failure is what most of them actually have. The distinction matters because they cost wildly different amounts to fix – a $150 bill for a settling issue versus $2,500+ for a base rebuild.
Here’s the two-tool test that separates them:
- Place your straightedge (level, 2×4, or long dowel) across the suspect stone and the two stones on either side. If the suspect stone sits lower than the neighbors by less than 3/16 inch and the neighbors are stable, you likely have localized settling.
- Press down firmly on each neighboring stone with the heel of your hand. If any neighbor rocks, shifts, or deflects under pressure, the base underneath is failing – the sinking stone is just the visible symptom.
- Pour a half cup of water around the sunken stone and watch. Water that soaks into the joints evenly within 30 seconds indicates a functional base with a localized low point. Water that pools and stays put indicates the base has densified and lost permeability – a base failure.
- Lift the suspect stone only if it’s already loose. Never pry a tight paver out to check. Look at the bedding sand underneath. Dry, powdery sand indicates it’s holding. Wet, soupy, or displaced sand indicates the base wasn’t compacted deeply enough, or water is getting under the slab.
Surface settling occurs when the top inch of bedding sand compresses slightly over time. It’s normal, it’s cosmetic, and it’s easy to fix with a light reset. Base failure means the six to eight inches of compacted aggregate under the bedding sand has lost density – usually from inadequate compaction during the original build, or from water eroding it. That’s not a surface problem. That’s a you’re-going-to-rebuild-six-feet problem.
In San Jose’s older neighborhoods – Willow Glen, Rose Garden, the blocks off Bascom Avenue – we regularly find driveway installations from the 1980s and 1990s where the base was compacted with a plate compactor but not in lift layers. That base looks fine for thirty years and fails all at once in one hard winter.
Edge Paver Creep and Why It Always Starts at the Border Restraint
Edge creep is what happens when your driveway’s field pavers slowly push outward toward the street or yard, opening joints and shifting the pattern. Homeowners almost always diagnose this as “the pavers are moving” and look at the field. Wrong place. Edge creep always starts at the border restraint – the aluminum, steel, or concrete edge that holds the whole assembly in place. When that restraint lets go, the field has nothing holding it. The field moves because the edge failed.
Look at the border edge of your driveway – the last row of pavers along the yard, curb, or sidewalk. Check these signs in order:
- Look for a widening joint between the field and the border row. A joint gap of more than 1/8 inch indicates creep is active.
- Walk the border row and push each stone with your foot. Any border stone that shifts out of alignment under light pressure indicates the restraint has lost hold.
- Look at the restraint itself. Aluminum edging pulls its spikes out of soft soil first. Steel edging rusts at the base. Concrete curbs crack at the corners. Any of these signs tells you the whole edge is compromised.
- Check the border along the curb. In San Jose, city sidewalks and curbs shift slightly with age. Where the curb has settled or heaved, the paver restraint bolted to it has followed.
Edge creep on a San Jose driveway is usually a fast failure once it starts. The same rains that saturate the base also soften the soil the spikes anchor into. A border restraint that held firm through a dry spring can pull free within one winter. That’s why we look at the border before the field on every repair call in San Jose – the field problem is where you see it, but the edge failure is where it started.
The good fix is a re-spiked or re-anchored edge restraint, sometimes with a concrete haunch behind it. The wrong fix is resetting the field stones and leaving the edge alone. The field will creep again within a year.
Efflorescence vs. Spalling: Cosmetic vs. Structural
These two look similar and get confused constantly. They’re entirely different problems. Efflorescence is cosmetic. Spalling is structural. Getting the diagnosis wrong means either panicking over a stain or ignoring real damage.
Efflorescence is the white, chalky, powdery bloom that appears on the surface of concrete pavers. It’s the migration of water-soluble salts from within the paver to the surface, where they crystallize. It appears after wet weather and can look alarming – like a white haze or crust covering the driveway. It’s harmless. It doesn’t weaken the paver. It brushes off with a stiff broom, disappears in dry weather, and reappears after rain. It’s a moisture-and-salt reaction inside the stone, nothing more.
Spalling is the physical flaking, peeling, or chipping away of the paver’s surface layer. It shows up as a crusty, crumbling, or dented area on the face of one or several pavers. It’s structural – the paver has lost mass and surface integrity. It’s usually caused by poor quality pavers, freeze-thaw damage, or water penetrating and expanding inside the paver’s pour.
The two-second test: run your hand across the affected area. If the white residue rubs off onto your fingers as powder, it’s efflorescence. If the surface feels rough, pitted, or crumbly, it’s spalling.
In San Jose’s dry climate, we see much more efflorescence than spalling. Spalling is more common in pavers installed more than twenty years ago with lower-density concrete, or pavers that sat under a leaking downspout for years. If you’re seeing spalling, you’re seeing structural failure of the paver face. That’s a replacement problem – sometimes one paver, sometimes an entire row if the batch was defective.
Efflorescence doesn’t need a repair. A yearly efflorescence cleaner (not a pressure wash – that damages pavers) is enough. Spalling needs stone replacement. Confusing the two wastes money either direction.
Is It a Drainage Design Flaw or Soil Compaction Failure?
Every low spot on a driveway has a cause. It’s either drainage design or soil compaction, and the two look the same from the surface but cost very different amounts to fix. Distinguishing them is where most homeowners get talked into the wrong repair.
Drainage design flaws are a planning problem. The driveway was built without enough slope, without a channel drain, or draining toward the house instead of away. Signs of a drainage flaw:
- The low spot is always in the same place, regardless of how much rain falls.
- Water pools in the low spot and stays for hours after rain stops.
- The low spot sits at a natural low point of the lot – near the house, at the end of the driveway, or where two slopes meet.
- The low spot existed from the day the driveway was installed.
Soil compaction failure is a build problem. The base didn’t get compacted properly during installation. Signs of compaction failure:
- The low spot appears gradually over months or years, never all at once.
- Multiple low spots appear, often scattered, not clustered.
- Neighboring stones rock or shift under light pressure, even if the low spot itself is only a small depression.
- The pavement dips as a wide, gradual bowl rather than a sharp point.
San Jose’s clay-heavy soil, common in districts from Almaden Valley to Evergreen, compacts poorly if it’s compacted too wet or in one deep lift. We regularly find San Jose driveways where the installer used the wrong aggregate or skipped the compaction check, and the failure appears five years later. Drainage flaws, by contrast, show up in the first heavy rain after install.
The fix for a drainage flaw is regrading, a channel drain, or a French drain at the low point. The fix for a compaction failure is removing and rebuilding the base. One is a $600 to $1,400 fix. The other is a rebuild.
Repair vs. Full Redo: The Honest Decision
This is the question every homeowner asks and most contractors won’t answer clearly. Here’s the honest framework we use, and you should too.
A repair is legitimate when:
- One to three isolated pavers have failed, and their neighbors are stable under pressure.
- The straightedge shows a gap of less than 3/16 inch between the low stone and its neighbors.
- The base under a lifted stone is dry and dense.
- The failure is isolated to one area and hasn’t expanded in six months.
- The border restraint is intact.
A repair is a band-aid when:
- The same paver has already been reset once. Resetting it again without addressing the base is throwing money at a symptom.
- Any neighboring stone rocks under pressure.
- A low spot spans more than 3 feet across.
- The border pavers have crept more than 1/2 inch out of alignment.
- Water pools in the low spot for more than an hour after rain.
A full redo is the honest answer when:
- More than 15% of the driveway has visible failure.
- The base fails the pick test – drive a soil probe or long screwdriver into the base under a lifted stone. If it slides in more than 4 inches with little resistance, the base is soft. No repair saves that.
- The driveway is 20+ years old and showing widespread sink, creep, and instability.
- The drainage design is fundamentally wrong and a partial rebuild can’t fix it.
When we walk a paver driveway in San Jose, we tell homeowners straight: if we can honestly reset six stones and have it last five years, we do that. If we’d be patching a job that needs rebuilding, we say so in writing before the contract, not after the first patch fails. That’s why every job comes with the 730-Day Done Right Promise – if it’s not done right, we make it right.
San Jose-Specific Problems: Clay Soil, Dry Springs, Wet Winters
San Jose’s climate creates two specific failure patterns you’ll see in almost every troubled driveway here. Understanding them lets you plan around them instead of reacting after they bite.
Winter saturation on expansive clay. San Jose’s wet season – roughly November to March – dumps the year’s rain in concentrated months. The clay-heavy soil absorbs water and swells, then dries and shrinks. Driveways installed without proper base drainage or edge restraint feel that shrink-swell cycle as an annual pump. Failures you’d expect over ten years in a milder climate can happen in four in San Jose. Driveways in Evergreen, Almaden Valley, and the Santa Teresa foothills are especially affected.
Dry-spring cracking and surface chalk. The dry May-through-October stretch pulls moisture out of the slab fast. Surface efflorescence blooms in this window, and pavers that were marginal at the end of winter often show intensified spalling by early summer. Contraction from the dry heat opens joint gaps, especially on older driveways where the joint sand has already degraded. A San Jose driveway that gets a spring cleaning and joint-sand top-up in May holds up better than one left alone.
Then there’s the Santa Clara Valley urban heat island effect. Pavers down in Sunnyvale or along the flat parts of San Jose stay warmer longer, which accelerates surface aging – efflorescence cycling and minor spalling. Same paver product, different lifespan, because the climate is doing different work on it.
The practical takeaway: San Jose driveways need base and drainage designed specifically for this climate, not a generic plan pulled from a mild-weather playbook. When we install pavers in San Jose – whether it’s a full driveway rebuild or a surface overlay on a stable base – we design for the specific cycle. Belgard and similar quality brands hold up well here, but only with the base built right beneath them. The stone is only the top of the system.
The best time to schedule driveway work in San Jose is April through June, right after the wet season ends. That gives a full dry stretch for base work and curing before the next rainy winter. Winter scheduling can work, but you’re managing weather risk on every job. If you’re also considering a related improvement – a new boundary along the driveway, for instance – our Fence Installation in San Jose team can plan the fence and driveway together so drainage is right on both sides.
The Maintenance Routine That Doubles Paver Life
Most pavers that fail early were never maintained. The good news is that paver maintenance is short – an hour in spring, an hour in fall, plus one afternoon per year. Here’s the routine we recommend for any San Jose driveway:
- Once a month: Sweep. A stiff broom removes loose grit and stops it from working into joints. Forty-five seconds per section.
- Twice a year (March and September): Water-spray the whole driveway with a hose on low pressure. Watch where water pools. Anywhere it sits for more than 15 minutes is a low spot you want to check with a straightedge.
- Once a year (May, after the wet season): Top up joint sand. Missing joint sand is the number-one cause of edge failure and joint widening. Use polymeric joint sand, not play sand – it locks in place and resists washout. Two or three bags covers a typical two-car San Jose driveway.
- Once a year (October, before the rains): Clear the channel drain, French drain, or any surface drain. A blocked drain is a guaranteed winter low spot.
- Every three years: Walk the driveway in bare feet and re-check every sink and rock you noted last time. If any have changed, they’ve moved further than surface settling – get it looked at.
Those five steps add maybe three hours a year. In our experience, they double the lifespan of a driveway before any major repair or reset becomes necessary.
Common Mistakes to Avoid
- Resetting the same paver twice without lifting the neighbors. If a paver has sunk twice, the base beneath is failing and one reset is enough. Reset a third time and you’ve spent $600 on a problem that needs $2,500 of base work.
- Calling surface settling a drainage problem and installing a channel drain. A channel drain is a real fix for a genuine grade issue. On a compaction failure, it does nothing. Get the diagnosis first. In San Jose, we’ve seen homeowners spend $2,000 on a drain that didn’t fix anything because the real problem was a soft base.
- Confusing efflorescence for spalling and paying for paver replacement. Run the two-second hand-rub test. If the white powder rubs off, it’s efflorescence. A yearly cleaner is $40. Paver replacement is $400+.
- Letting joint sand wash out through the wet season. Every San Jose winter that goes by with missing joint sand is another season of edge restraint weakness. Top it up in May.
- Ignoring border restraint creep until the field has moved. A 1/8 inch gap at the edge becomes a 1/2 inch gap in one winter once it starts. Re-spike the edge early. It’s $200 now or $600 later.
- Pressure washing pavers to clean efflorescence. Pressure washing strips the joint sand and damages the paver surface. It creates more problems than it removes. Use a hose, a stiff broom, and a proper efflorescence cleaner.
- Accepting a “surface fix” for a driveway that needs a rebuild. If a contractor quotes you a reset on a driveway where three or more pavers rock under pressure, get a second opinion in writing. A band-aid here is $800 now and a $4,000 rebuild in two years.
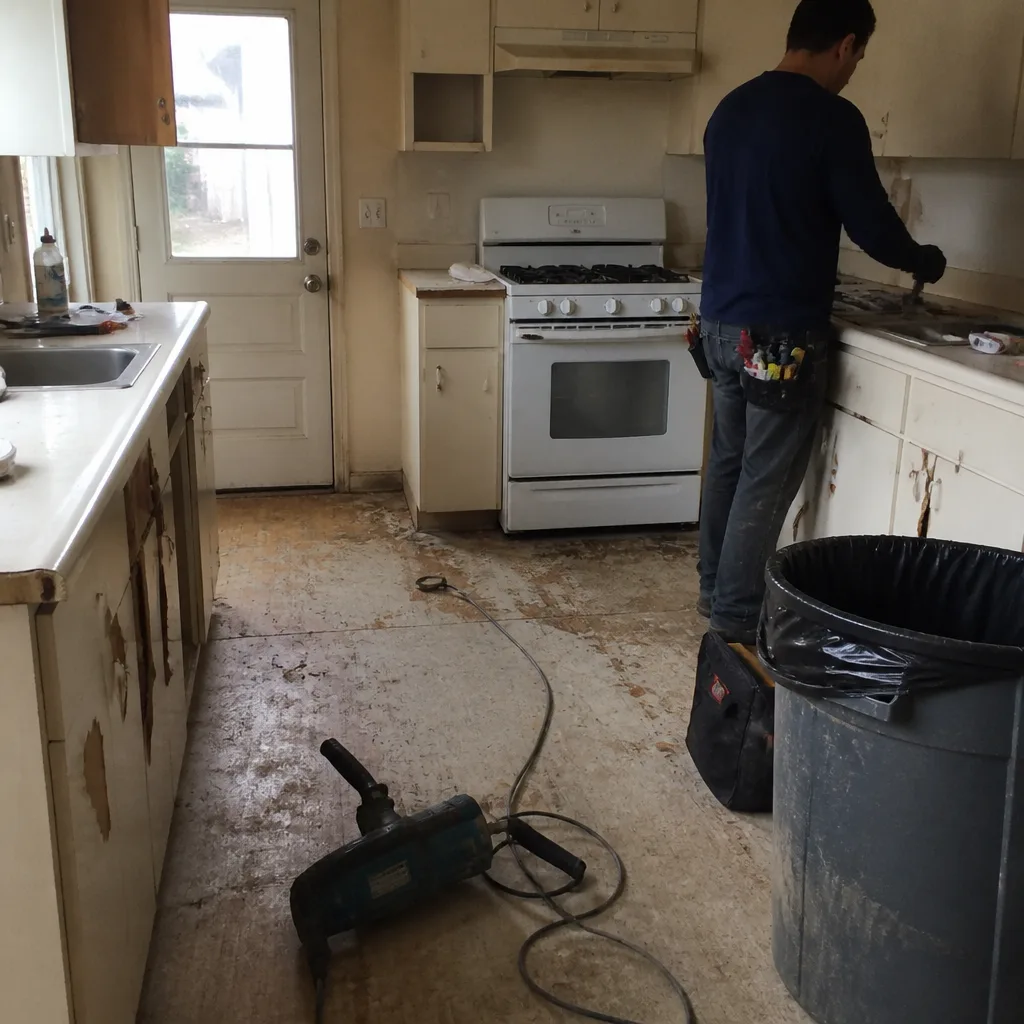
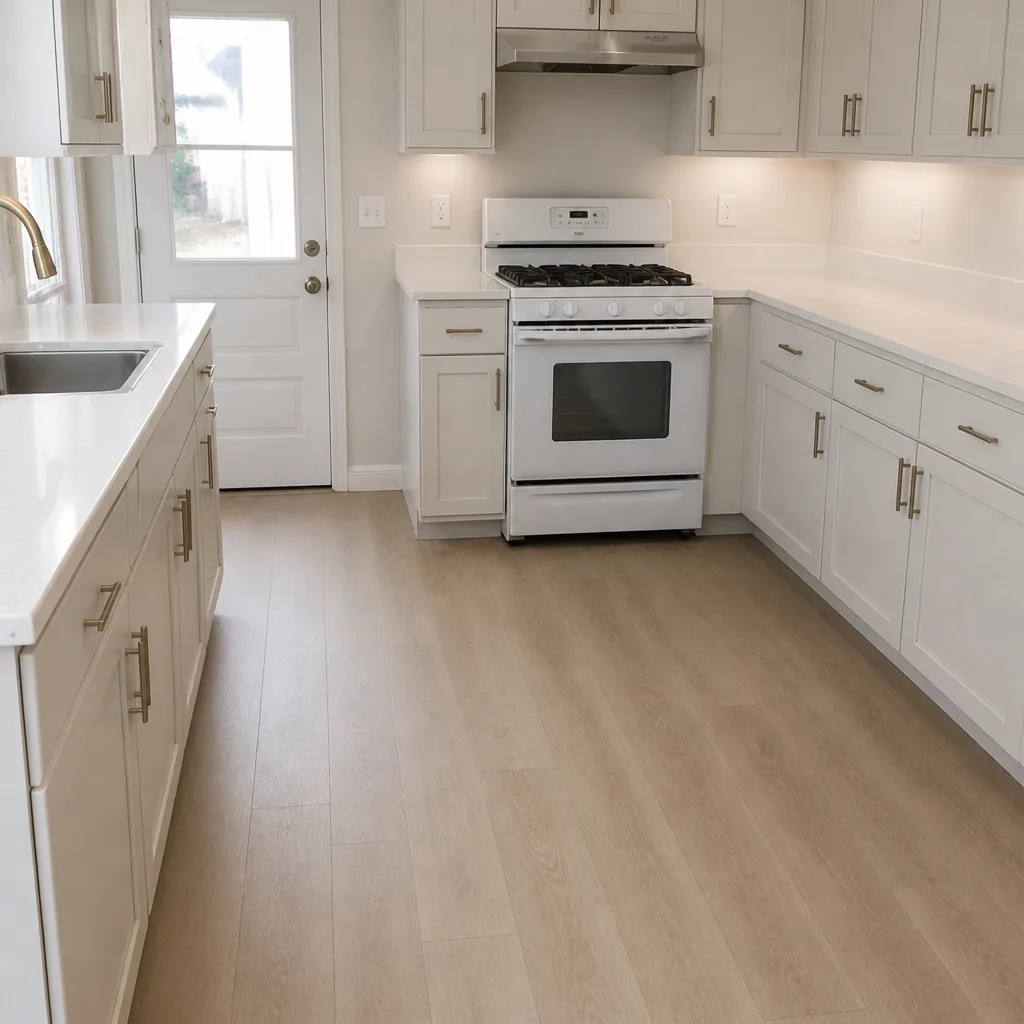
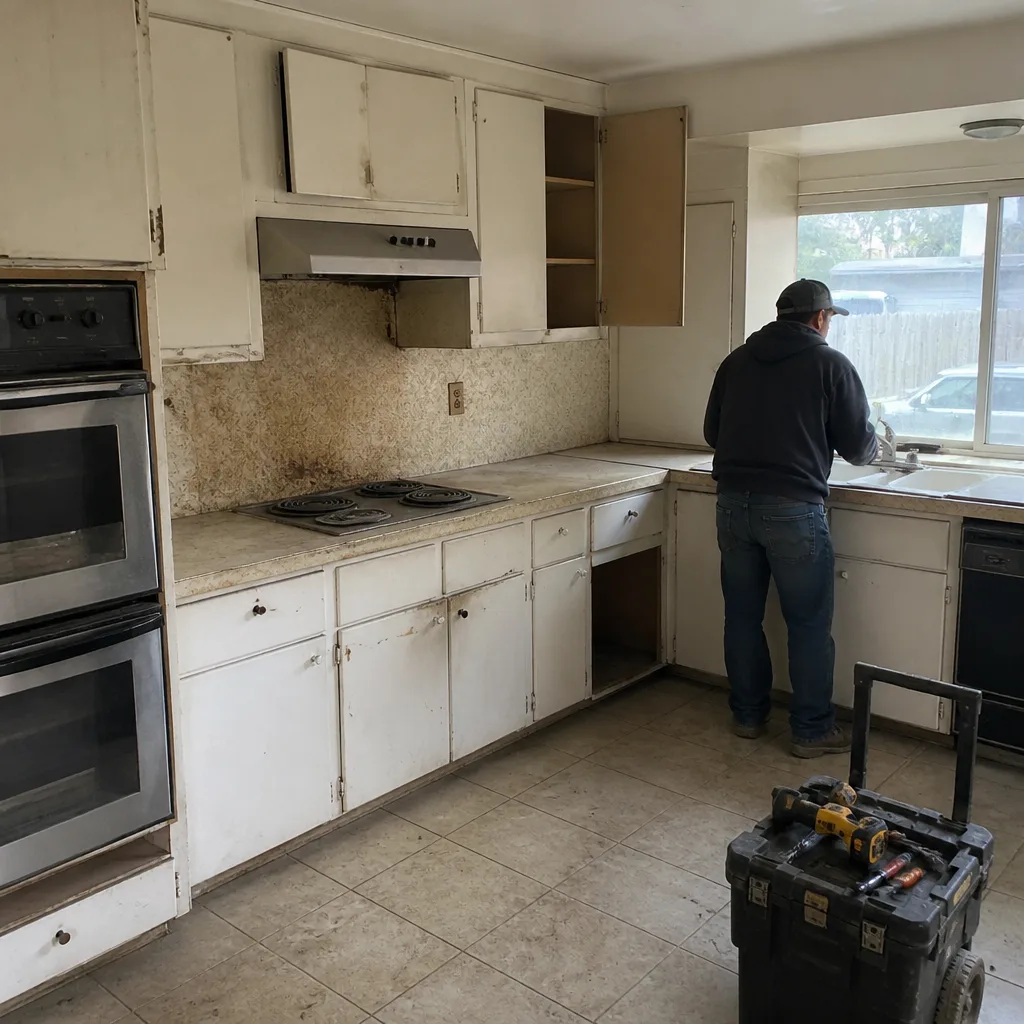
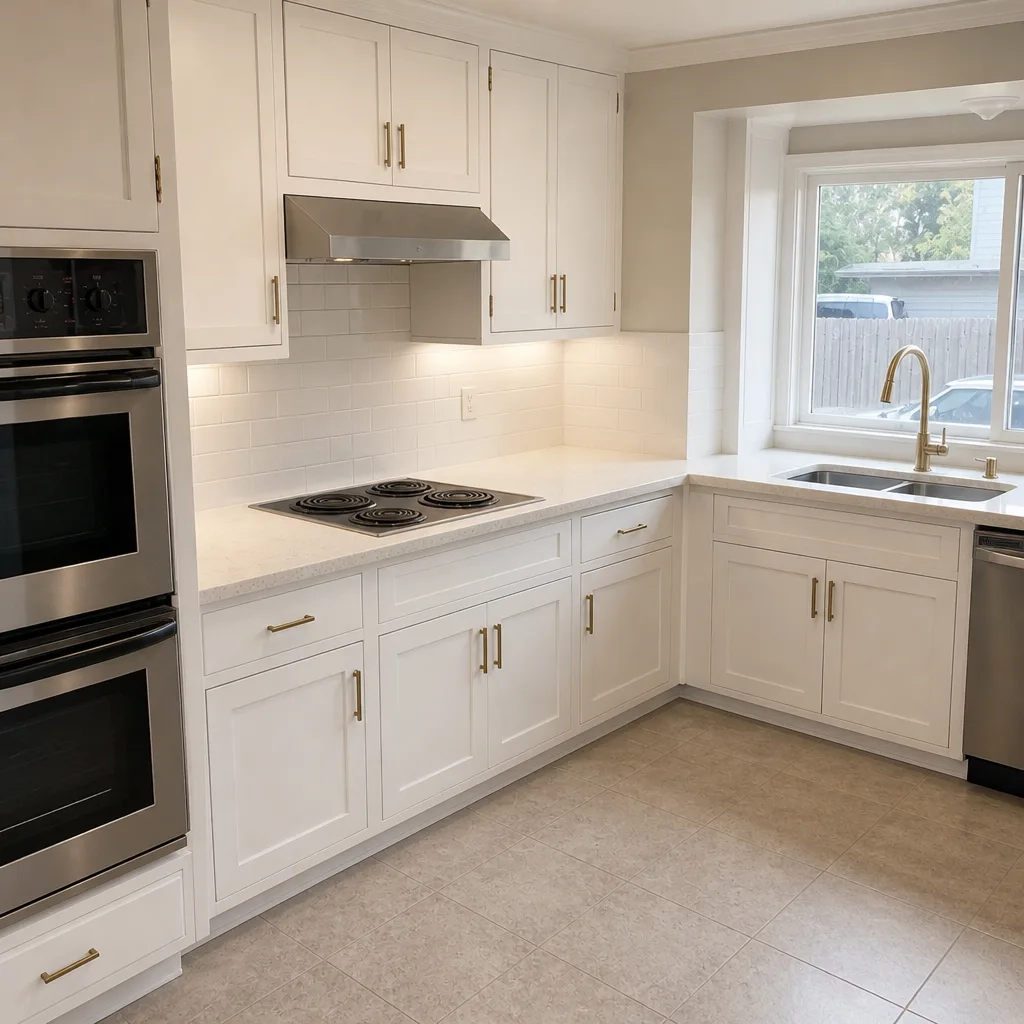
See the difference
 Before
 After
 Before
 After
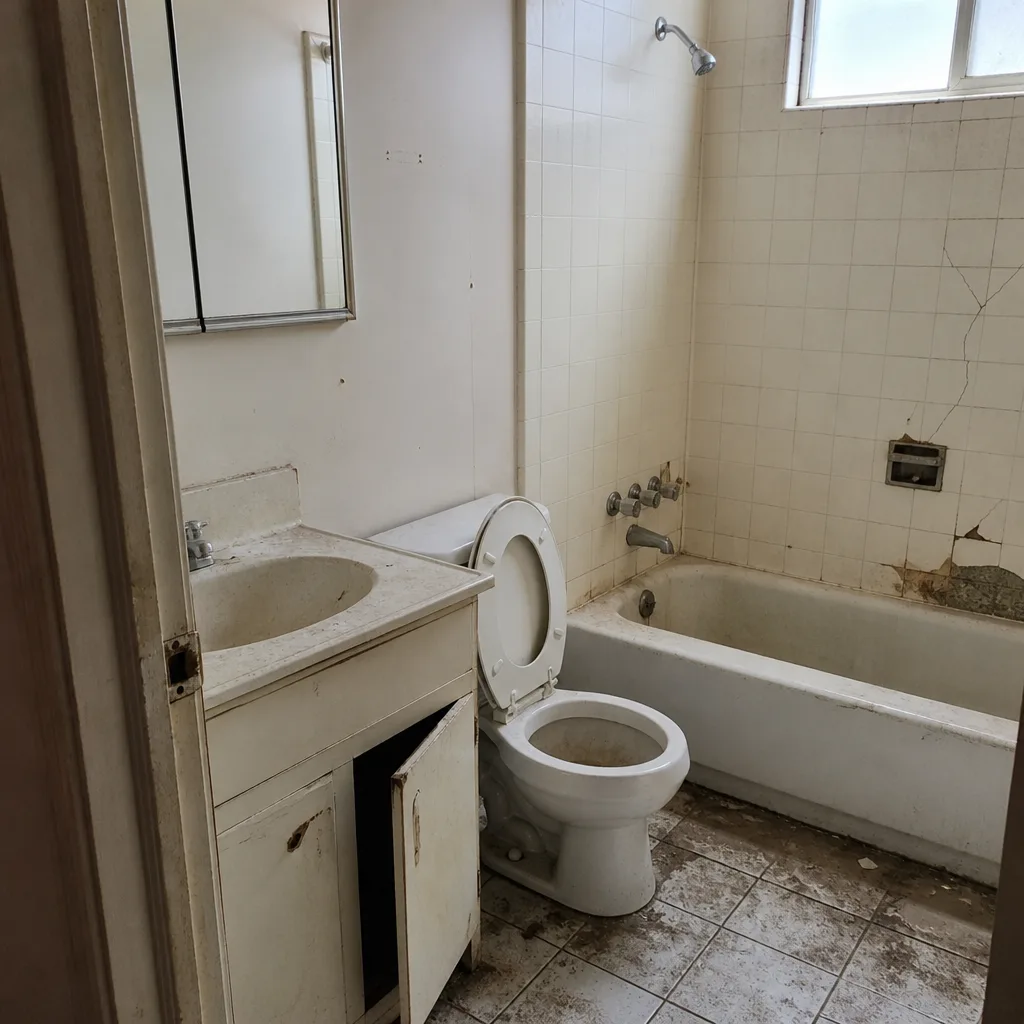 Before
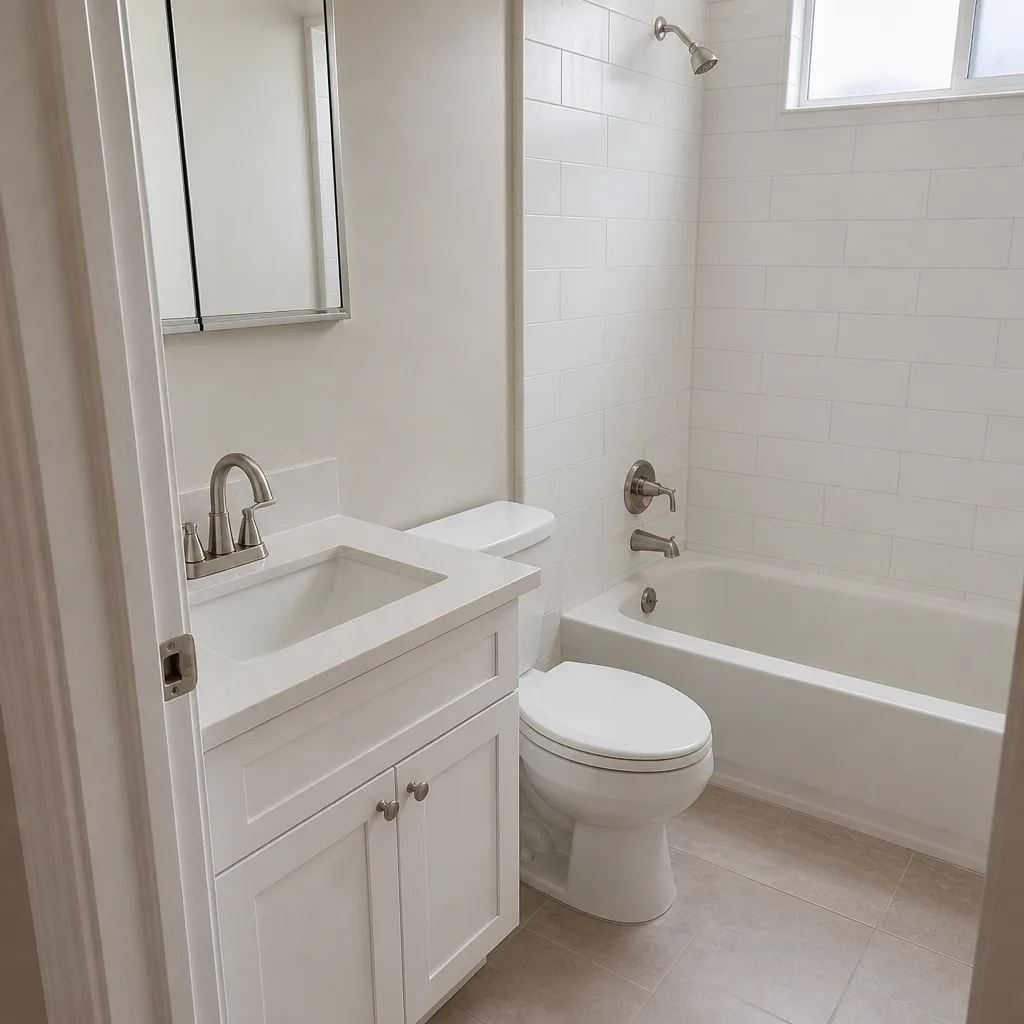 After
When to Call a Professional
Call a professional when any of these are true: a stone has sunk twice, more than three pavers rock under foot pressure, a low spot spans more than three feet, water pools for more than an hour after rain, the border restraint has visibly separated from the field, or you’re seeing spalling rather than efflorescence. Those are all signs the base or the edge has failed structurally. DIY fixes here cost more than they save – a reset paver with a failing base will re-fail within a season, and each reset takes out bedding sand the next repair needs.
Groundwork Construction Co. of San Jose offers free estimates in San Jose – call (833) 988-3521 for a written diagnosis and quote. Our technicians have up to 12 years of experience reading paver failures, and we’ll tell you honestly whether you’re looking at a repair or a rebuild instead of guessing. Calls are answered by a live person, 24/7 – no voicemail – because a driveway problem is worth a real conversation. Every project we take on is backed by the 730-Day Done Right Promise: if it’s not done right, we make it right.
If your driveway discussion turns into a bigger property plan – outdoor living, additions, or a full exterior refresh – the same team handles Home Additions & ADU in San Jose so you can coordinate from foundation to finish line under one contractor.
Frequently Asked Questions
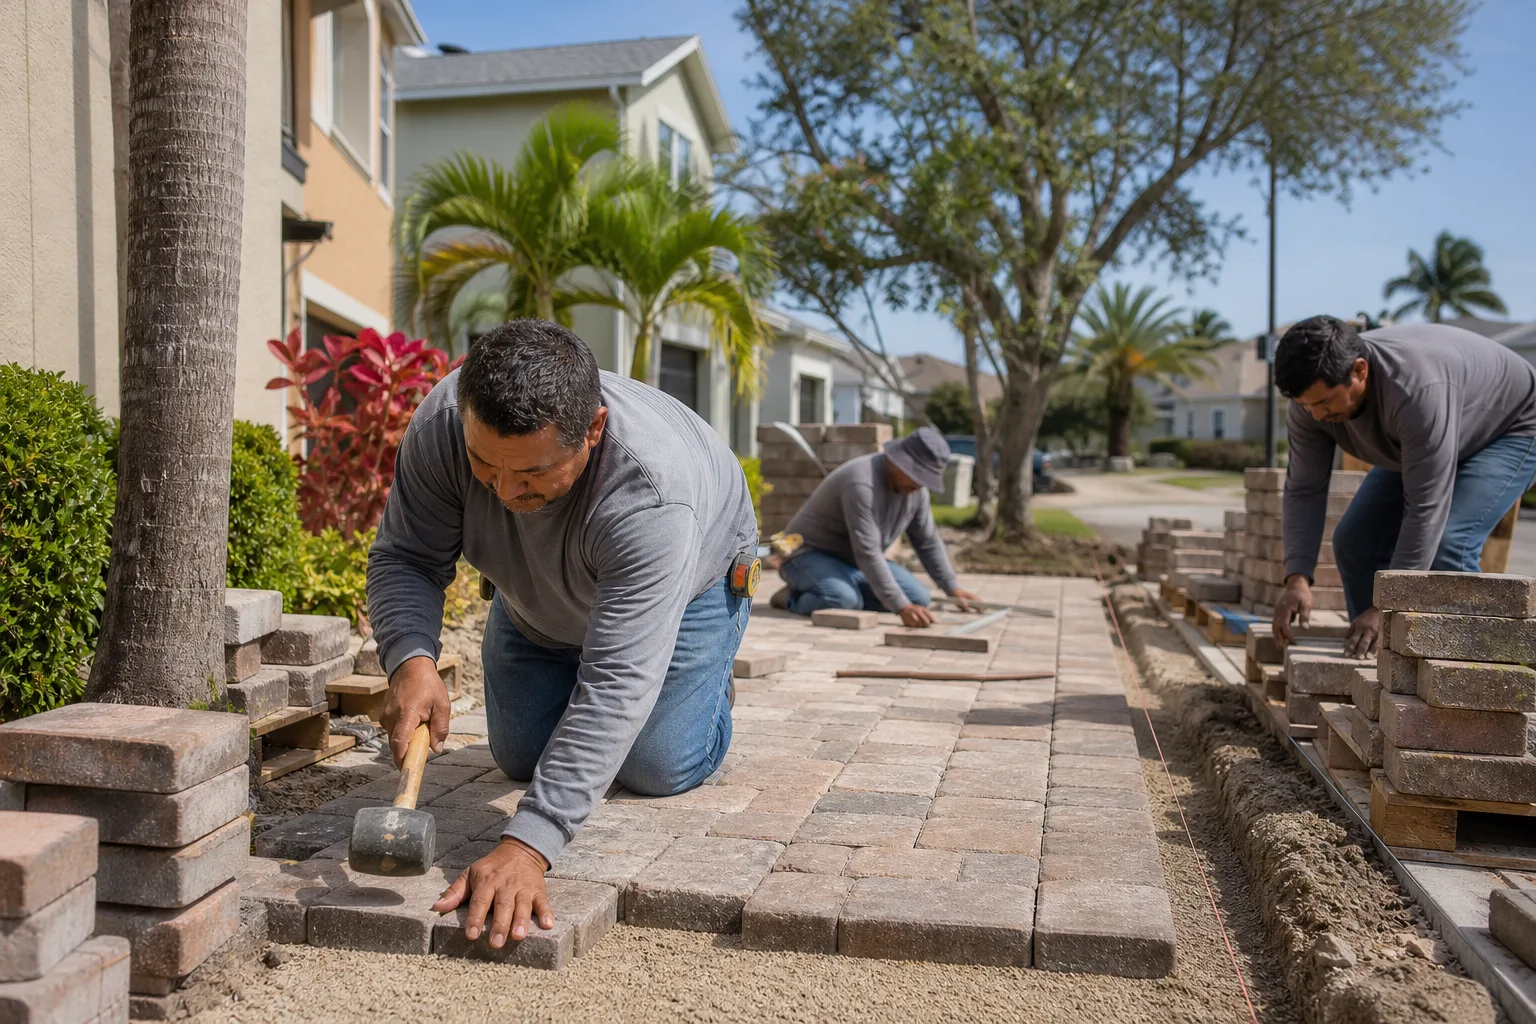
Most sinking pavers in San Jose are caused by base failure, not by the pavers themselves. The clay-rich soil common in San Jose swells during our wet winters and shrinks during dry summers, and a base that wasn’t compacted to depth in lift layers loses density through that cycle. If the sinking is isolated to one stone with stable neighbors, it’s likely surface settling. If neighbors rock or the low spot has expanded, it’s base failure. Call (833) 988-3521 for a free estimate – the diagnosis matters more than the fix.
You can replace a single sunken paver when the base underneath is intact, dry, and dense, and when the surrounding stones don’t rock under pressure. If the same paver has already been reset once, or if either neighbor moves at all, replacing the one stone just resets the clock on a base problem. That’s when a partial rebuild of the affected area is the honest fix. Call (833) 988-3521 for a free estimate and we’ll test the base in person before recommending anything.
Efflorescence is a white, chalky powder on the paver surface that brushes off with a stiff broom and is purely cosmetic. Spalling is the flaking or crumbling of the paver’s actual surface layer – the stone feels rough and pitted and has lost mass. Efflorescence needs a yearly cleaner. Spalling needs the damaged pavers replaced. Call (833) 988-3521 and we’ll tell you which one you’re looking at on your San Jose driveway – estimates are free.
Edge creep always starts at the border restraint, not the field pavers. The aluminum or steel edging that holds the last row in place has pulled its anchors out of the soil, usually after a wet San Jose winter, and the field has nothing left holding it. Re-spiking the restraint early is a fairly small repair; waiting until the field has visibly moved turns it into a partial rebuild. Call (833) 988-3521 for a free estimate – the edge is where we look first.
If the low spot has always been there and pools for hours, it’s a drainage design flaw. If it appeared gradually, has expanded, or sits alongside other low spots on the same driveway, it’s a soil compaction failure. San Jose’s clay soil makes compaction failures more common than drainage flaws on driveways built before 2005. Call (833) 988-3521 for a free estimate and we’ll test the base and the grade in person.
A single paver reset in San Jose typically runs $150 to $350 depending on access and platform. A partial rebuild of a failed section runs $1,200 to $2,500. A full driveway rebuild runs $8,000 to $22,000 depending on square footage, paver type, and base depth. The difference between the repair and the rebuild is diagnostic, not cosmetic – a good contractor tests the base before quoting. Call (833) 988-3521 for a free written estimate. Additions and larger upgrades like a Driveway & Pavers in San Jose project with new base work can be bundled for a better value.
The Bottom Line
Almost every driveway paver problem traces back to three causes: base failure, drainage design, or edge restraint failure. Your job as a homeowner isn’t to fix them – it’s to diagnose them before you spend money. A straightedge, a garden hose, and a barefoot walk will tell you more than any brochure. If the failure is isolated and the neighbors are stable, a repair is honest. If the base tests soft, the low spot spans three feet, or the same stone has sunk twice, it’s a rebuild, and a polite fix today just postpones the same bill. Whichever path you’re on, get the diagnosis in writing before the work begins.
If you’d rather have a pro read the driveway in person, we offer free estimates across San Jose. Call (833) 988-3521 – live person, 24/7 – and we’ll bring a straightedge, a probe, and the same honest diagnosis we use on every San Jose driveway. Upfront pricing, no surprises, and the 730-Day Done Right Promise in writing. That’s how we build – and repair – driveways that hold up to San Jose’s wet winters and dry summers.
Explore more of what our San Jose team does: Groundwork Construction Co. of San Jose home, Driveway & Pavers in San Jose, Fence Installation in San Jose, and Home Additions & ADU in San Jose.
Written by the team at Groundwork Construction Co. of San Jose.