






Free written scope consultation - allowances, timeline, and change-order rules on paper before a single trade is scheduled
Styles & brands we work with
- Kitchen remodeling
- Bathroom remodeling
- Home additions & ADU
- Roofing
- Windows & doors
- Driveway & pavers
- Fence
See the difference
 Before
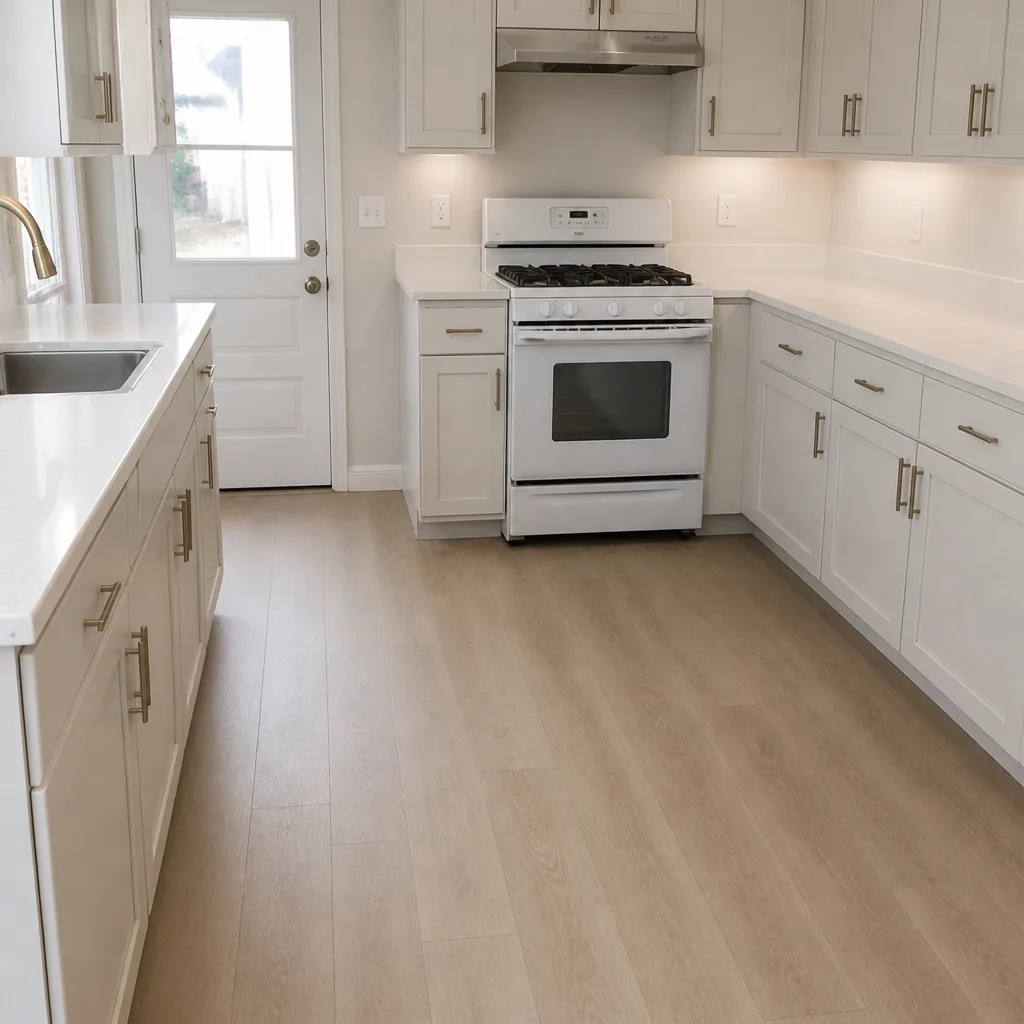 After
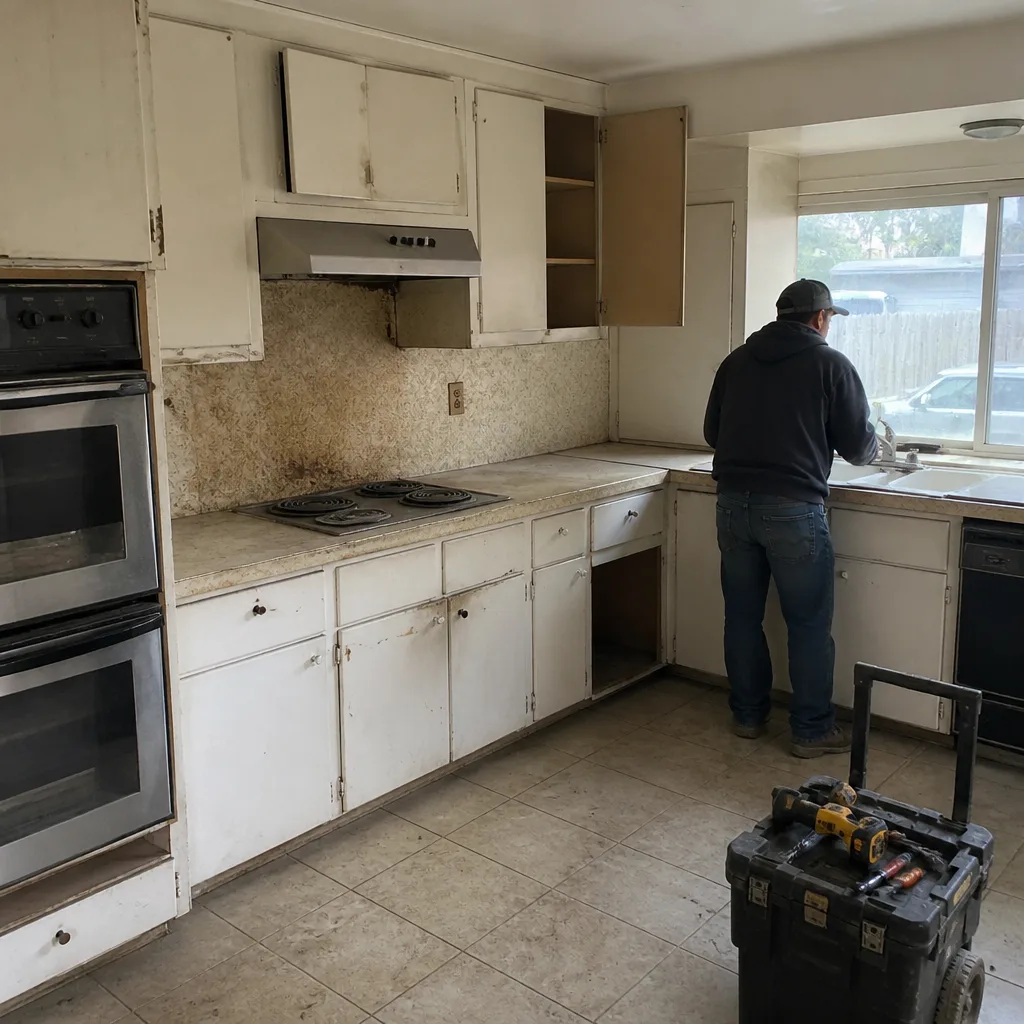 Before
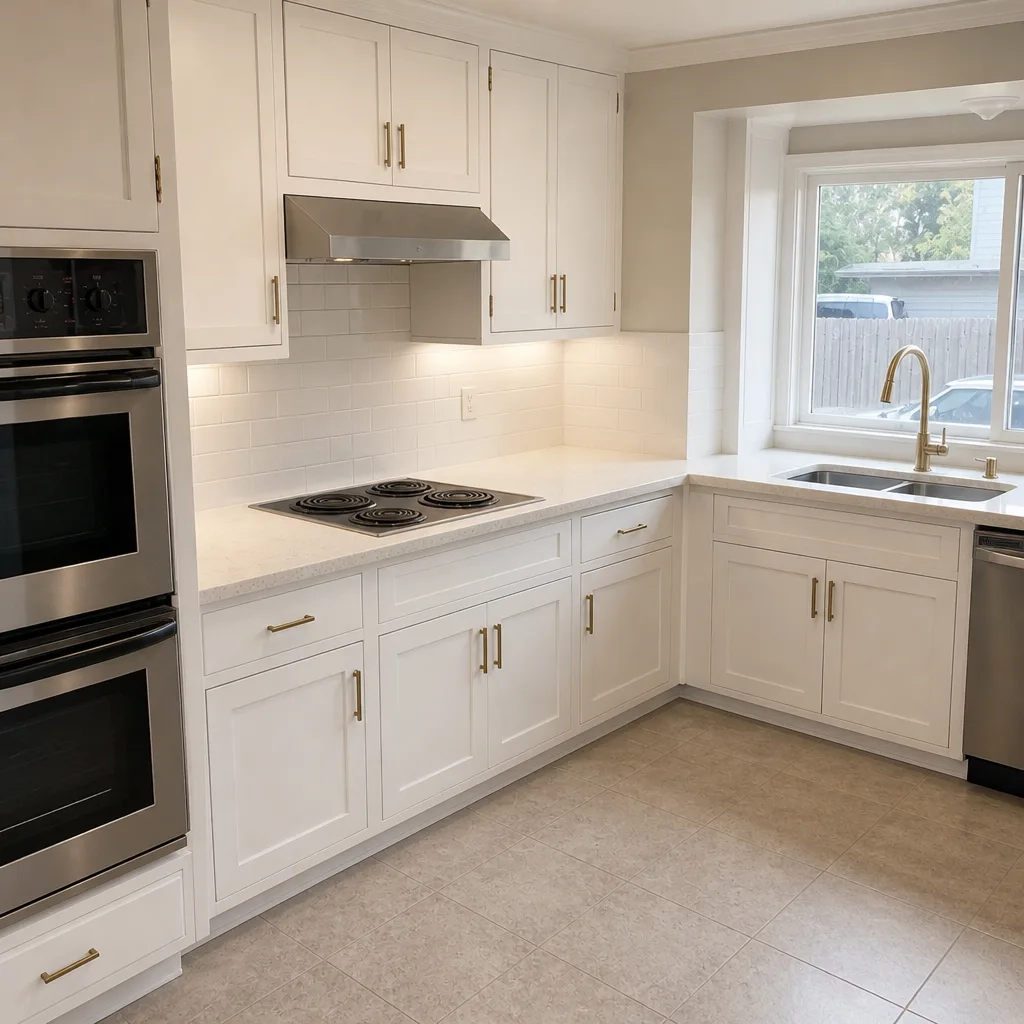 After
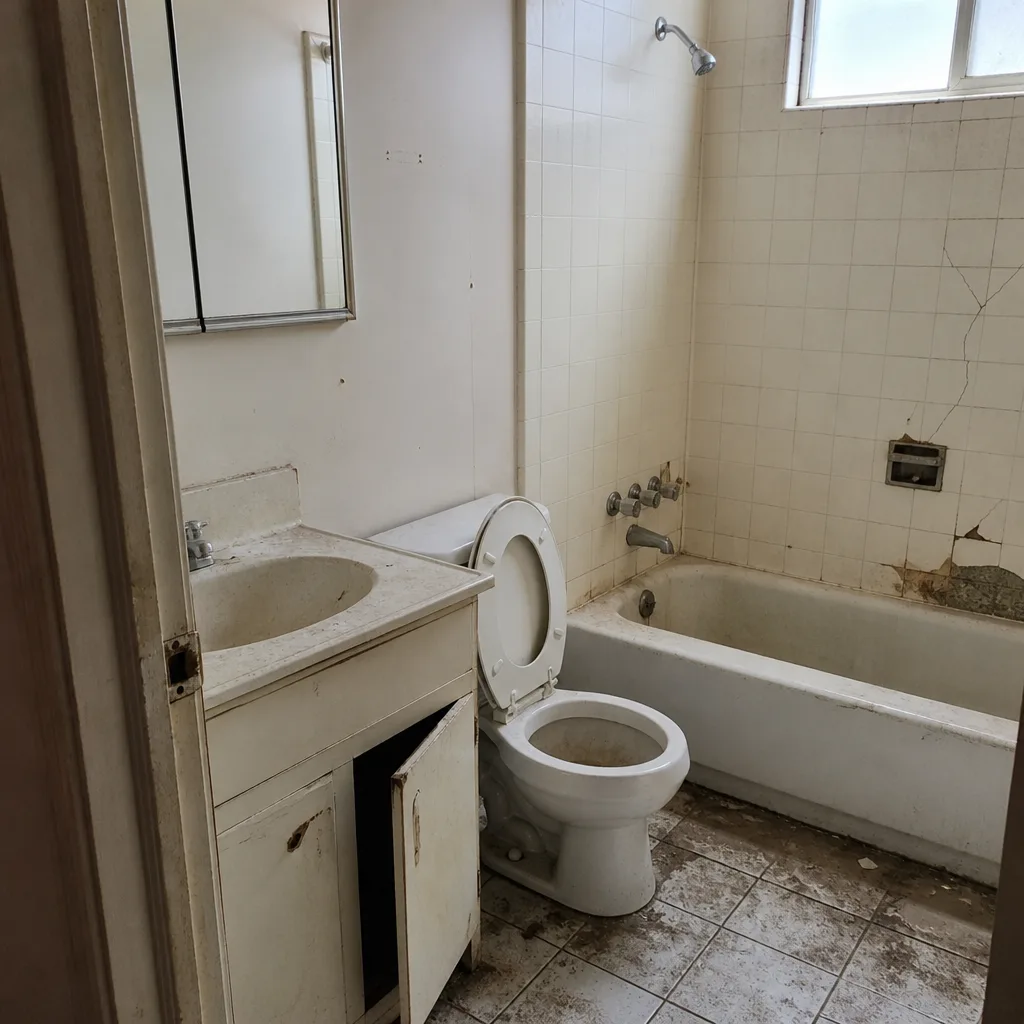 Before
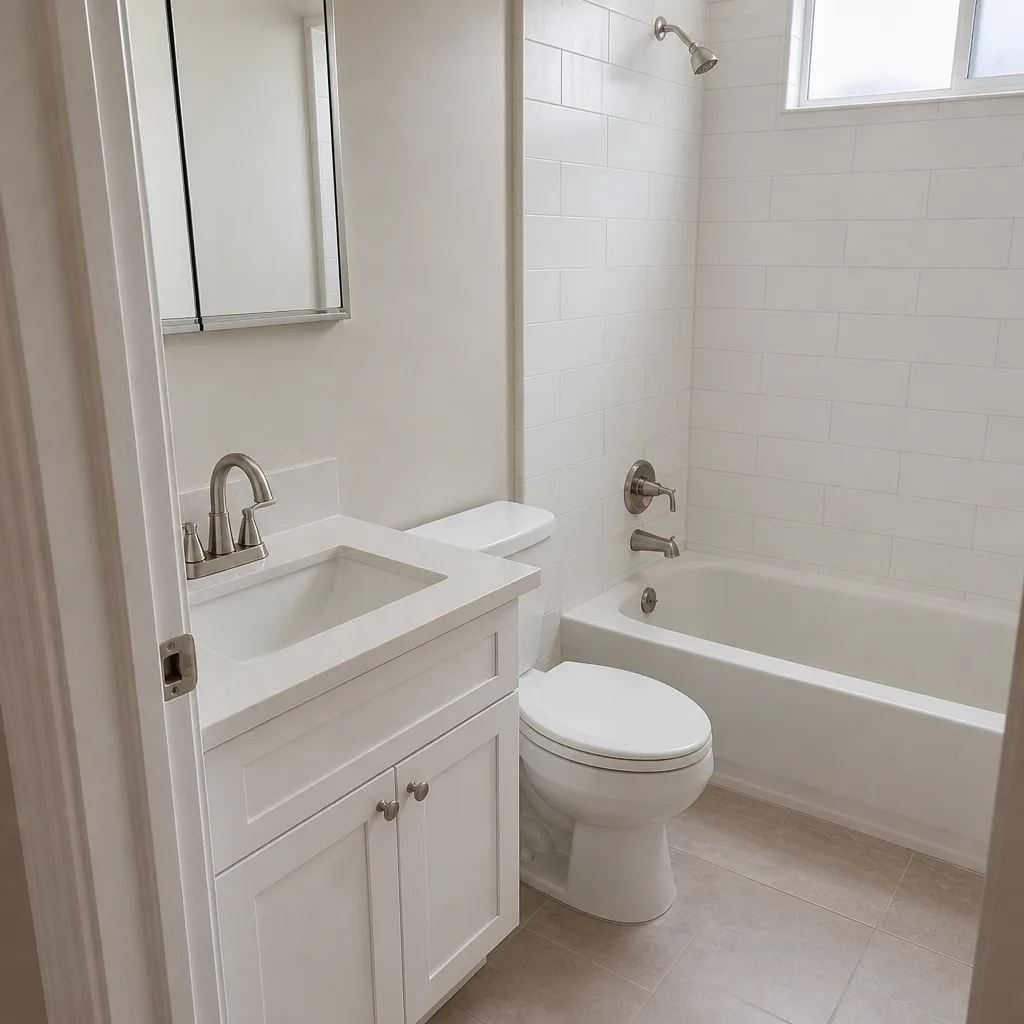 After
How to Find a Roof Leak in San Jose When Your House Has Been Added Onto
The fastest way to find a roof leak is to start at the highest wet spot you can see in the attic, then work outward to the valley and step flashings before you ever look at field shingles. On a simple house, water drops nearly straight down and the ceiling stain sits close to the entry point. On a postwar San Jose home that’s been added onto, that logic breaks: the entry point can sit 12 feet horizontally from the stain, and the water may be traveling through a wall cavity no one has opened since the 1970s.
Water on your living room ceiling doesn’t mean the hole is above your living room. Standard advice says go to the attic, find the stain, measure to the nearest wall, head up on the roof, and look right there. That works on a simple house. On a 1950s Willow Glen or Rose Garden home with two unpermitted additions and three roof planes stitched together, it usually sends you to the wrong place. If you’d rather have someone who knows these houses take the look, call Groundwork Construction Co. of San Jose at (833) 988-3521 and we’ll bring a moisture meter and a camera rather than a guess.
Key Takeaways
- On multi-addition homes, water enters at a valley, runs sideways along the top plate of the addition wall, and drops out inside the original structure - not above the visible stain.
- Check valley flashings and step flashings first. Field shingles fail at penetrations far more often than they fail in the middle of the field.
- San Jose’s rain comes in a few concentrated storms, so an intermittent leak may be months old by the time you see the stain, and the actual entry point may be bone dry when you look.
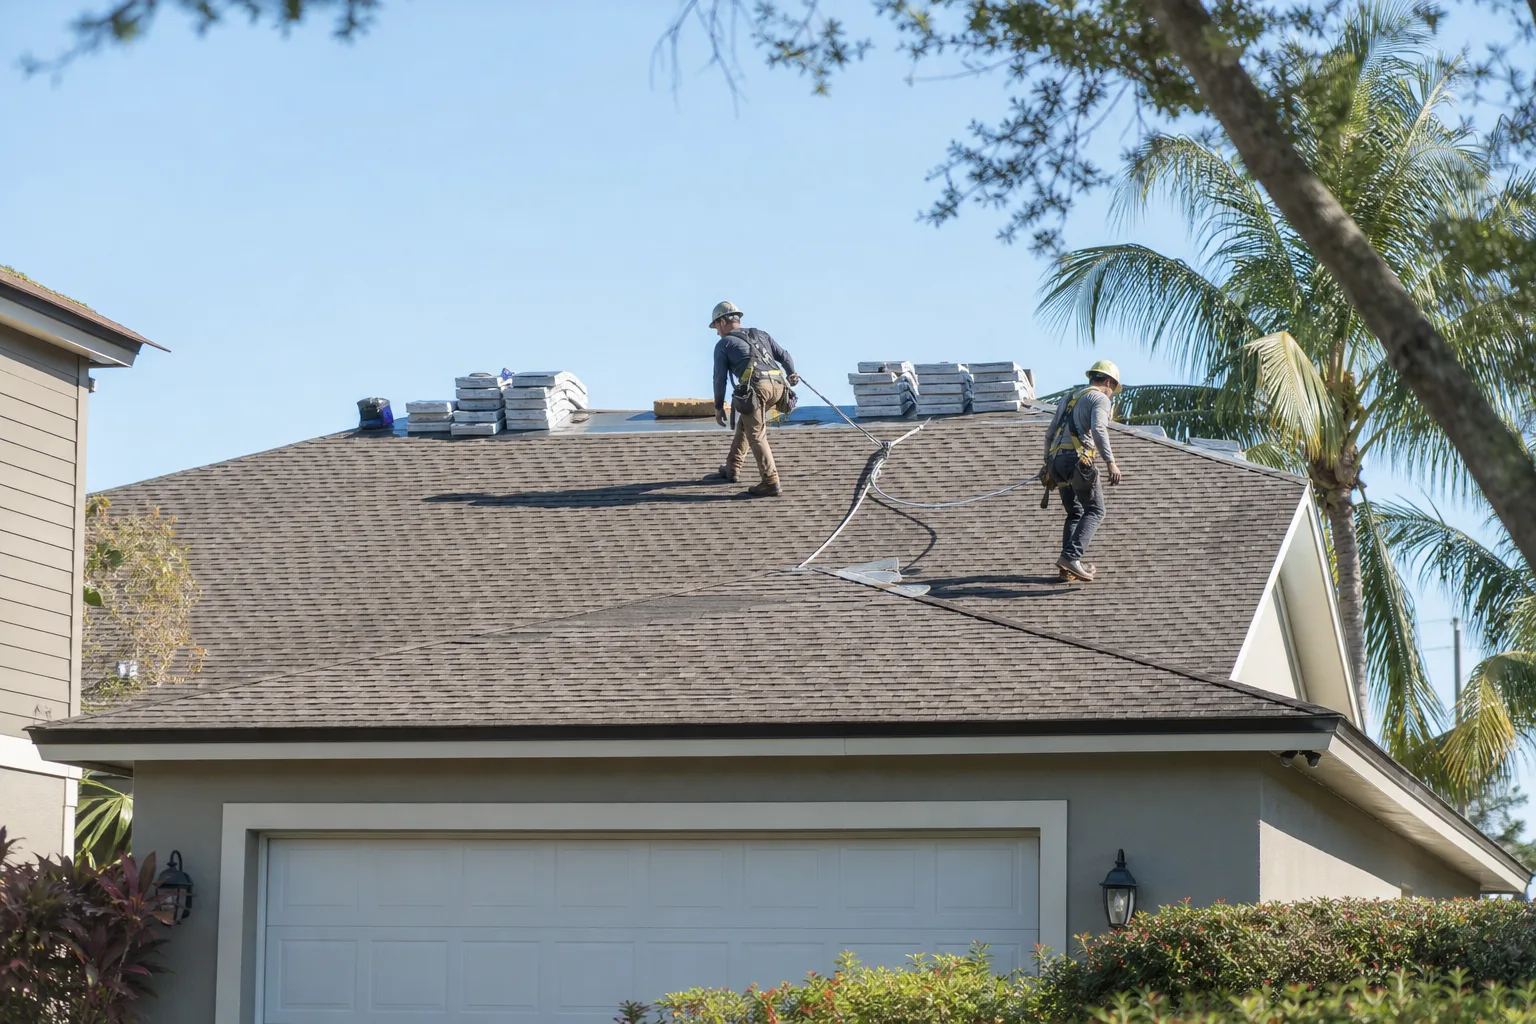
- Never walk a wet or steep roof to chase a leak. That’s a job for a trained pro, and it’s where most DIY leak hunts end in an injury.
Why a San Jose Addition Throws Off Normal Leak Tracing
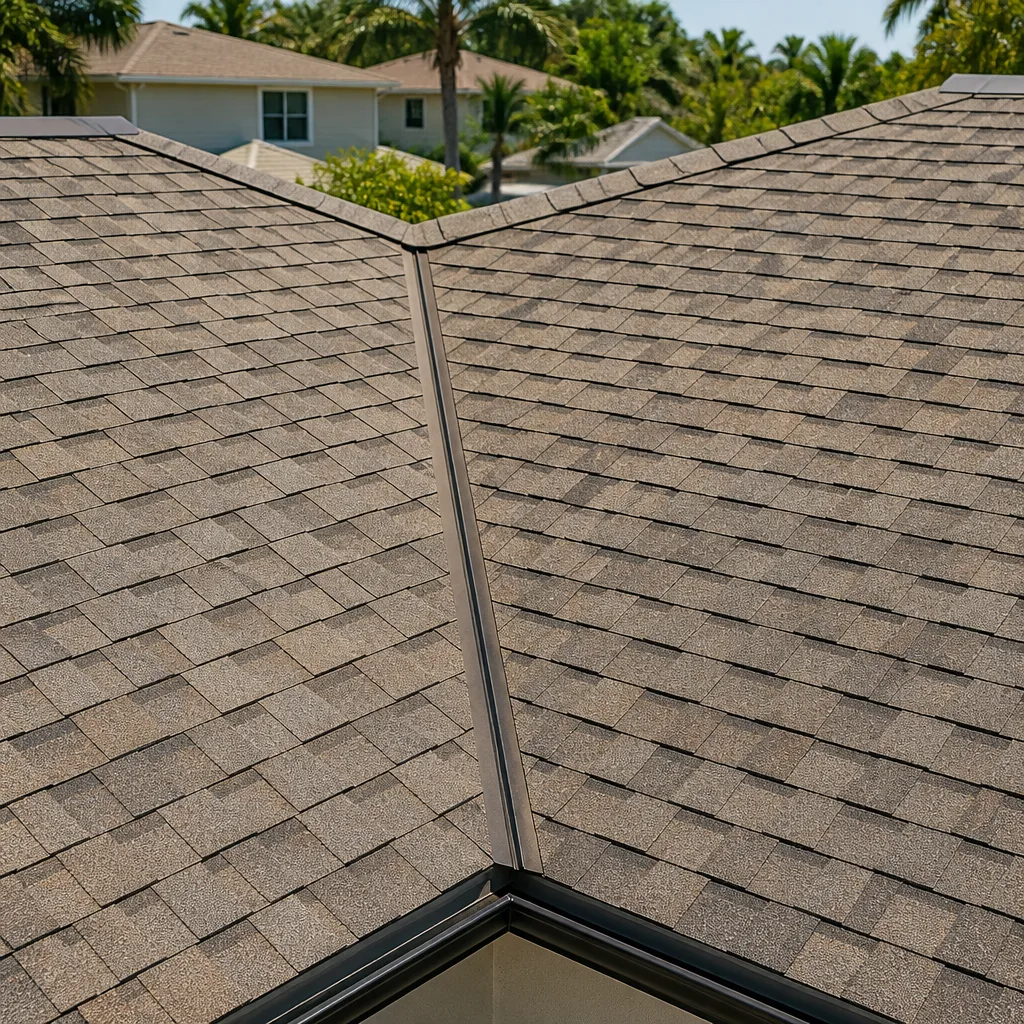
When a room gets added to a house, the new roof plane usually ties into the old one at a valley, and the addition’s wall gets framed up against the original exterior wall. The top plate of that new wall sits at the exact height where water naturally pools and runs. So a leak at the valley doesn’t drop into the new room. It hits the top plate, travels horizontally, and finds the first gap into the older attic - which is often 8 to 12 feet away from where the water actually got in.
San Jose has a specific version of this problem. In neighborhoods like Willow Glen and the Rose Garden, contractors routinely discover that original 1940s and ’50s homes have been expanded piecemeal over decades without permits, so nobody has a clean record of where the framing was cut, where vapor barriers end, or which cavities were designed to drain. When we open a ceiling, we’re often reconciling two or three generations of somebody else’s work at once. The leak came in through a valley and left through a hole in framing that was never meant to carry water in the first place.
The practical result: the stain you see and the hole that’s letting water in are separated by a horizontal run through a cavity. Tracing that run is the whole job.
A Leak Tracing Method Built for Complex Roof Geometries
Here’s how we work a complicated roof, in the order that gets to the answer fastest. The order matters more than the tools, because most failed leak hunts skip straight to the hose test and end up chasing water that never touched the real entry point.
- Start at the highest visible moisture in the attic. Not the biggest stain. The highest one. Water only travels downhill, so the top of the trail is the closest you can get to the source from inside.
- Check all valley flashings and step flashings first. These fail far more than field shingles do. Run your eyes along the valley metal and where it overlaps the shingles before you look anywhere else on the deck.
- Trace horizontal travel by probing the insulation. Gently feel the insulation along the top plates for a moisture gradient - the direction it transitions from soaked toward damp tells you which way the water is moving and points you back upslope.
- Only then run a garden hose grid test. Once flashing is ruled out, a slow, sectioned spray lets you isolate a single area at a time. On a multi-plane roof we mark and test sections in a fixed order so nothing gets double-watered and nothing gets missed.
Springs and valleys aren’t the only culprits. On San Jose’s postwar housing stock, three flashing failures show up again and again: original lead flashing at chimneys that has cracked from decades of thermal cycling, step flashing at dormers added in the 1980s that was never properly counter-flashed, and valley metal that has corroded at the overlap seams where two panels meet. Any of these can let in a small, steady trickle that shows up somewhere unexpected inside the house.
Why the Leak Dries Out Before You Find It
San Jose’s Mediterranean climate means rain arrives concentrated into a handful of storms in the wet months rather than a steady drizzle, so a leak may show for a week and then stay dry for half a year. That changes the tracing approach. A moisture stain in your attic is often months old, and by the time you inspect the roof, the active entry point may have dried out entirely and left no fresh evidence.
This is exactly why San Jose leak calls spike during and right after winter storms and stay quiet through the dry summer. The good news is we know the housing stock and the climate, so we don’t waste your time waiting for active dripping. We document what’s there, read the stain and the moisture readings for age and direction, and start the investigation from what the evidence tells us about the last big storm.
Bringing a non-compliant addition up to current standards is a whole separate conversation, and the same homes that leak through jerry-rigged valleys are the ones that need structural and seismic upgrades before anyone builds anything new. For a wider look at how this market works, our San Jose service area page covers what to expect on the permitting side.
What a Professional Leak Investigation Actually Looks Like
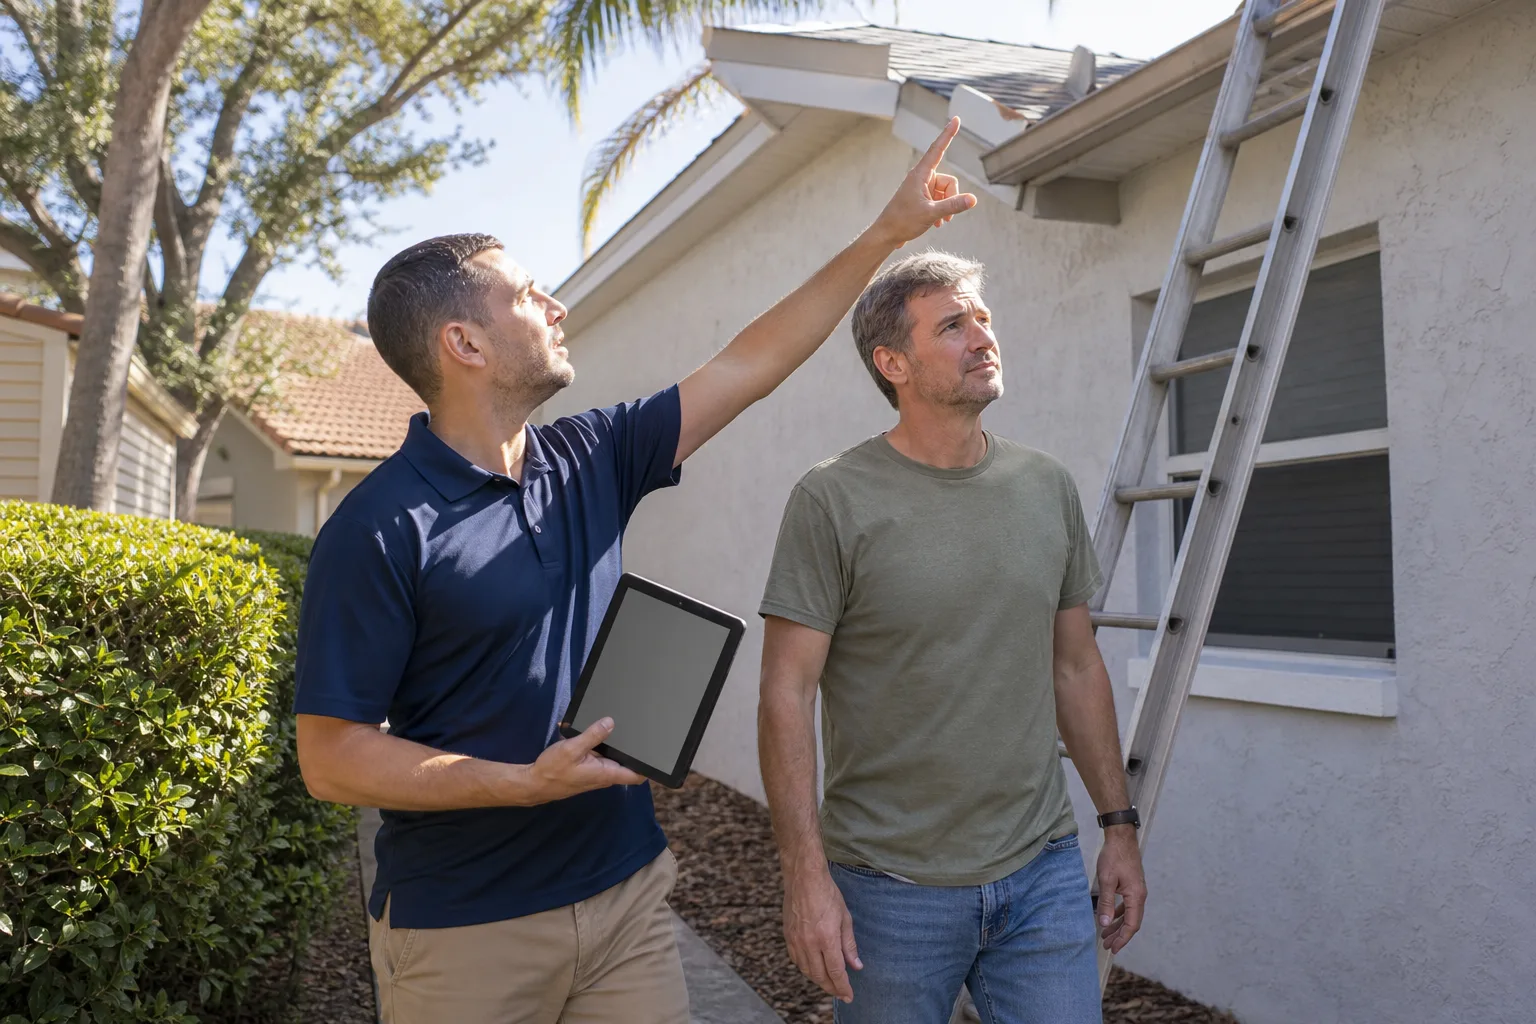
A real leak investigation ends with documented proof of the entry point before anyone proposes a repair. Here’s how Groundwork Construction Co. of San Jose runs one. A uniformed, background-checked technician arrives (our techs have up to 12 years of experience), and instead of a verbal diagnosis you get photo evidence of the actual entry point, a written scope of work describing what was found and what fixing it involves, and upfront pricing before any work starts. The number you see is the number you pay.
What we’ll often find on the way in is a repair sitting under a roof that isn’t far from replacement. That’s a judgment call, and we’ll put it in writing rather than in conversation.
Ranges below reflect San Jose’s market. These are typical price bands - your exact number comes from the written scope.
| Scope | Typical San Jose range |
|---|---|
| Roof repair (flashing, patching, minor corrections) | $470-$2,125 |
| Tile roof repair | $710-$2,950 |
| Full roof replacement | $9,440-$23,600 |
| Metal roof installation | $17,700-$47,200 |
When it’s time to replace rather than patch, we install with GAF, CertainTeed, Owens Corning and IKO systems - and every roof we put on is covered by our 730-Day Done Right Promise. If it’s not done right in the first two years, we come back and make it right. That’s one of the longest workmanship guarantees in residential construction, and it’s on the paper, not just in the pitch. You can see the full scope of what we do on our Roofing page.
FAQs
Start at the highest wet spot in the attic, then check the valley and step flashings where the additions tie into the original roof before you look at field shingles. On an added-onto home, water entering at a valley can travel 10 or more feet horizontally along a top plate before it drops, so the ceiling stain often sits well away from the actual entry point. If you can’t trace that run yourself, call (833) 988-3521 - estimates are free.
Yes, and it’s the norm in San Jose because our rain comes in a few concentrated winter storms rather than steady year-round rain. That means an intermittent leak can be months old and dry by the time you inspect it, and the active entry point may have no fresh evidence. That’s why we document the stain’s age and direction instead of waiting for active dripping - call us and we’ll trace it from the evidence.
Check from inside the attic if you can do it safely, but leave the roof walk to a pro. Wet shingles, steep pitches, and ladder work are where homeowner leak hunts turn into emergency-room visits, and a trained technician reads flashing and moisture better than a visual walk-up. Our techs are background-checked and arrive in uniform - call (833) 988-3521 for a no-pressure assessment.
It’s cheaper to repair if the leak is a focused flashing failure and the rest of the roof has life left; it becomes cheaper to replace when repairs stack up across multiple planes and the replacement is already due. In San Jose a single repair runs roughly $470-$2,125 while a full replacement runs $9,440-$23,600, so the honest answer depends on what the inspection finds. Call (833) 988-3521 and we’ll show you the evidence behind either recommendation - upfront pricing, no surprises.
Get the Leak Traced Before the Next Storm
If you’d rather have it looked at, Groundwork Construction Co. of San Jose offers a no-pressure assessment in San Jose - call (833) 988-3521. We’ll trace the leak, document the entry point, and put the fix in writing before any work begins.
Written by the team at Groundwork Construction Co. of San Jose, serving San Jose, CA.