Last updated November 18, 2026
Free written scope consultation - allowances, timeline, and change-order rules on paper before a single trade is scheduled
The Complete Fence Installation Guide for San Jose Homeowners
San Jose Municipal Code requires written neighbor consent for certain shared-boundary fence projects, and homeowners who skip that step have been ordered to remove finished fences at their own expense. That single fact reshapes how a fence project in this city should begin. Not at the lumber yard. Not on Pinterest. At the code book, the HOA packet, and a conversation with the person whose property touches yours. In this guide we walk through every step that actually decides whether your fence survives inspection and neighbor objections: the height limits by zone, California’s Good Neighbor Fence Law, how Bay Area clay and seismic movement dictate post depth, an honest material comparison built for San Jose’s climate, and the HOA approval process most contractors never explain. Read this before you spend a dollar.
Quick Answer
Fence installation in San Jose typically costs between $4,500 and $14,000 for a standard residential lot, with wood privacy fencing at the low end and aluminum or composite at the high end. Before any contractor touches your property you need to confirm your zone’s height limits, get written consent from a neighbor on any shared boundary, check for an HOA overlay, and verify whether your specific fence triggers a building permit. Rules first. Materials second. That order is what protects your investment.
Styles & brands we work with
- Kitchen remodeling
- Bathroom remodeling
- Home additions & ADU
- Roofing
- Windows & doors
- Driveway & pavers
- Fence
Table of Contents
- San Jose Fence Rules: Height Limits, Zones, and Permits
- California’s Good Neighbor Fence Law and Written Consent
- Bay Area Soil, Seismic Movement, and Post Depth
- Material Comparison for San Jose’s Climate
- HOA Approval: The Documentation You Need First
- The Step-by-Step Installation Process
- Common Mistakes to Avoid
- Frequently Asked Questions
San Jose Fence Rules: Height Limits, Zones, and Permits
San Jose regulates fence height by where the fence sits on the lot, not by what it’s made of. A six-foot cedar privacy fence in the rear yard can be perfectly legal while the same fence in the front yard violates code. Get the location wrong and you’re rebuilding.
Here’s how the general limits break down for most single-family residential zones in San Jose:
- Rear yard: Up to 6 feet by right in most R-1 zones, with taller fences allowed when they don’t obstruct sight lines at intersections.
- Side yard (behind the front setback line): Typically 6 feet, subject to the same rear-yard logic.
- Front yard: The tight zone. Anything in the front setback usually caps at 3 to 4 feet for solid fencing, with taller fences needing a permit and often a design review. Corner lots face additional visibility triangle restrictions at the driveway and street corner.
- Through lots, hillside, and historic districts: Overlay rules can tighten everything further. The Hensley, St. Leo’s, and Naglee Park historic areas are worth checking specifically before you commit to a design.
When is a permit actually required? In our experience, most straight-run replacement fences and standard 6-foot rear-yard fences in San Jose do not require a building permit. You will need one when the fence exceeds the base height limit, sits on a retaining wall over 4 feet, serves as a pool barrier with non-standard construction, or falls within a design review district. If you’re unsure, pull a property profile from the city’s planning portal before you order materials. A 15-minute call to the planning counter has saved more San Jose homeowners from demolition orders than any contractor ever will.
Front-Yard Fences and the Sight-Line Problem
The front yard is where most San Jose fence problems start. The city cares about sight lines at driveways, intersections, and pedestrian crossings. A 6-foot solid fence along your front property line may look great from inside your yard and create a code violation the moment a car pulls out of your driveway. If you want privacy in the front, look at a partial run that stops short of the driveway apron, or a see-through aluminum picket design that keeps the visibility triangle clear. That single design decision separates fences that pass inspection from fences that come down.
California’s Good Neighbor Fence Law and Written Consent
California Civil Code Section 841, commonly called the Good Neighbor Fence Law, governs what happens when a fence sits on a shared property line in San Jose and across the state. The law creates a presumption that adjoining landowners share equal responsibility for a boundary fence, but it does not give you the right to build on someone else’s property or to alter a shared fence without a conversation.
Here’s where homeowners get into real trouble. San Jose has a written neighbor notification process for certain boundary fence projects, particularly when the fence will be replaced or removed on a shared line. If a neighbor objects and you proceed anyway, the city can require you to undo the work. We’ve seen fences come down after the fact because the homeowner assumed a verbal “sounds good” was enough.
What you actually need in writing before breaking ground:
- A written acknowledgment from each affected neighbor that describes the fence location, height, materials, and the start date. Two signatures, one copy each.
- Clarity on cost sharing. The presumption is 50/50 for a boundary fence, but if a neighbor wants a taller fence than code allows or a more expensive material, they typically pay the difference. Put that in writing too.
- Confirmation of the actual property line. A licensed surveyor is the only reliable source. A fence built 6 inches onto a neighbor’s property is a trespass, and the neighbor can demand removal regardless of what the code says about height.
- Photo documentation of existing fence condition on both sides. This protects you if the neighbor later claims pre-existing damage was caused by your contractor.
Skipping one of these four steps is the most common reason a San Jose fence project gets delayed by weeks or ends up in small claims court. If you’re not sure who the legal owner of a neighboring parcel is (trust properties and rental units complicate this fast), the county recorder’s office is the place to check. We go through this with every fence customer before a single post goes in, and it’s the part of the project we refuse to shortcut. You can see how this fits into the wider scope of our fence installation in San Jose work if you want the contractor’s-eye view of how we sequence boundary projects.
Bay Area Soil, Seismic Movement, and Post Depth
Post depth in San Jose is not a one-size answer. The Bay Area’s clay-heavy soils expand and contract hard with seasonal moisture swings, and the same seismic activity that shakes foundations shakes fence posts loose over a decade. A fence installed at the standard “24 inches and done” depth common in drier markets will lean inside five years in most San Jose lots.
What actually determines the right post depth and footing here:
- Soil composition. Expansive clay (common in the Santa Clara Valley floor and East San Jose) grabs and releases water aggressively. Post holes in clay need a wider bell-shaped footing and clean gravel drainage so water can’t pool against the post.
- Seismic zone. San Jose sits in a high seismic-hazard area. Fence posts aren’t structural, but they do need enough concrete mass and embedment to resist lateral load during shaking. Posts set 30 to 36 inches deep in 10 to 12 inch diameter footings handle this reliably for a 6-foot fence.
- Slope and grade. Many San Jose lots, particularly in Almaden Valley and the foothills above Evergreen, have grade changes that step every post. Each step needs its own footing, not a run packed with dirt.
- Drainage and clay mounds. If your property sits on fill or near a seasonal creek, get a soils look first. Posts set into poor-draining clay above fill will wick water and rot in under a decade.
In practice, our field crews set 6-foot privacy fence posts 30 to 36 inches deep in concrete, with a gravel base in clay-rich soil and a crown on the concrete to shed water away from the post. For a taller fence or a gate post, they go deeper. It costs a little more up front and it’s the single biggest determinant of whether your fence is still standing straight after fifteen San Jose winters. The materials sitting on top of those posts matter too, and that’s the next decision.
Material Comparison for San Jose’s Climate
San Jose’s climate splits the difference between coastal damp and inland UV. Mornings bring fog and moisture. Afternoons in summer push 90-plus with harsh sun. Winters alternate between dry stretches and saturated weeks. Any fence material that ignores both ends of that swing fails early. Here’s how the four main options actually perform in this city.
Wood (Cedar, Redwood, and Pressure-Treated Pine)
Wood is the San Jose default for good reasons. It’s the most economical choice, it takes stain and paint well, and it fits the visual character of most established neighborhoods. The trade-off is maintenance. Cedar and redwood handle the moisture swings better than pine, but any wood fence in San Jose benefits from a fresh seal or stain every two to three years. Skip it and you’ll see graying, splitting, and post-base rot inside a decade. For a homeowner who wants wood and won’t maintain it, expect a 12 to 18 year lifespan with the right species, longer with a consistent maintenance routine.
Vinyl
Vinyl holds up well to San Jose’s UV and doesn’t need paint or stain. That’s the appeal. What it doesn’t handle well is the clay expansion underneath it. Vinyl panels are rigid, and when the posts underneath shift, the panel connections take the stress instead of flexing. We see vinyl fence rails crack at the post connection on older San Jose installs, especially in clay-heavy soil. Get the footing right and vinyl is a 20-year fence. Get it wrong and you’re replacing panels at year six. Vinyl also shows fading in the high-UV stretches of East San Jose and the Almaden foothills, though modern vinyl blends hold color much longer than the older product many homeowners remember.
Aluminum and Steel Ornamental
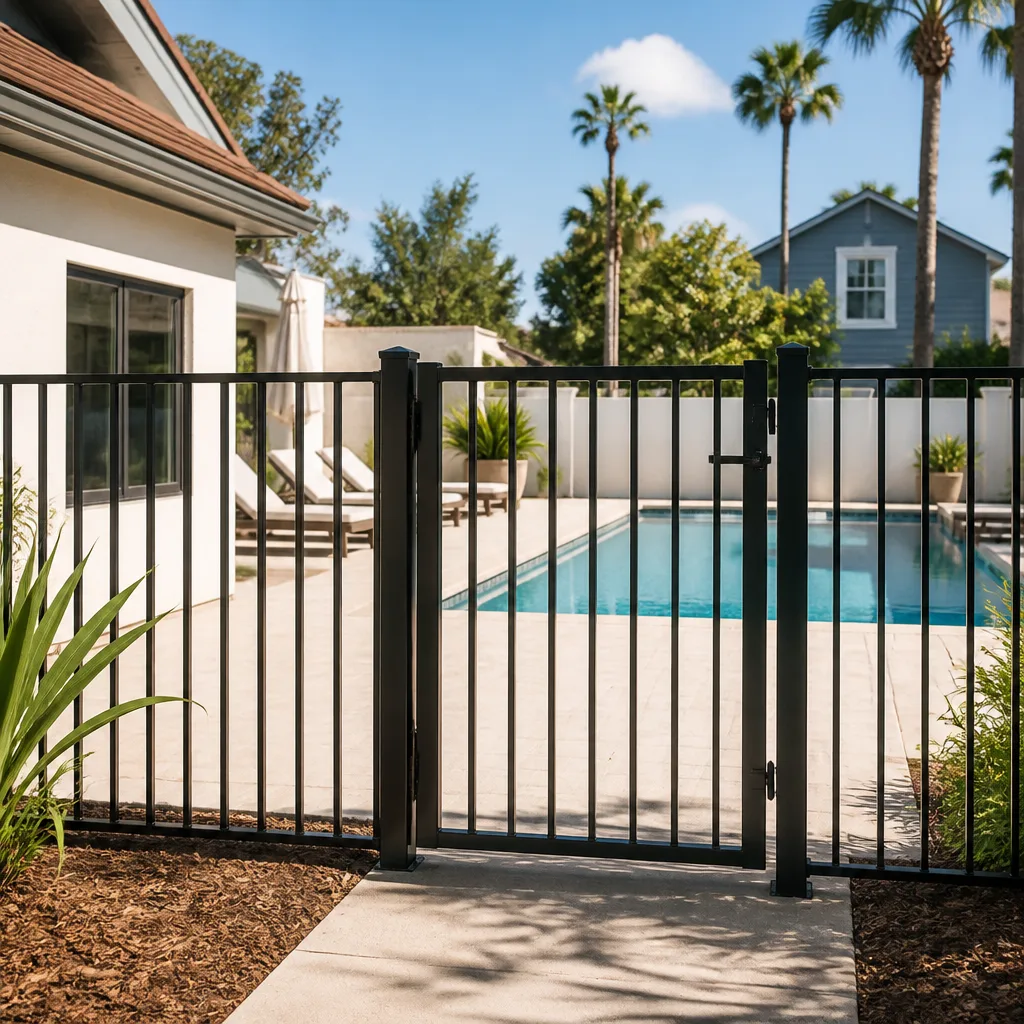
Aluminum is the best option for front-yard visibility, pool surrounds, and any fence sitting in a spot where the code requires see-through design. It’s lightweight, rust-resistant when powder-coated, and effectively maintenance-free. The look is deliberately formal, which suits some San Jose neighborhoods and clashes with others. Cost lands roughly in the middle, and the lifespan is easily 25-plus years. Steel offers more security and more weight. For most residential applications, powder-coated aluminum gives you the durability without the rust risk or the extra load on the footings.
Composite
Composite is the premium option and it earns the premium price. It handles UV, moisture, and clay movement better than any wood product, and it never needs staining. Brands like Tamko and Boral offer composite fence systems that hold color and structure well through Bay Area weather cycles. The cost per linear foot is typically double what cedar runs, so composite makes the most sense on the fences a homeowner wants to forget about entirely. The San Jose neighborhoods where we see composite go in most often are the higher-value lots in Almaden, Willow Glen, and the Los Gatos border, where the fence needs to match the property for the long haul.
Quick Cost Comparison for San Jose
- Wood (pressure-treated or cedar): $30 to $55 per linear foot installed.
- Vinyl: $40 to $70 per linear foot installed.
- Aluminum ornamental: $50 to $85 per linear foot installed.
- Composite: $60 to $110 per linear foot installed.
Those ranges cover materials, labor, posts, and concrete. They do not include removal and haul-away of an existing fence (typically $800 to $2,000 depending on length and material), survey work, or HOA design review fees. Any contractor quoting a flat “per foot” number without walking your property and confirming the footing situation is guessing. Upfront pricing means the number you see is the number you pay, and that only happens after someone has actually looked at your soil, your grade, and your property lines.
HOA Approval: The Documentation You Need First
San Jose has a heavy concentration of HOA-governed communities, from the newer tracts around Evergreen and North San Jose to the townhome clusters along the Almaden corridor. If your property sits inside an HOA, the city’s fence code is only half the rulebook. The HOA rules are typically stricter.
The HOA approval process almost always requires a specific set of documents. Missing one is what delays fences from being built for months while homeowners chase paperwork. Before a contractor touches your property, assemble this packet:
- An architectural request form from your HOA (some HOAs call this an ACC or ARC request). Submit it early. Review boards often meet monthly.
- A site plan showing the fence location on a scaled drawing of your lot, with height and material noted.
- Material specifications and color samples for the exact product going in. Generic “wood fence” submissions get rejected in most San Jose HOAs. They want the brand, color name, and manufacturer spec sheet.
- A drawing or rendering of the fence elevation showing picket style, cap style, and post spacing.
- Neighbor notification if required by your HOA’s governing documents, which for many San Jose HOAs extends beyond what the city itself requires.
- Confirmation of the current CC&Rs for your specific lot. Rules change across HOA phases in master-planned communities, so don’t rely on what your neighbor was told three years ago.
The approval timeline for most San Jose HOAs runs three to eight weeks. Add that to your project plan. A contractor who starts work before written HOA approval is in place is creating a problem for you, not solving one. We’ve seen HOAs require full removal of a completed fence because the material color didn’t match what was approved. The framing of the fence should happen in the packet, not in the lumber.
The Step-by-Step Installation Process
Once the rules, consent, and HOA approval are settled, the install itself follows a predictable sequence. Here’s how a professional San Jose fence build actually runs, start to finish:
- Property line confirmation. Verify with a surveyor if any boundary question exists. This is not optional on a shared-line project.
- Old fence removal and haul-away. Concrete footings are broken out of the ground, not cut at grade. A post left 6 inches down will surface as a stub in two years.
- Layout and marking. Posts marked at consistent spacing, typically 8 feet on center for wood, tighter for taller fences or heavy gates.
- Post hole excavation. Depth determined by soil and fence height, with holes bell-shaped in clay soil to resist frost-style heave and clay expansion.
- Footing pour. Concrete poured with a gravel base in clay-heavy soil, post brackets used where appropriate, crowns shaped to shed water.
- Cure time. Concrete cures 24 to 48 hours before rails and pickets go on. A crew that hangs panels the same day the posts go in is skipping this, and the fence will rack.
- Framing and panel installation. Rails, pickets, or panels installed level and plumb, with an expansion gap at panel ends to allow for seasonal wood movement.
- Gate installation. Gate posts set deeper and often wider-spaced footings, gate frame braced against sag.
- Final walkthrough. Post spacing, panel alignment, gate swing, stain or seal coat if included, site cleanup and debris removal.
A typical San Jose residential fence of 100 to 150 linear feet runs three to five working days. Add a day if there’s demolition, a complex gate, or significant grade change. The Bay Area’s dry season (roughly April through October) is the easiest window for installs, since concrete and stain both behave better, but a professional crew handles year-round San Jose work without issue. If your project touches the front of the home, coordinate with your driveway and hardscape work so crews don’t tear up freshly finished concrete. Our driveway & pavers in San Jose team regularly sequences fence and hardscape work so the fence goes in before the paving, not after.
Common Mistakes to Avoid
- Building a boundary fence without written neighbor consent. A verbal yes from the neighbor over the back fence is not protection. If a dispute surfaces later, the written record is what keeps you out of a removal order, and this happens more often in San Jose than most homeowners expect.
- Skipping the survey on a shared-line project. Property lines in older San Jose neighborhoods (Willow Glen, Naglee Park, the Rose Garden) don’t always match the fence that’s currently there. A six-inch encroachment is a legal problem regardless of how good the fence looks.
- Setting posts too shallow in clay. The 24-inch post depth standard used in drier parts of California is a recipe for a leaning fence in Santa Clara Valley clay. Go 30 to 36 inches and bell the bottom.
- Overlooking the HOA until after the fence is designed. Picking a color and style then getting a rejection from the architectural committee means redesigning and resubmitting. Pull the CC&Rs first, then choose the material.
- Ignoring the front-yard visibility triangle. A 6-foot fence along the front property line looks private until you can’t see oncoming traffic pulling out of your driveway. Two feet of solid fence placement makes the difference between a code violation and a clean inspection.
- Choosing material for looks instead of climate. A white vinyl privacy fence looks great in a showroom and fades hard in the UV exposure of East San Jose. A cedar fence looks beautiful in a brochure and grays in two winters without a seal. Match the material to the location on the lot and the maintenance you’re realistically going to do.
- Not documenting the fence condition that already exists on the neighbor’s side. Photos taken before demolition protect you if a neighbor later claims damage from the install. Two minutes of phone photos is cheap insurance.
Every one of these mistakes has a fix if you catch it before work starts. None of them have a cheap fix after.
See the difference
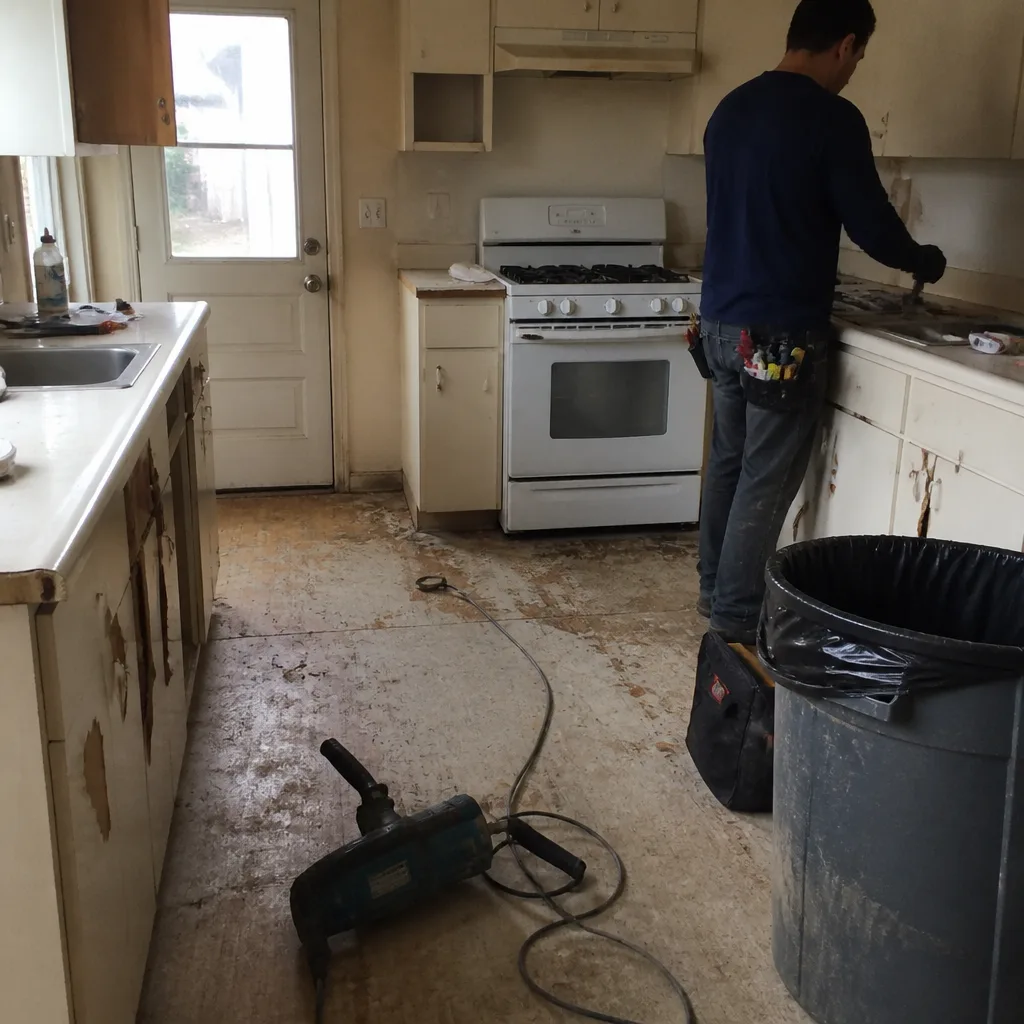 Before
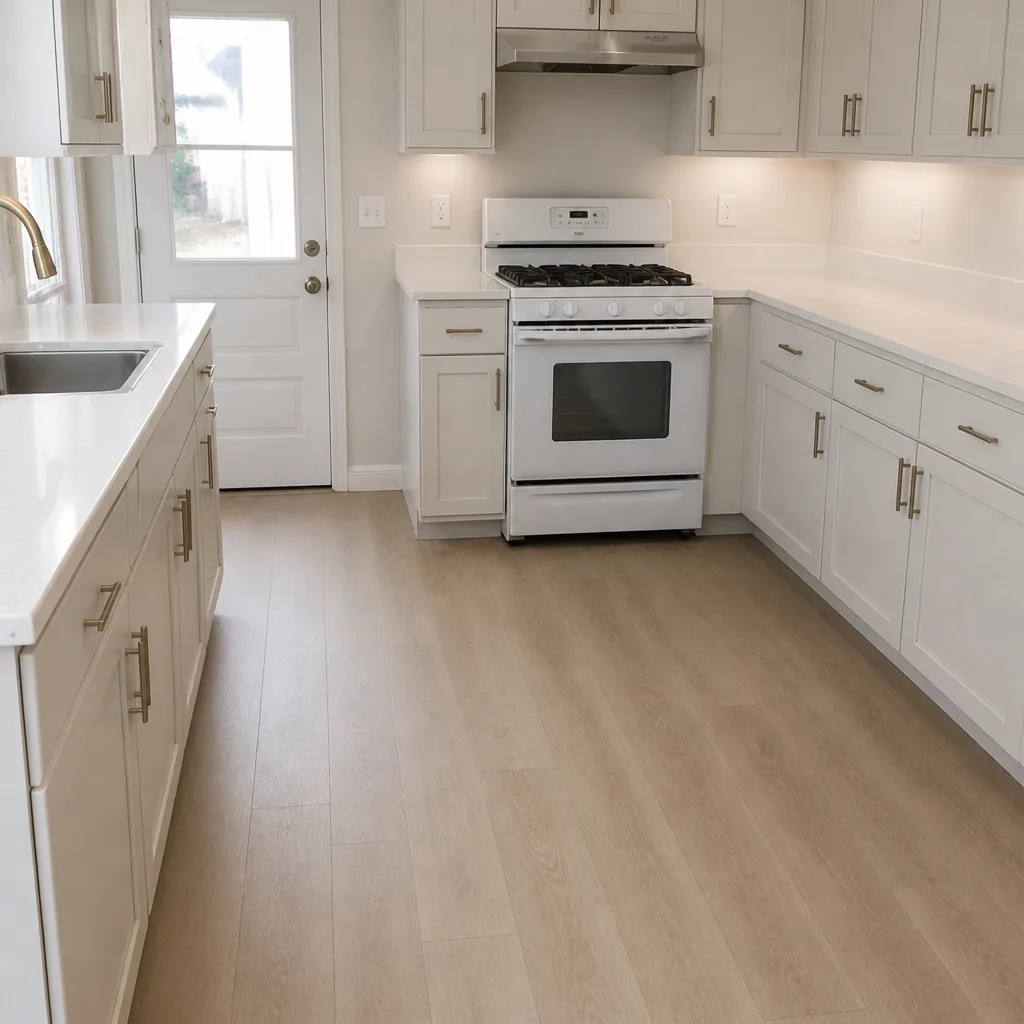 After
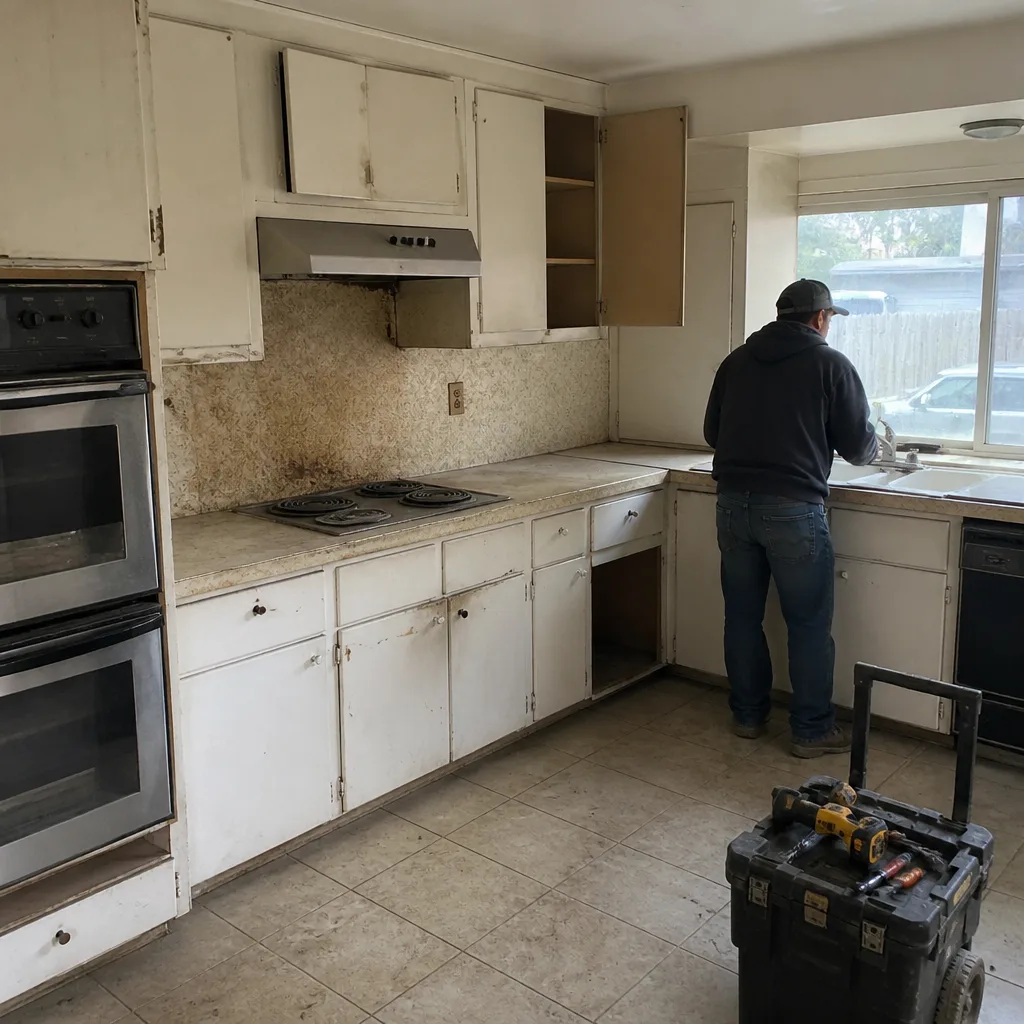 Before
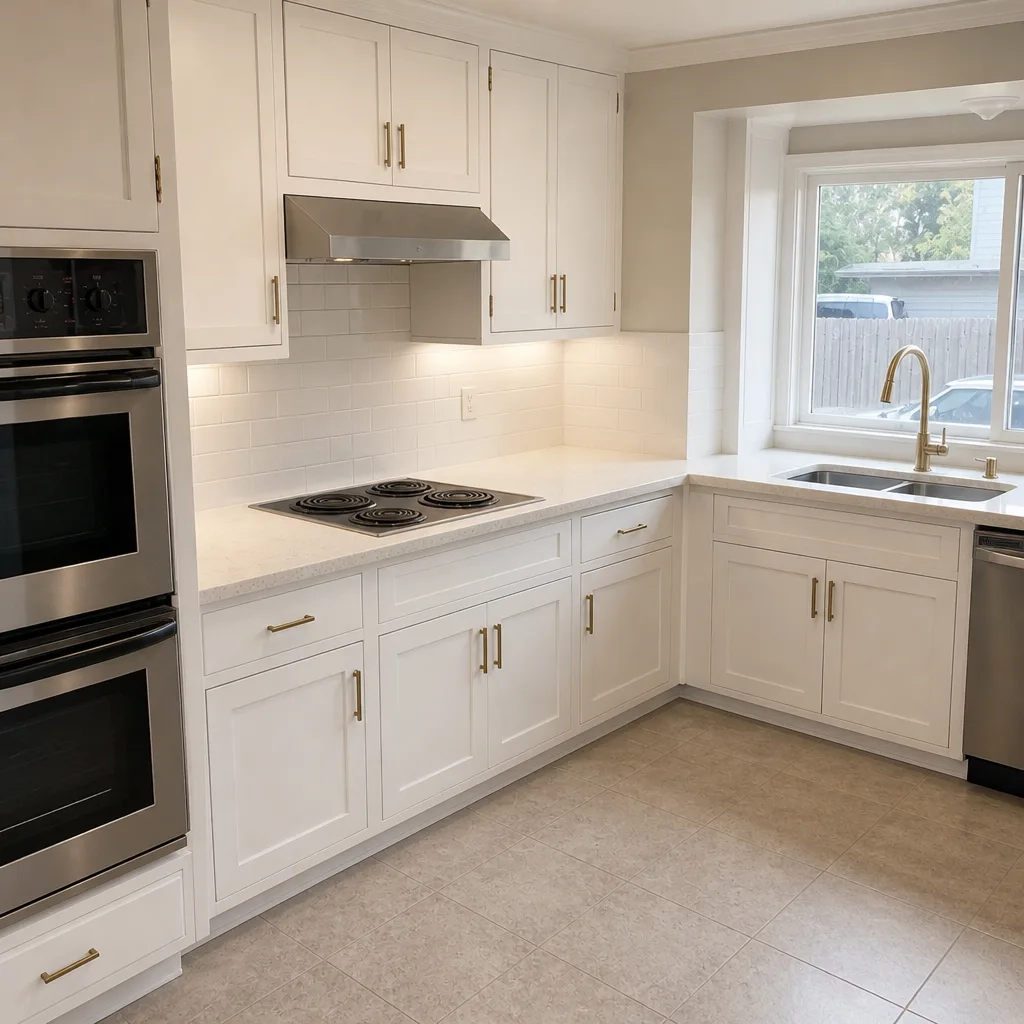 After
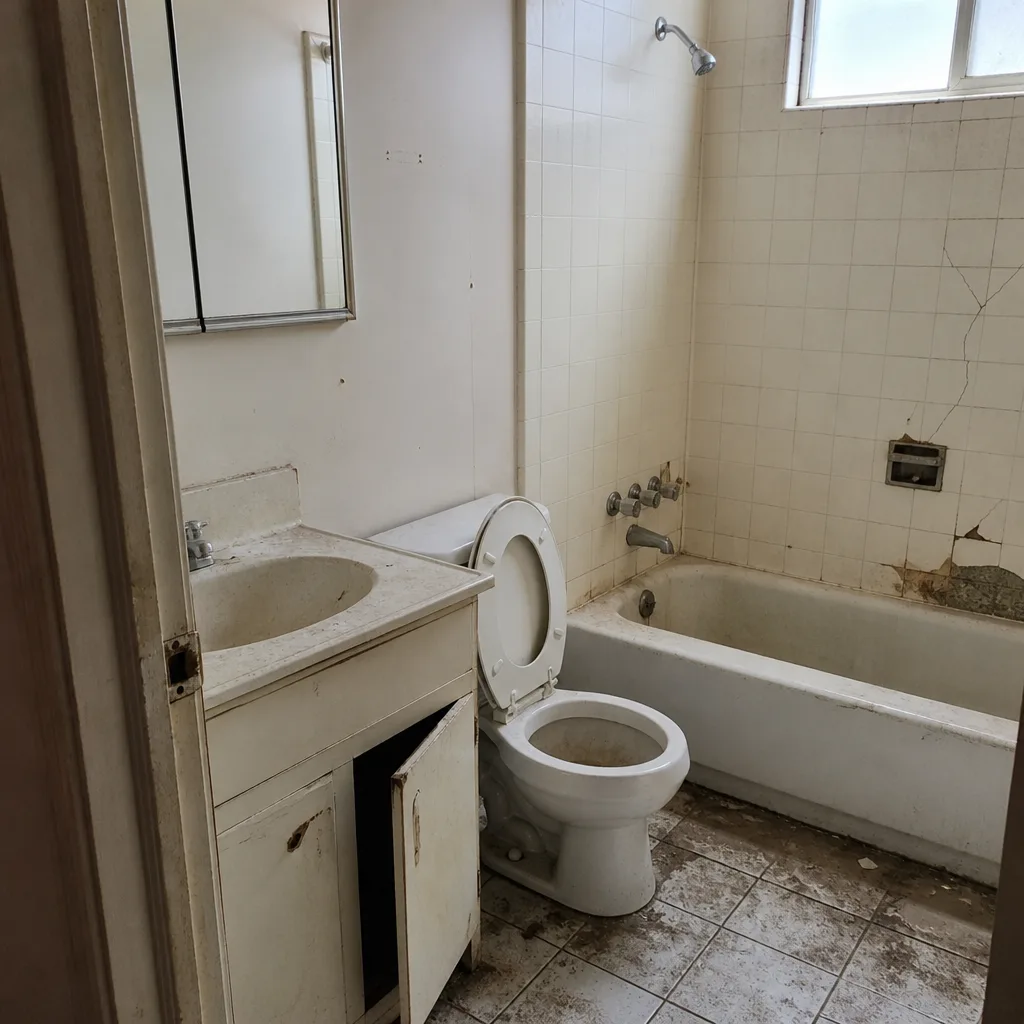 Before
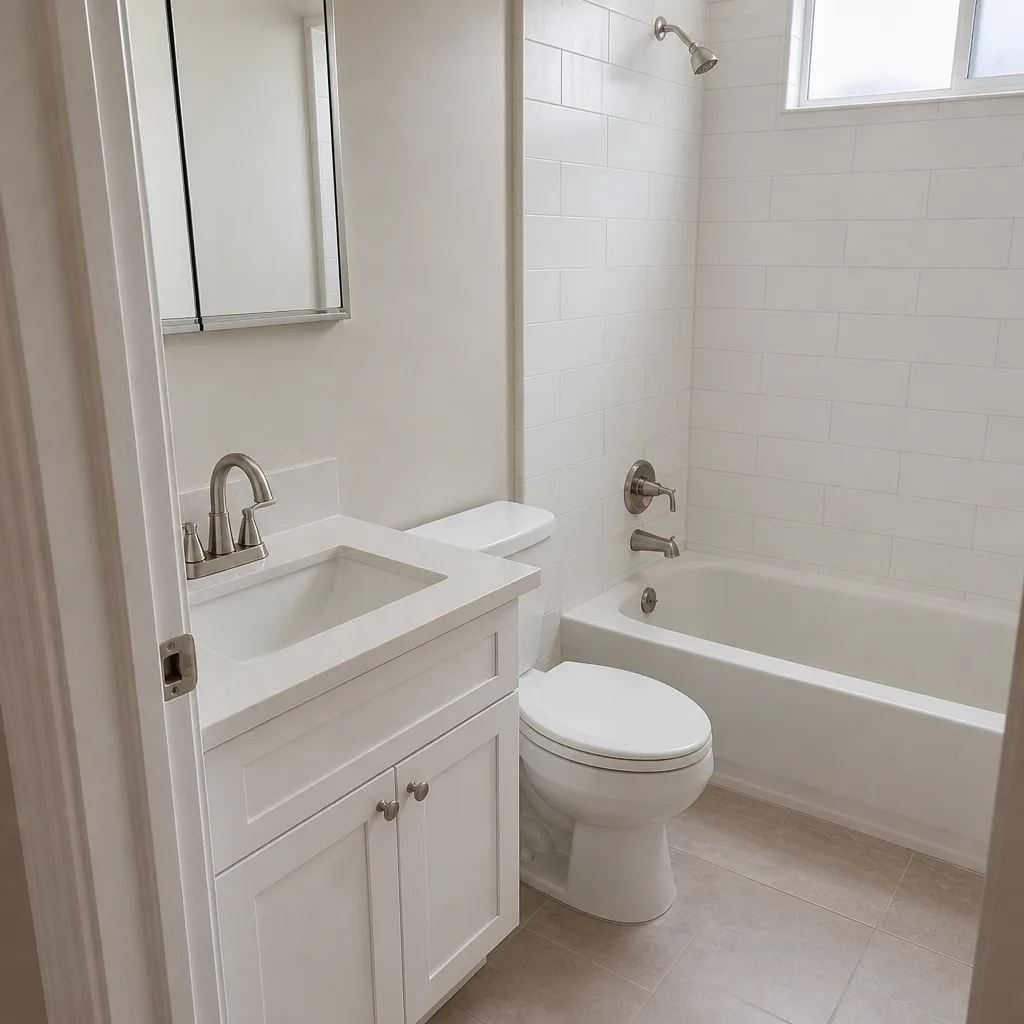 After
When to Call a Professional
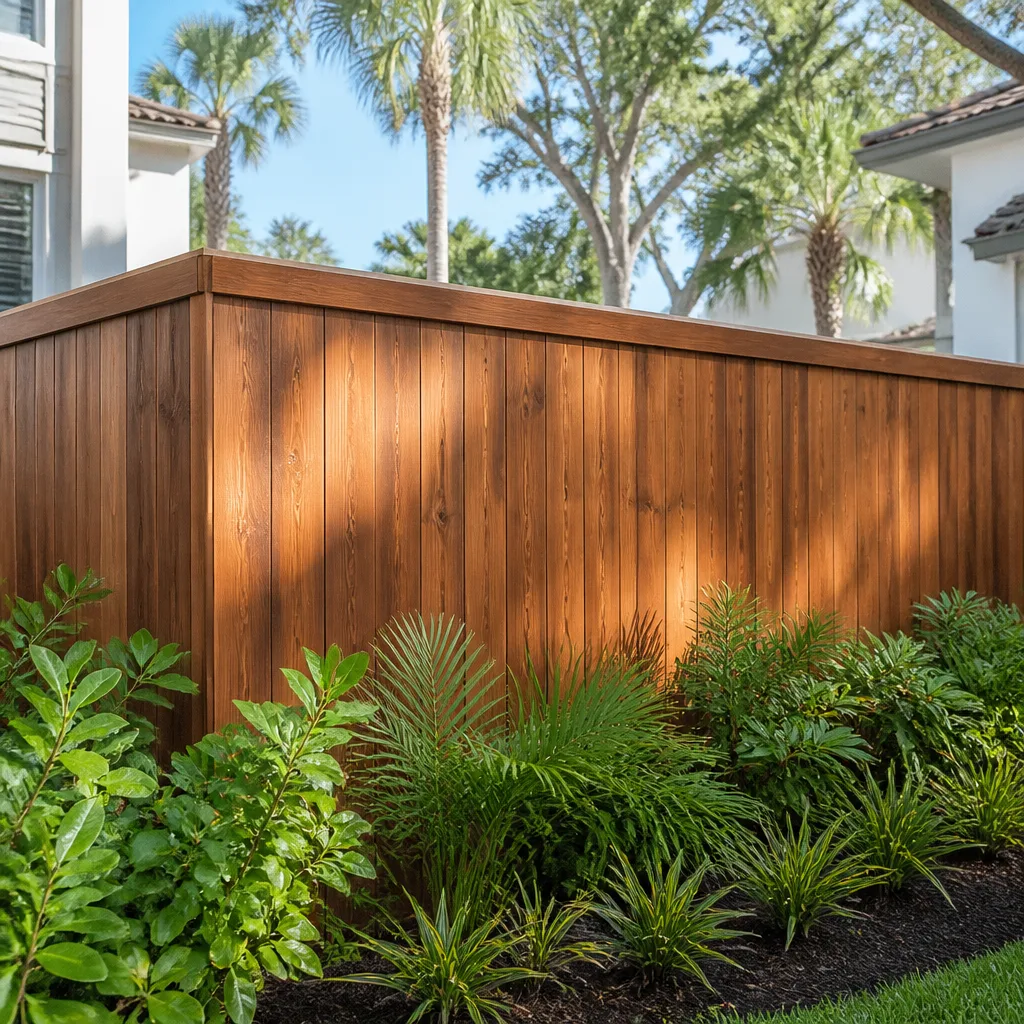
A single straight run of standard 6-foot privacy fence in a rear yard with no HOA and a clear property line is a project some homeowners can manage themselves. That’s a narrow set of circumstances in San Jose. The moment any of these factors enters the picture, bring in a licensed fence contractor:
- The fence sits on a shared boundary and you need help documenting the consent properly.
- Your property is governed by an HOA with an architectural review process.
- There’s a grade change requiring stepped posts.
- The existing fence has footings that need to be broken out and hauled.
- You’re replacing a fence in clay soil or a slope with uncertain drainage.
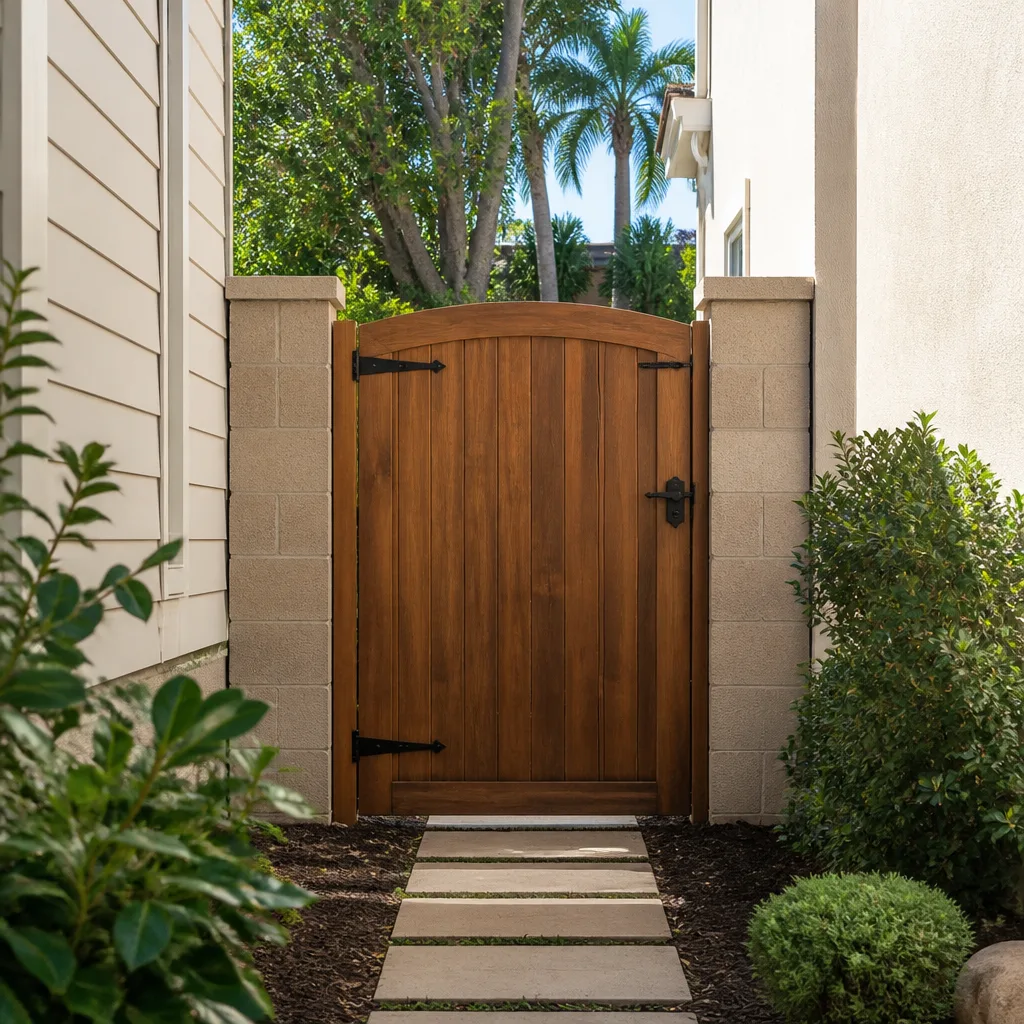
- You want a gate, an entry arbor, or a fence over 6 feet with a permit.
- The property line is unclear or has disputed history.
Groundwork Construction Co. of San Jose offers free estimates in San Jose, and every project is backed by our 730-Day Done Right Promise: if it’s not done right, we make it right. We handle the neighbor documentation sequence, the HOA packet, the permit questions, and the install, and we put the price in writing before we start. Call (833) 988-3521 to schedule your free estimate. Calls are answered by a live person, 24/7, and our background-checked, uniformed technicians handle every install. If your project is part of a larger backyard transformation, we also coordinate fence work with home additions & ADU in San Jose so the fence and the structure are built in the right order.
Frequently Asked Questions
Fence installation in San Jose typically runs $4,500 to $14,000 for a standard residential lot, with cost driven by linear footage and material. Wood runs $30 to $55 per linear foot installed, vinyl runs $40 to $70, aluminum runs $50 to $85, and composite runs $60 to $110. Removal and haul-away of an existing fence adds $800 to $2,000 depending on length. Call (833) 988-3521 for an exact quote on your property; estimates are free.
Most standard 6-foot rear-yard fences in San Jose do not require a building permit, but taller fences, fences on retaining walls over 4 feet, and fences in design review districts do. Front-yard fences over 3 to 4 feet almost always trigger a permit. Always confirm with the San Jose planning counter before ordering materials, because the answer depends on your specific zone and location on the lot.
You need written documentation from any neighbor whose property touches the fence line, and California’s Good Neighbor Fence Law (Civil Code Section 841) presumes shared cost responsibility on a boundary fence. The city may require neighbor notification for certain boundary fence projects, and a fence built without proper consent can be ordered removed. Get signatures in writing before you break ground.
Composite and powder-coated aluminum hold up best against San Jose’s UV and moisture swings, though they cost more per linear foot. Cedar and redwood are the most cost-effective wood choices and perform well with a seal every two to three years. Vinyl is low-maintenance but depends heavily on correct footing design in clay soil. There’s no universal best choice; match the material to the location on your lot and the maintenance you’re willing to keep up.
A typical residential fence of 100 to 150 linear feet takes three to five working days from demolition to final walkthrough. Add a day for complex gates, significant grade change, or difficult footing removal. Spring and summer are the easiest install windows because concrete cure time is faster and stain dries more consistently, but any dry stretch works fine in San Jose.
No, and any quote that can change mid-project should worry you. A real fence quote in San Jose covers inspection of your soil, your grade, and your property lines before the number is fixed. Groundwork Construction Co. of San Jose provides no-hassle upfront pricing, and the number you see is the number you pay. Call (833) 988-3521 to schedule your free estimate and get a written line-item quote.
The Bottom Line
The San Jose fence projects that succeed share one thing: they start with the rules, not the materials. Confirm your zone’s height limits, get your neighbors’ written consent, verify your HOA paperwork, and design the footings for the clay and seismic reality of the Bay Area. Then choose the material. This guide has covered the full decision tree, from code and consent through post depth, material options, and the install sequence. If you want that walkthrough done on your specific lot by people who know San Jose code, HOA overlays, and clay soil, our team handles the whole scope. The best fence in San Jose is the one that passes inspection, holds through seismic shifts, and doesn’t need a lawyer to stay up. If you’d like to see how a full-scope contractor handles the project, Groundwork Construction Co. of San Jose home is the place to start.
Call (833) 988-3521 today to schedule your free estimate. Free project estimate and design consult, upfront pricing, 0% financing for 18 months, and $1,000 off projects over $10,000. The 730-Day Done Right Promise backs every install: if it isn’t done right, we make it right.
Written by the team at Groundwork Construction Co. of San Jose.